An Overdue Update
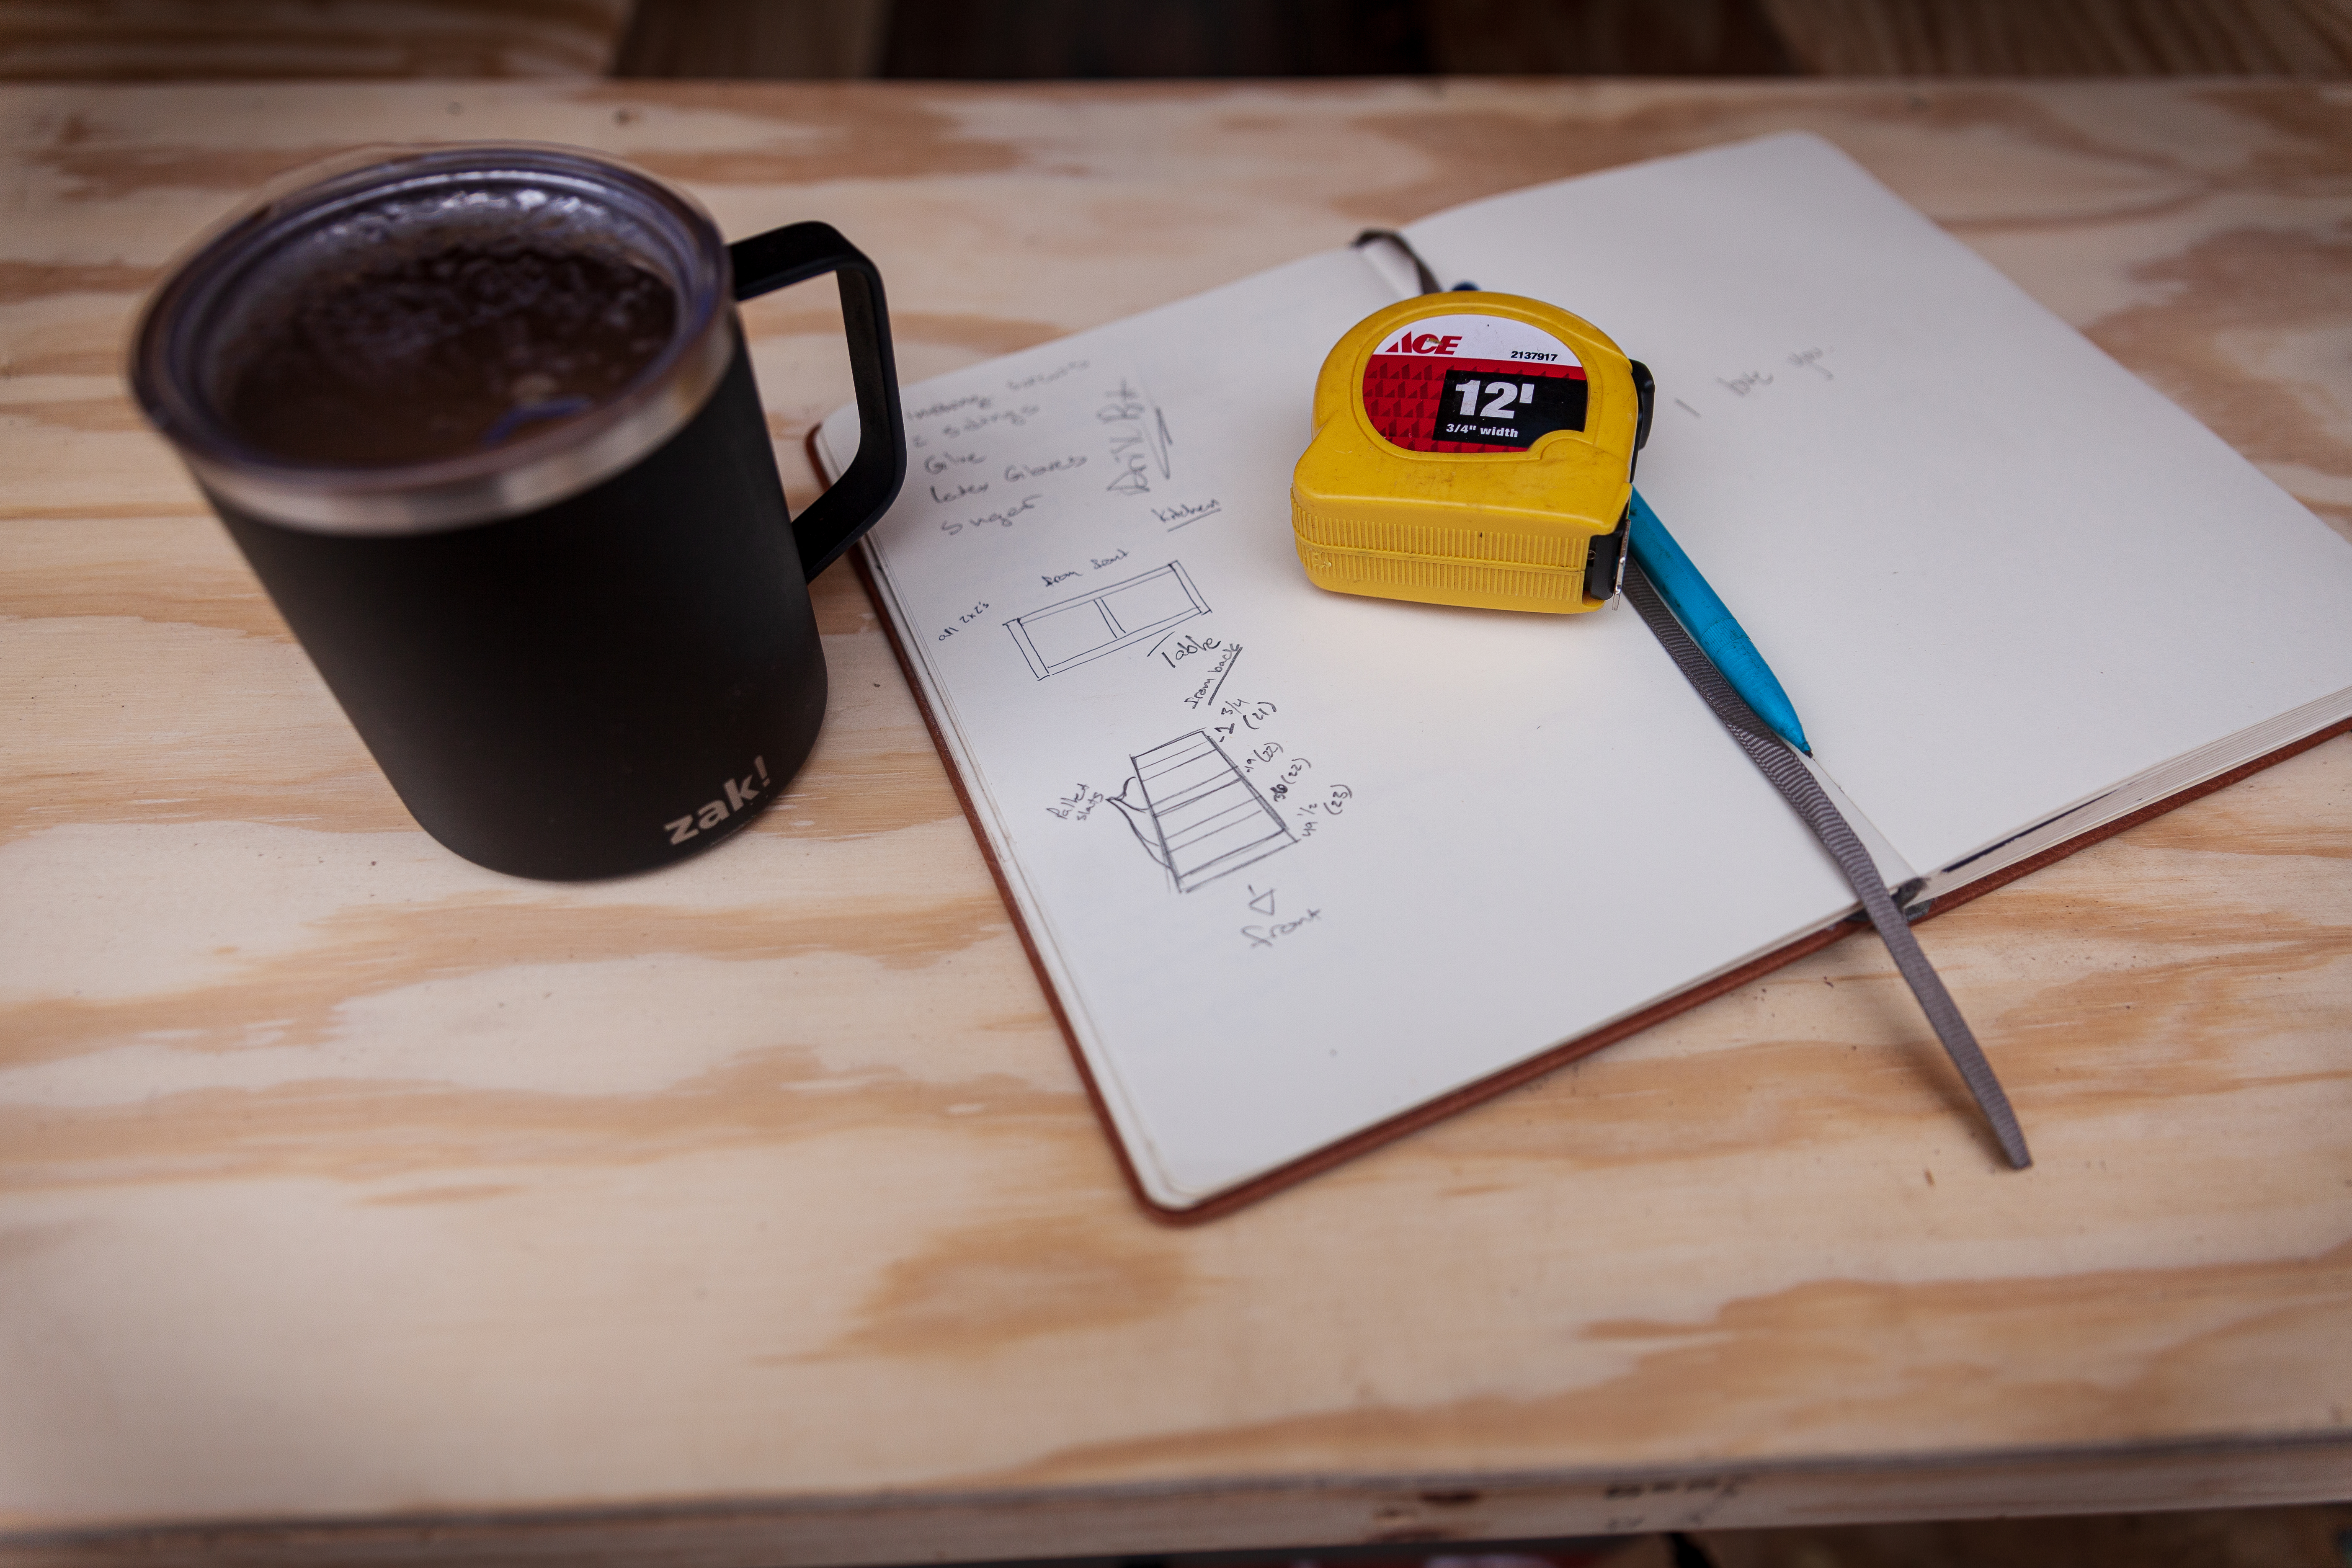
It’s been quite a while since I updated the blog, so strap yourself in for an enormous update! Since we last talked, we’ve installed the flooring, nearly completed the interior cabinets, installed ninety percent of the electrical system (which was a huge learning experience for me), built the table, started work on the kitchen, and planned out the rest of the build. We’re about two weeks out from our anticipated departure date of June 10th, so this is the home stretch! Below, I’ll break down each of the areas we’ve worked on/completed, and show you where we are now. Then it’s back to work!
Electrical
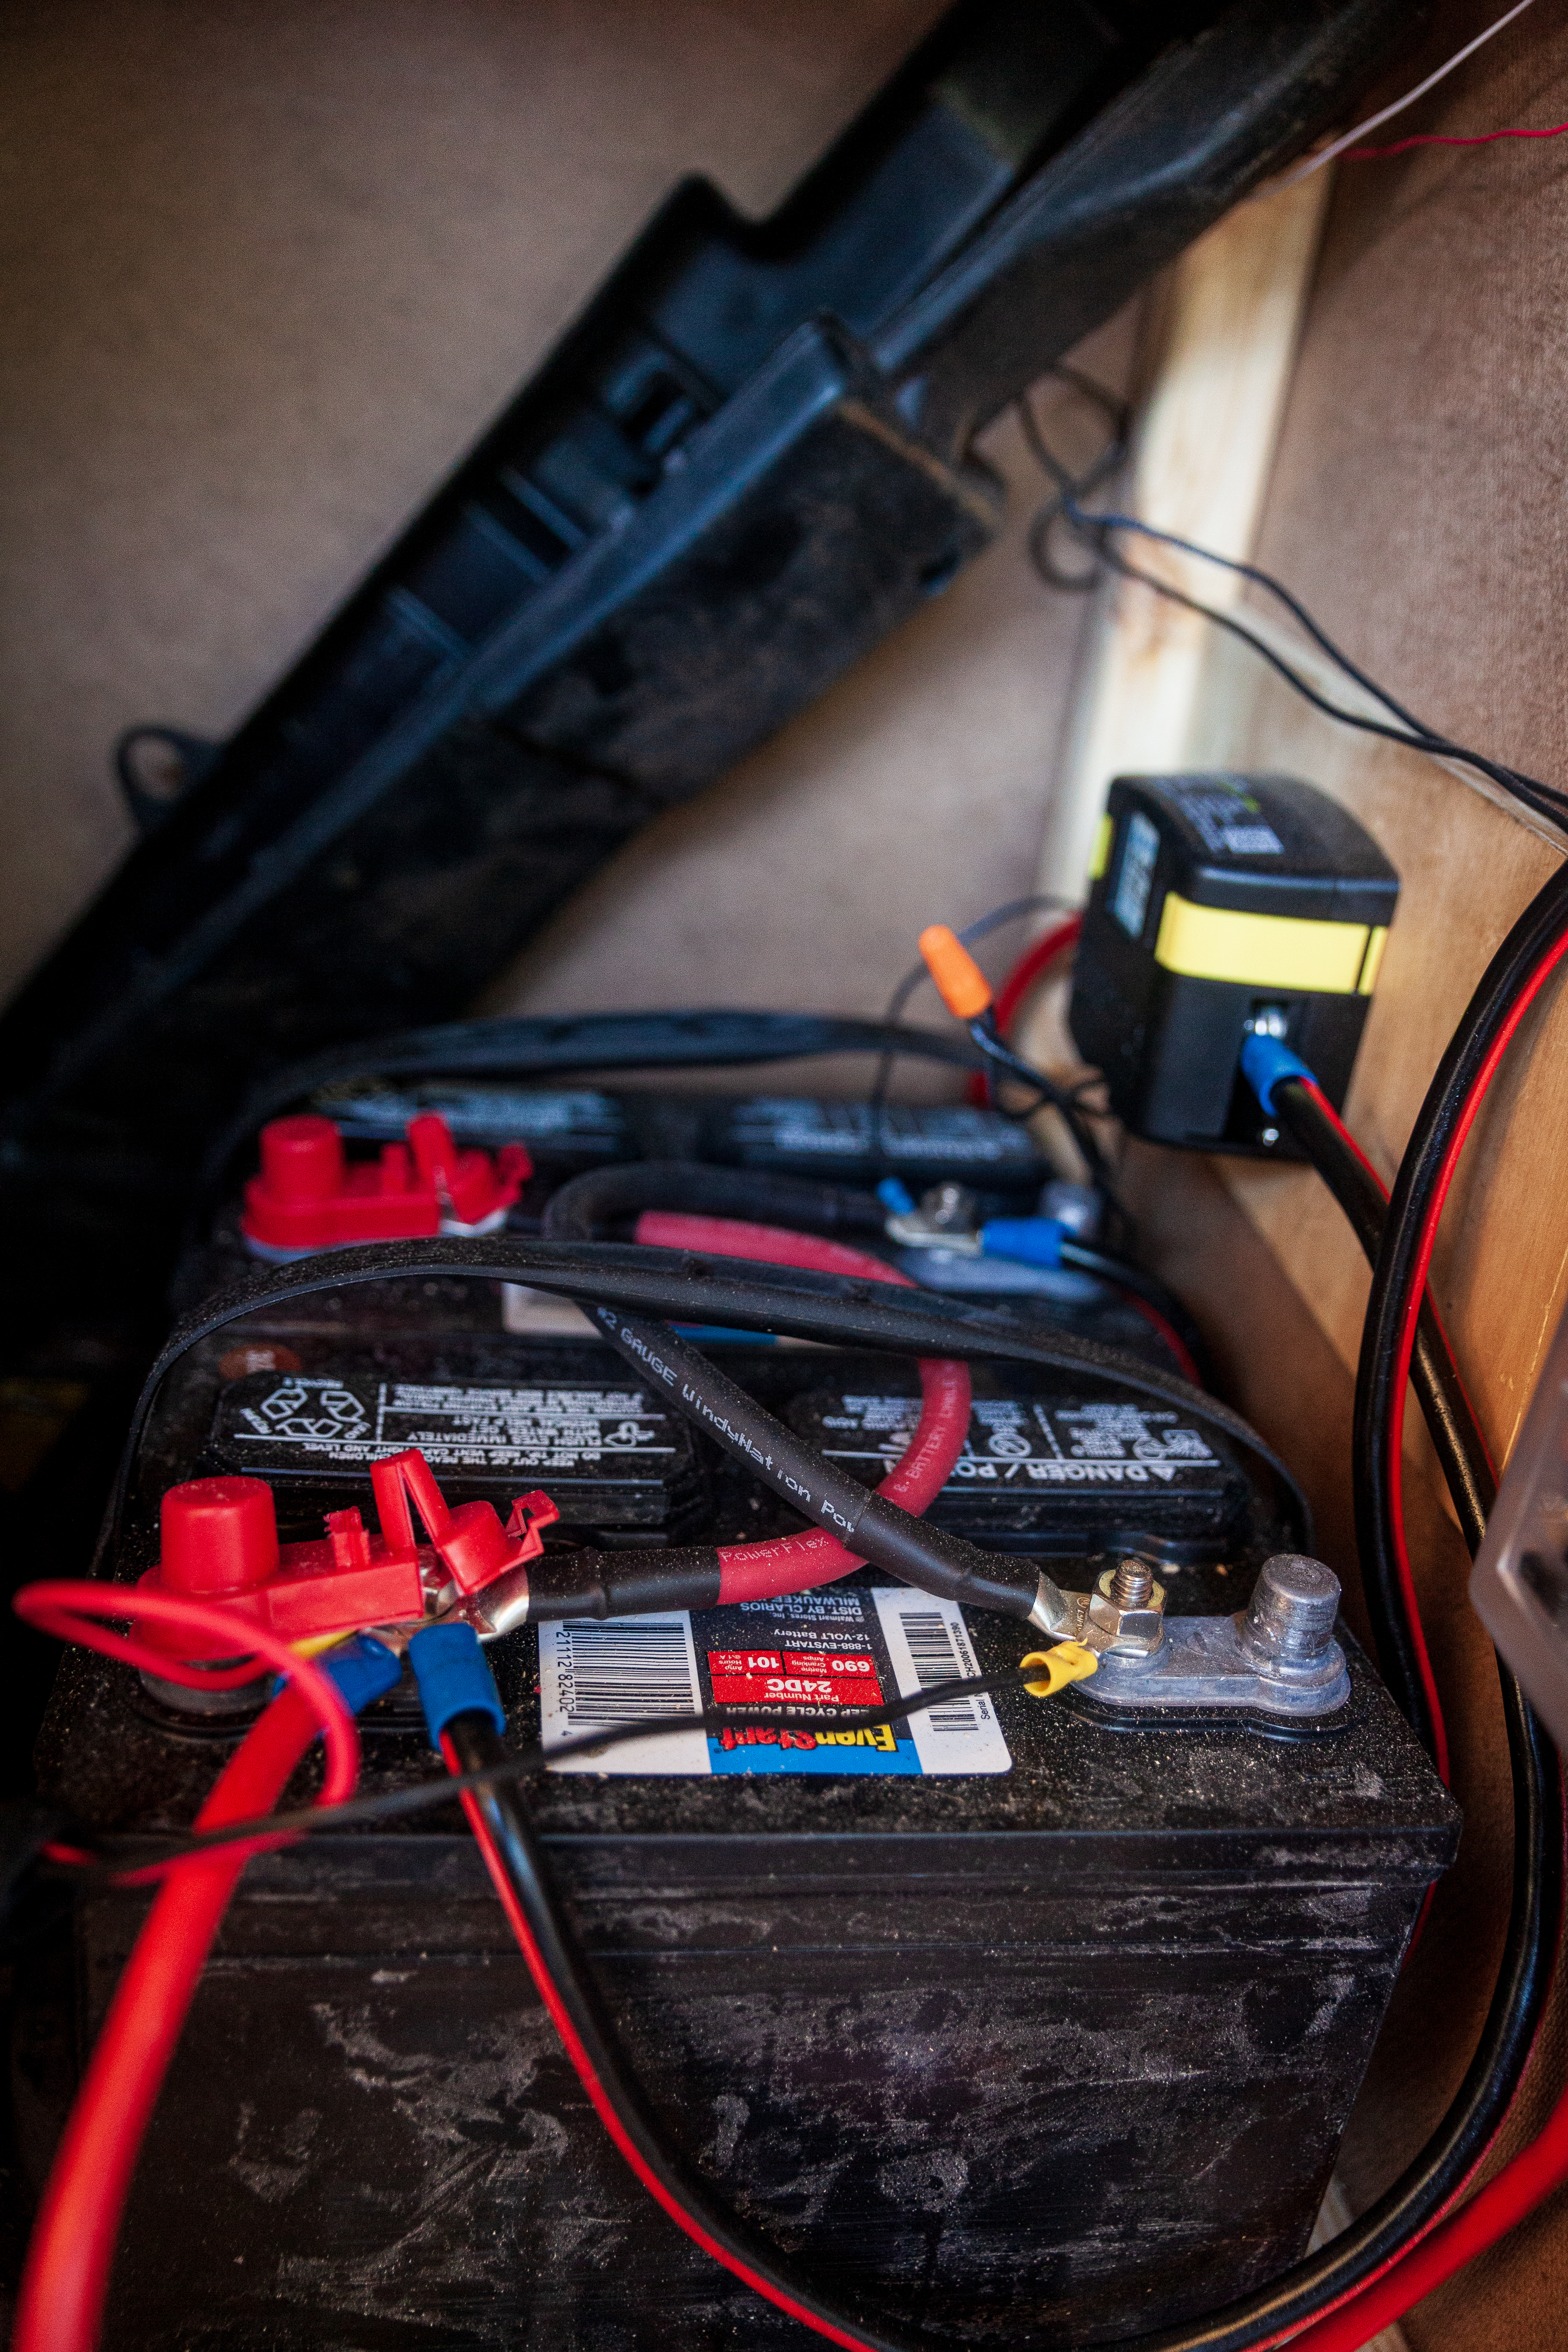
For our electrical system, we went with a simple alternator-charged house battery bank. With this setup, the house batteries will get charged up whenever we’re driving, so we won’t even have to think about it. No solar panels yet, but maybe we’ll pick one up while we’re on the road if our current setup doesn’t work as well as we thought; we’re pretty confident in it though.
The most important part of the system: the batteries! We went with the budget option of two Lead Acid Marine Deep Cycle batteries from Walmart. These look just like car batteries, but they’re designed to be used for extended periods of time and drained down much further. With the two, we have a total of 202Ah, which should be plenty for our uses (running our overhead lights, vent fan, charging computers and phones, and running our sink pump).
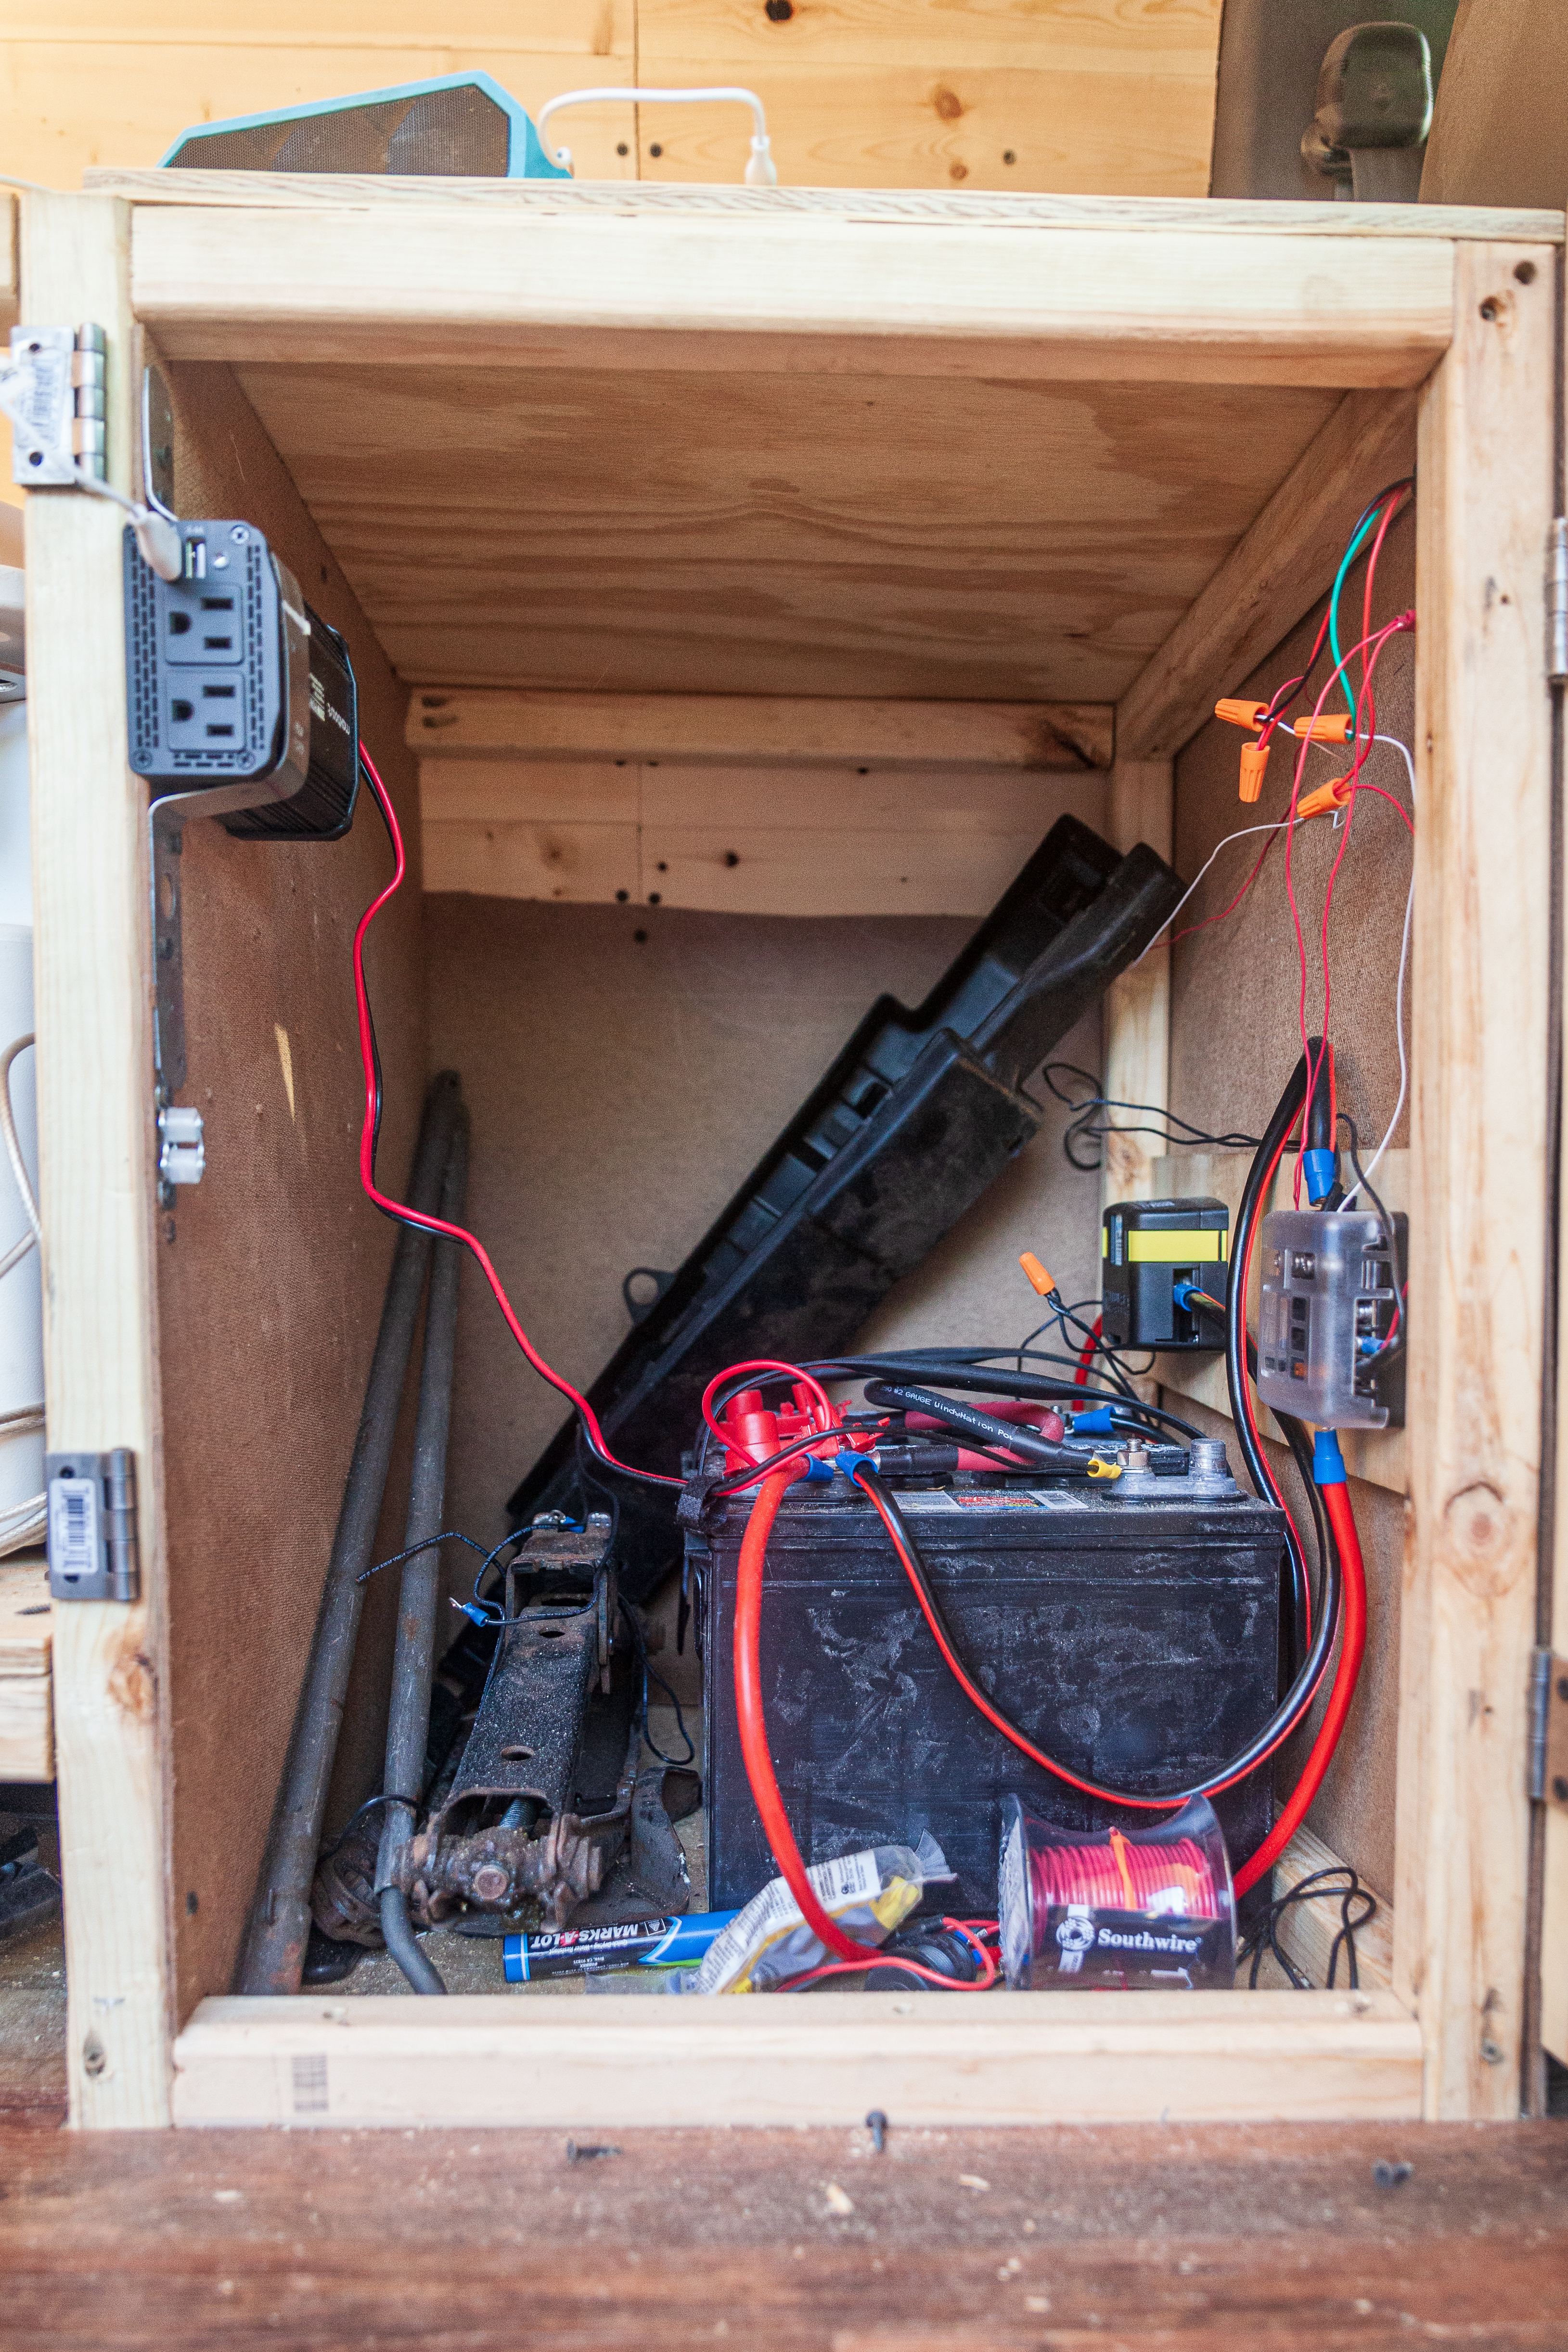
From top left (going clockwise) we’ve got the one cabinet full of wires that I am going to tidy up at some point.
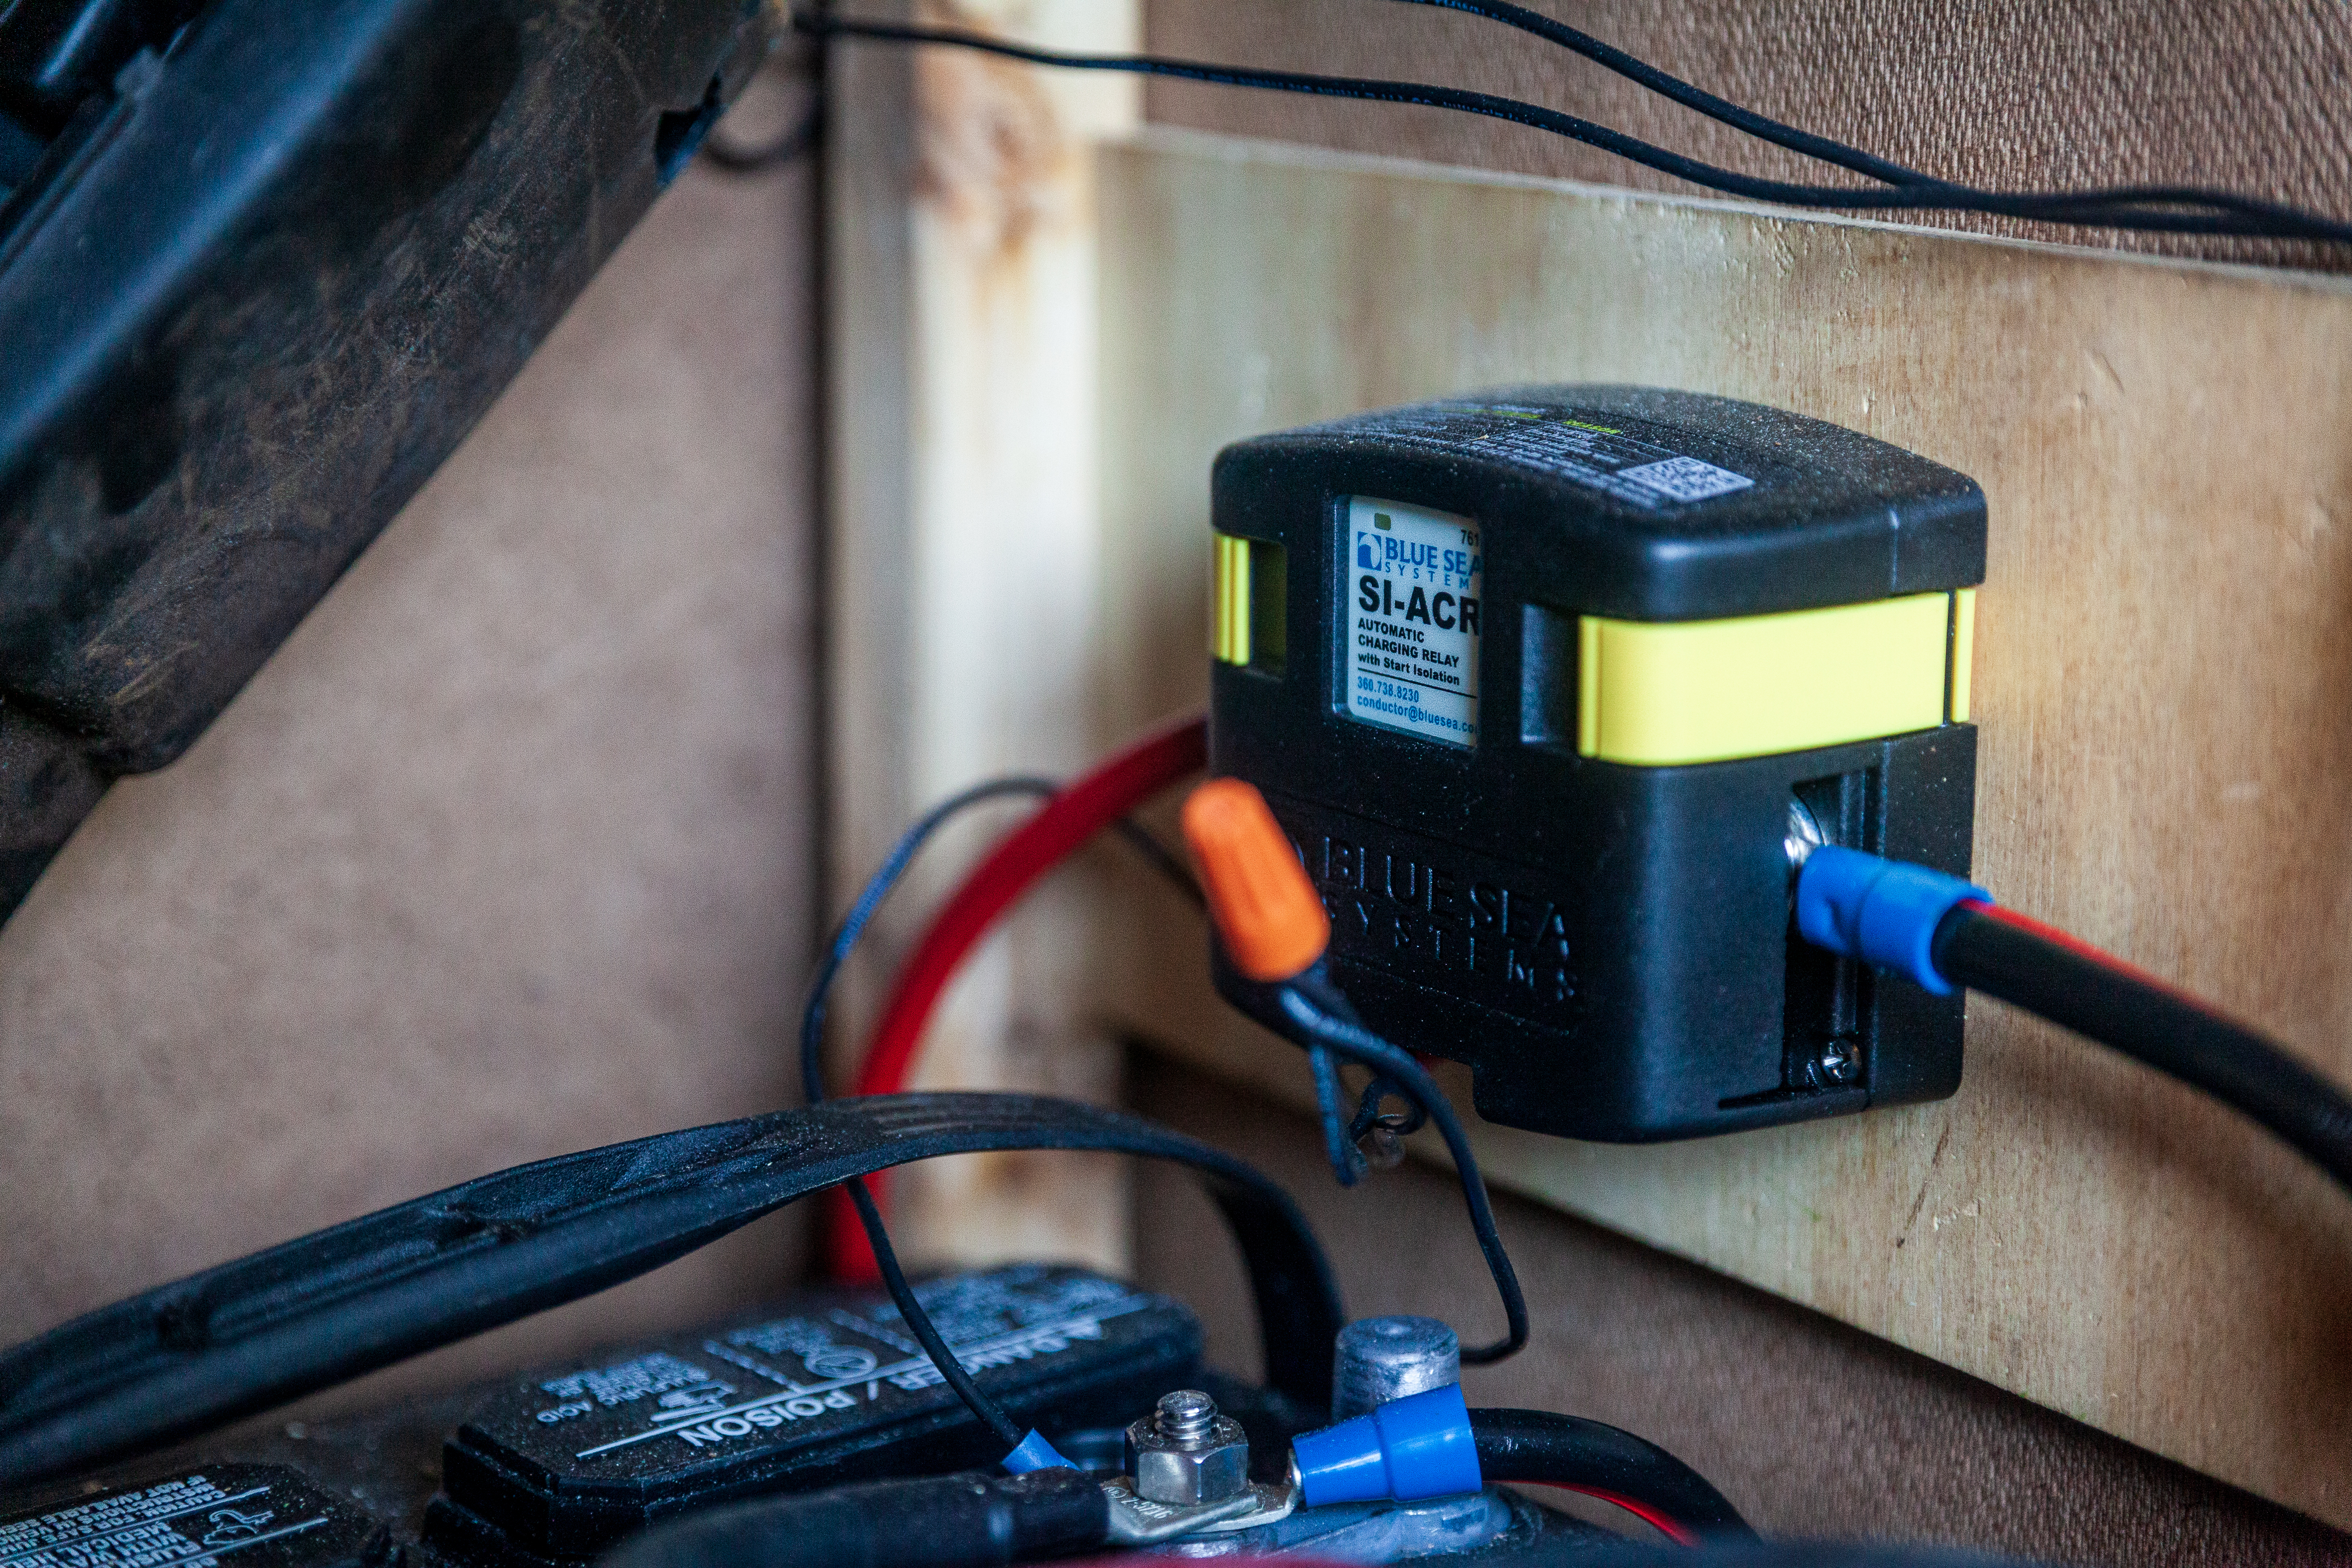
Next, our Blue Sea Systems Automatic Charging Relay. This connects the van’s starting battery to our house batteries when it senses that the alternator is putting out power (so whenever the engine is running). It took a little bit of messing around to figure this thing out, but now, it works like a charm. Whenever I crank on the van, it’ll wait thirty seconds, then connect the two batteries and charge everything up. We usually get 14.2V at our house batteries when the starter battery is recieving 14.3V, so it seems to be pretty efficient and should ensure that we can fully charge our house batteries with no problems.
At the top right, our inverter. At 300 Watts, its pretty small, but plenty for our needs. With two AC power outlets and two USB ports, we can charge up all of our electronics here at the front of the van. In addition, we’ve to two USB ports back next to the table/bed for charging things at the table.
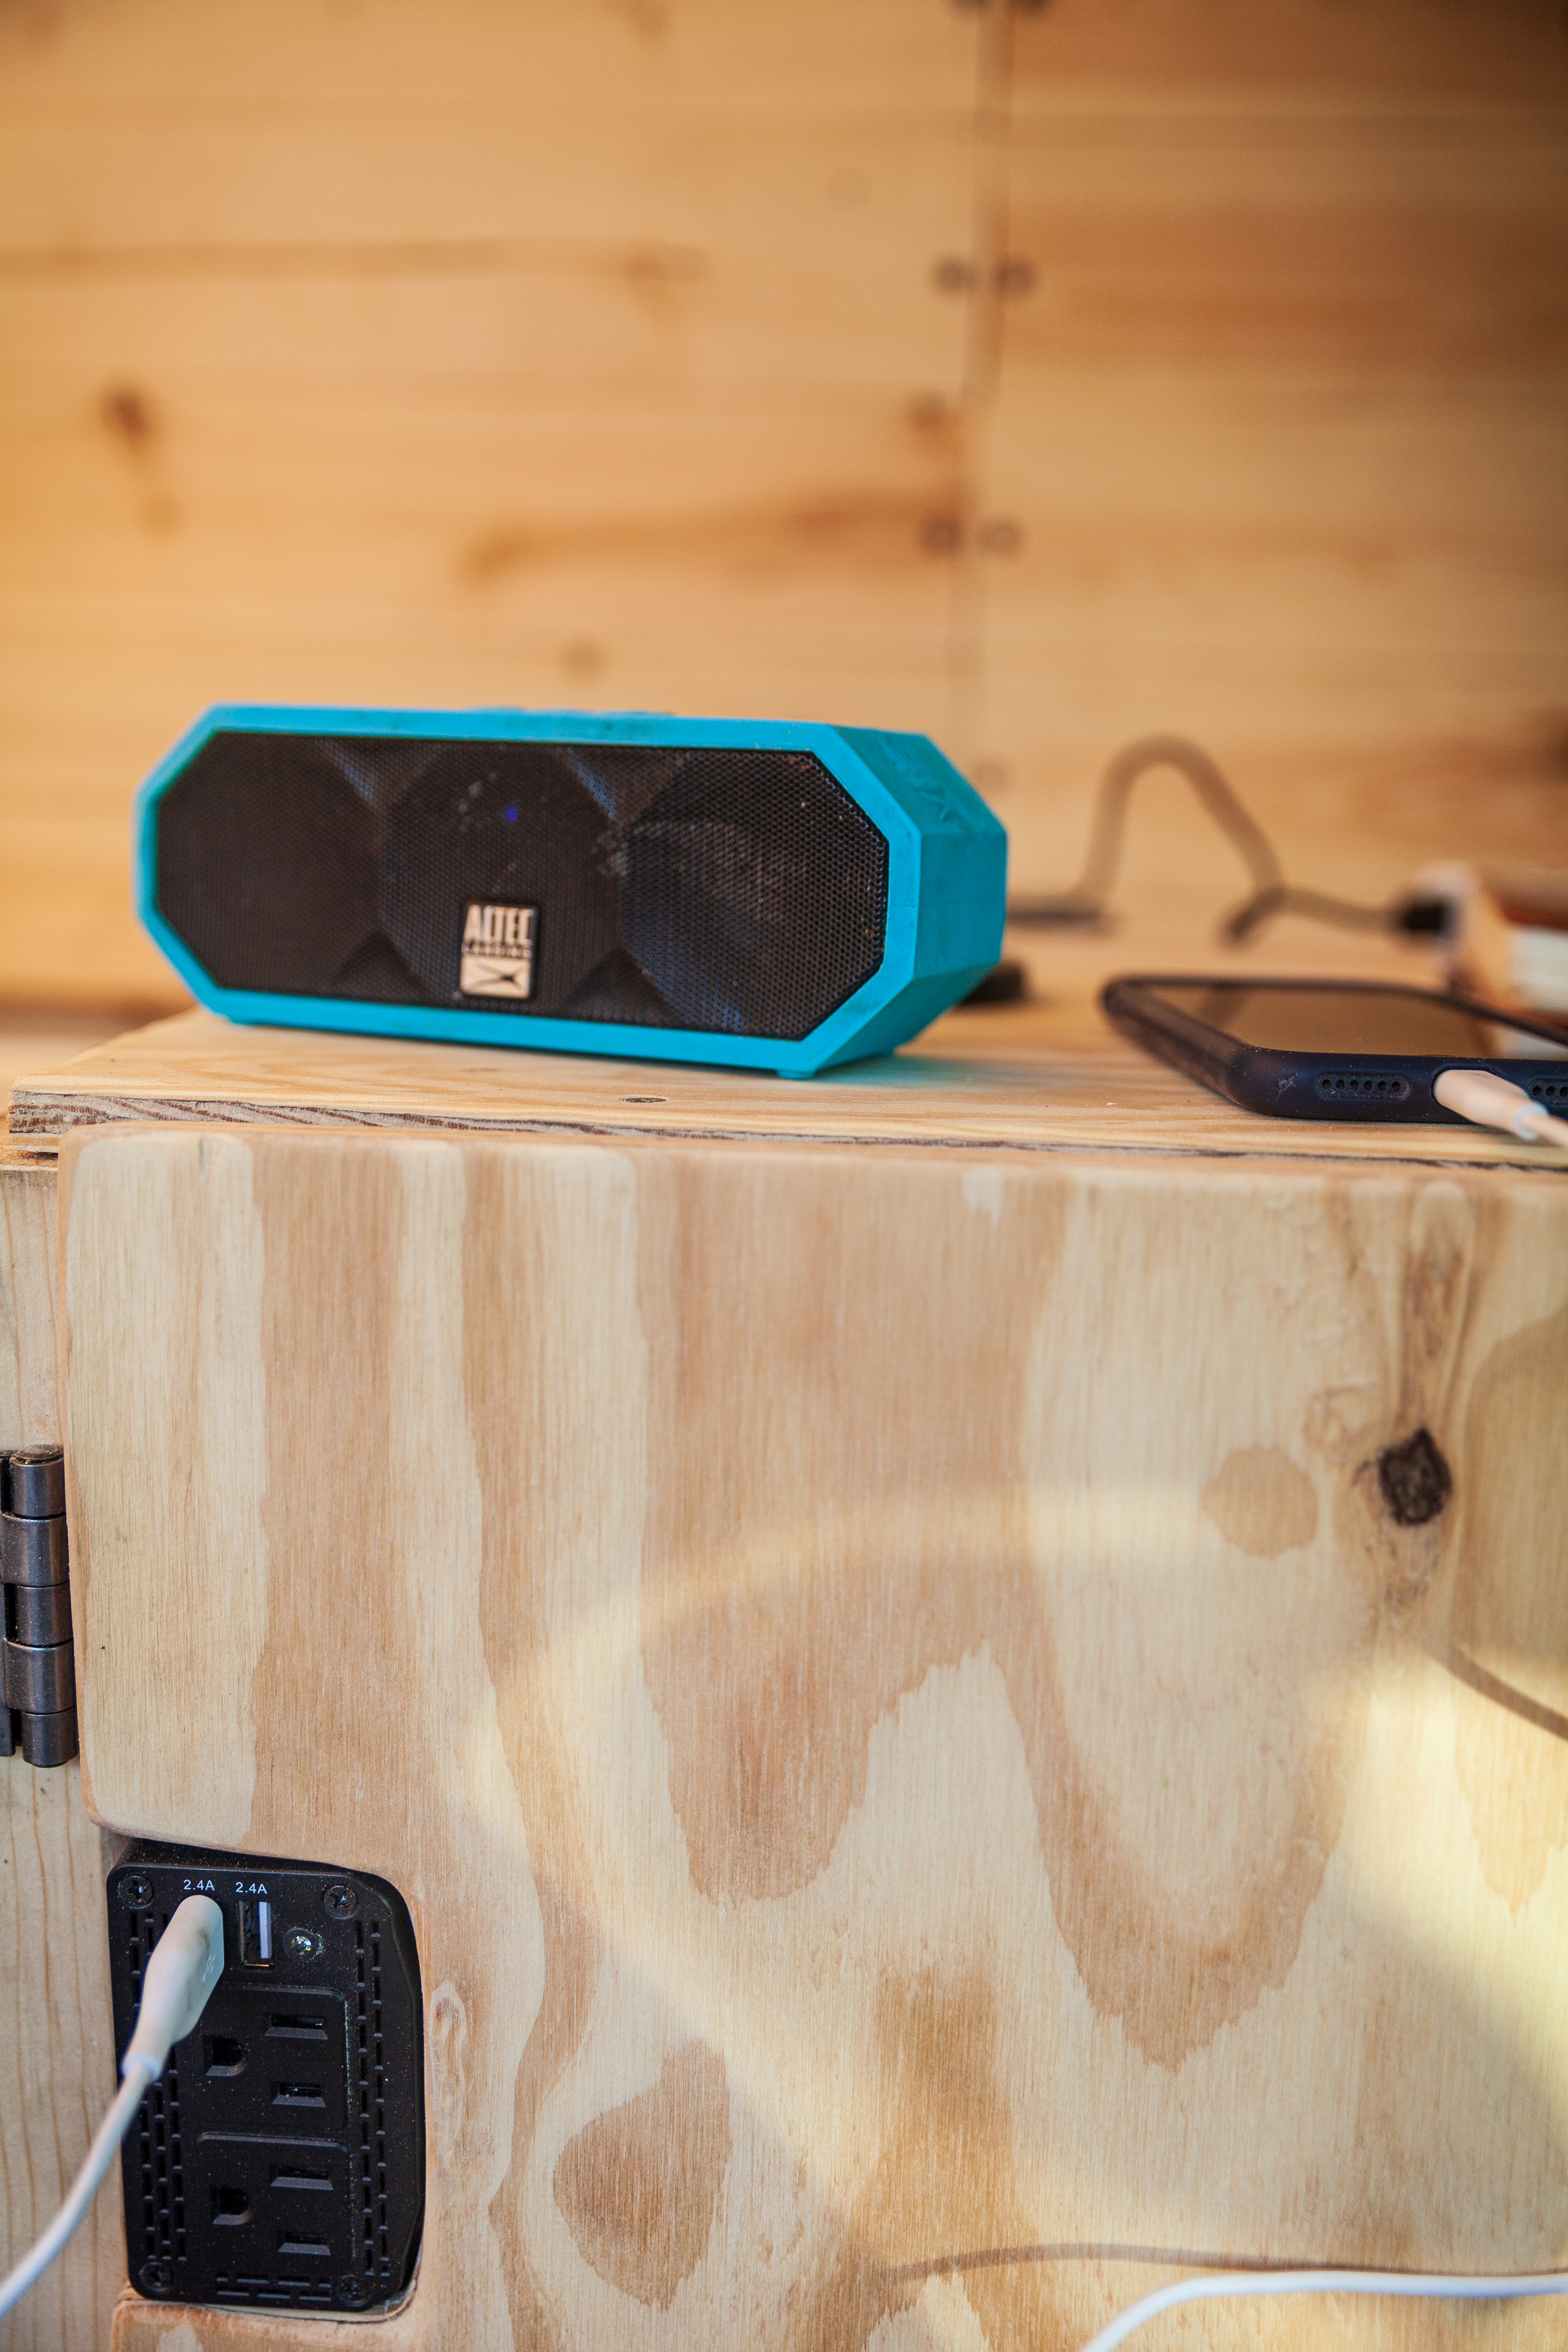
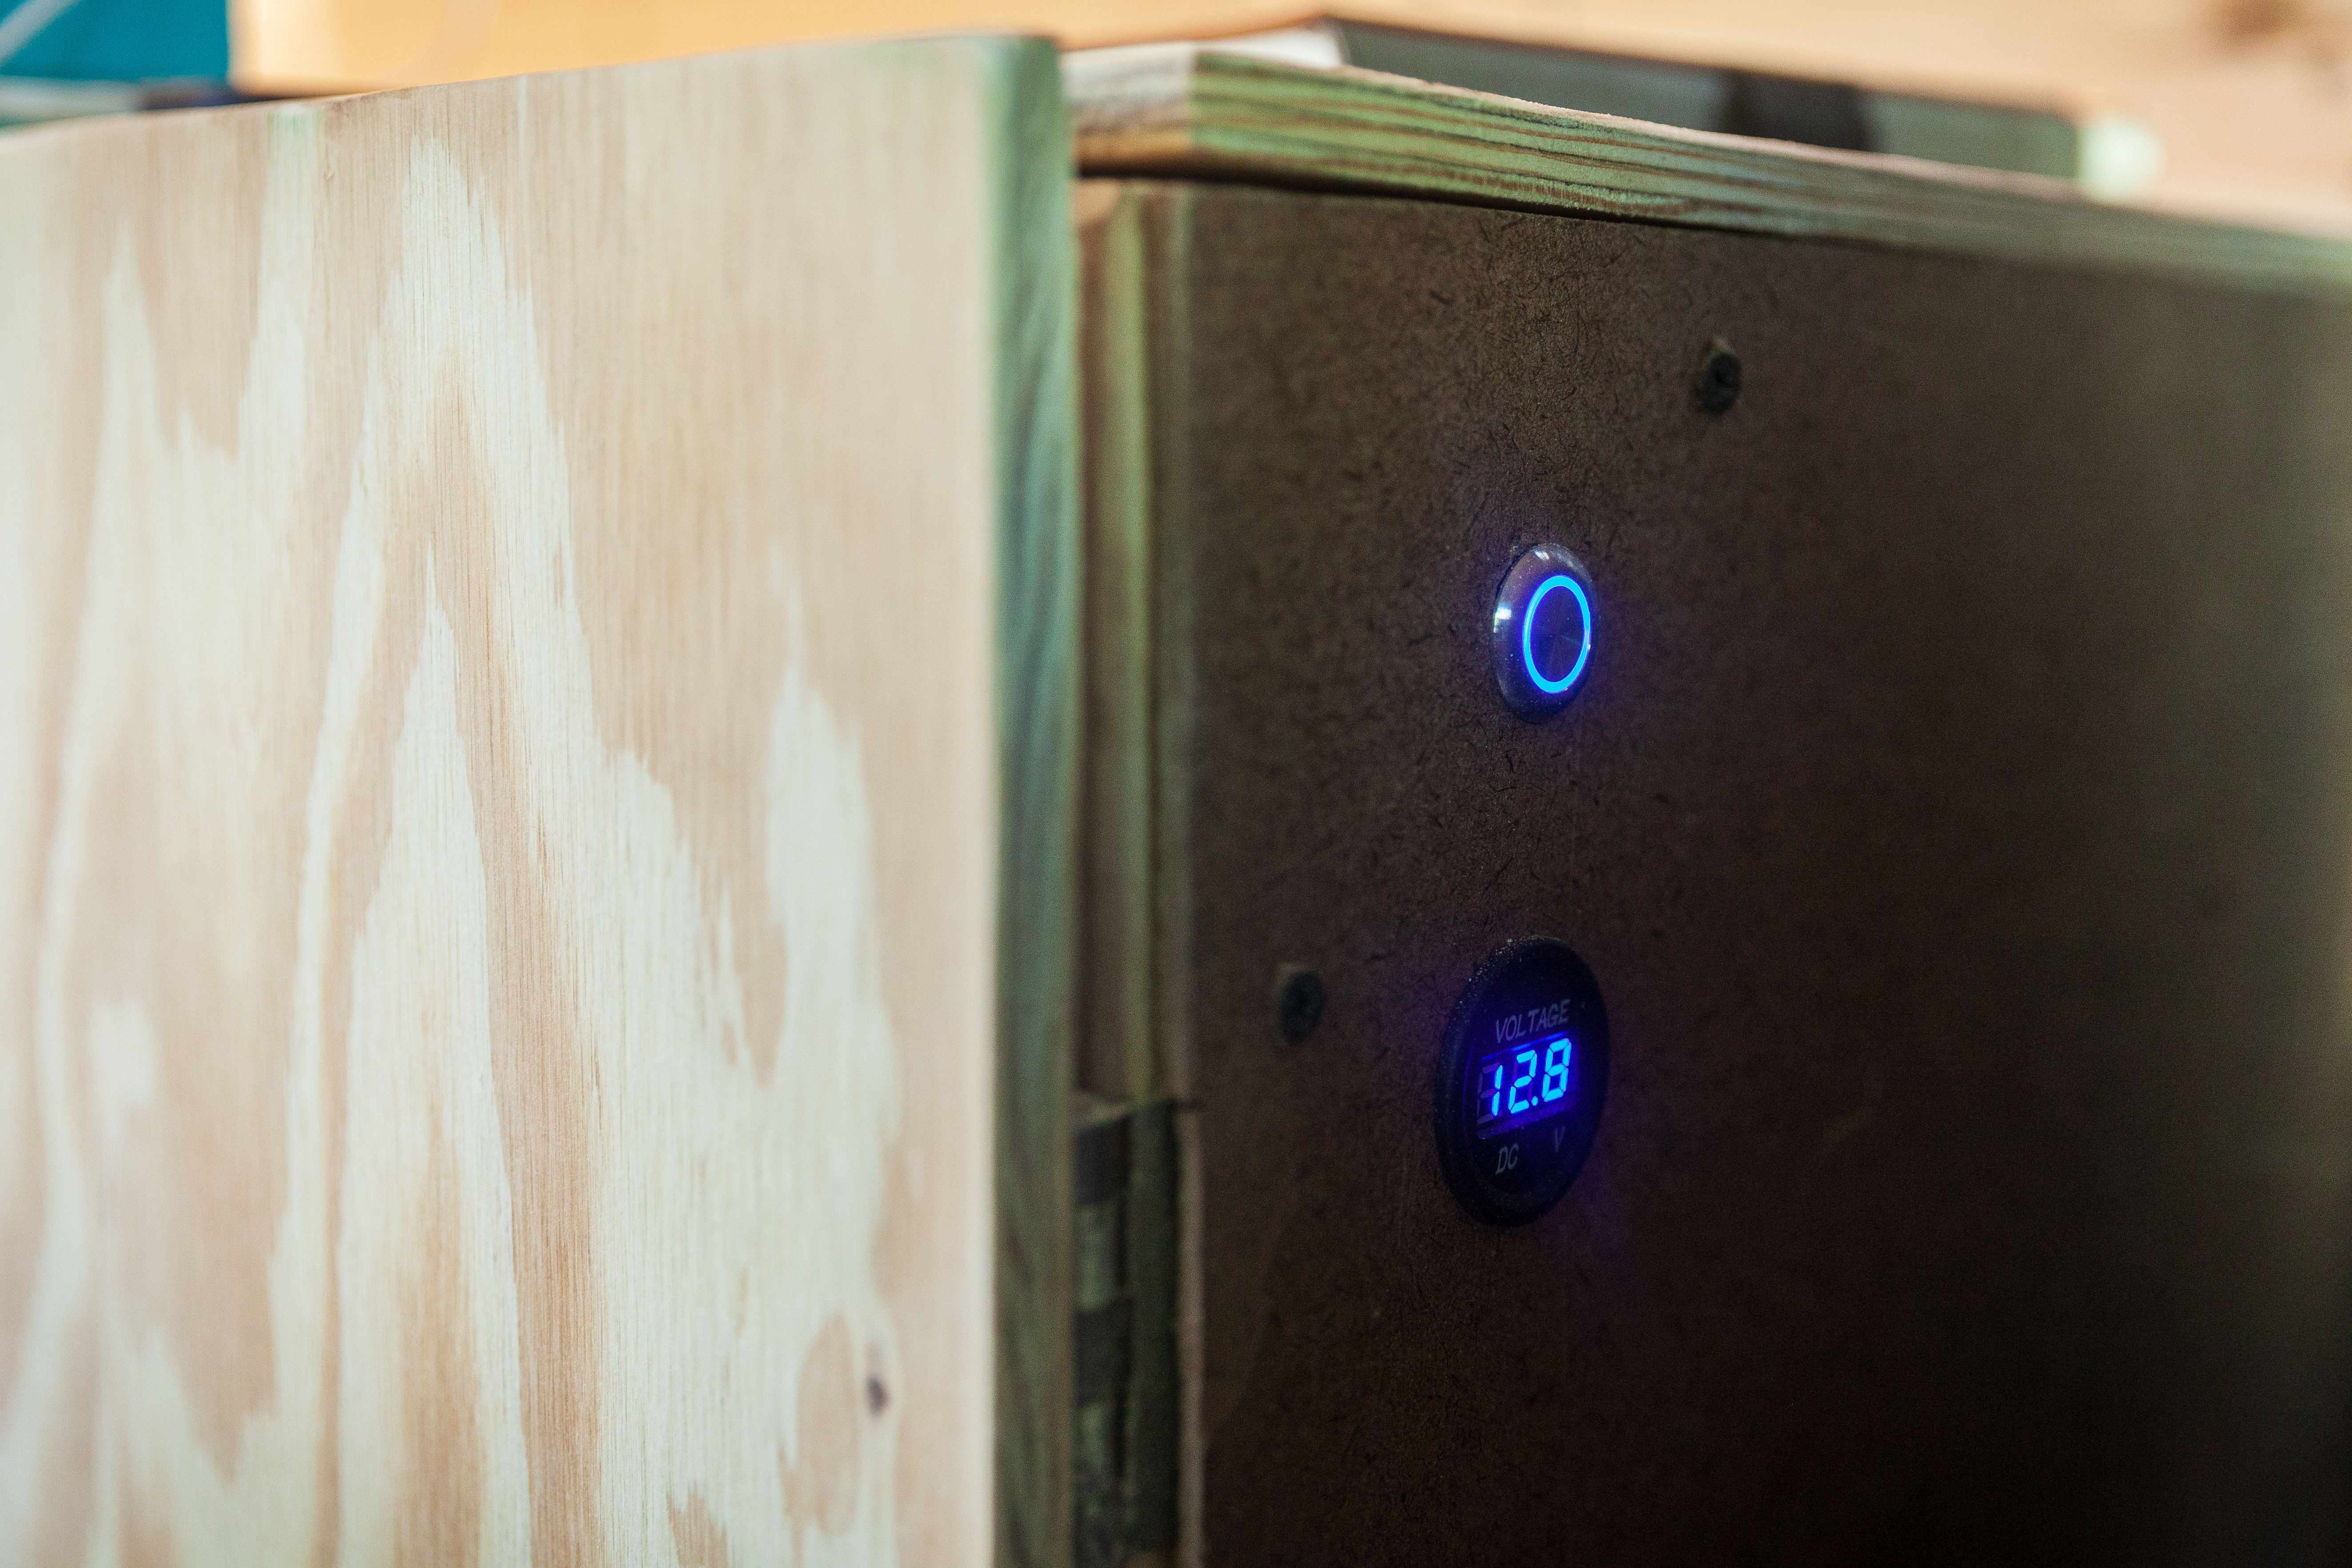
At bottom left, our lightswitch and voltage meter. Both were simple installs, just drill a hole and screw it in. The light switch has 4 levels of dimming (every time you tap it it’ll bump up the brightness). The voltage meter, a couple bucks on Amazon, has worked like a charm.
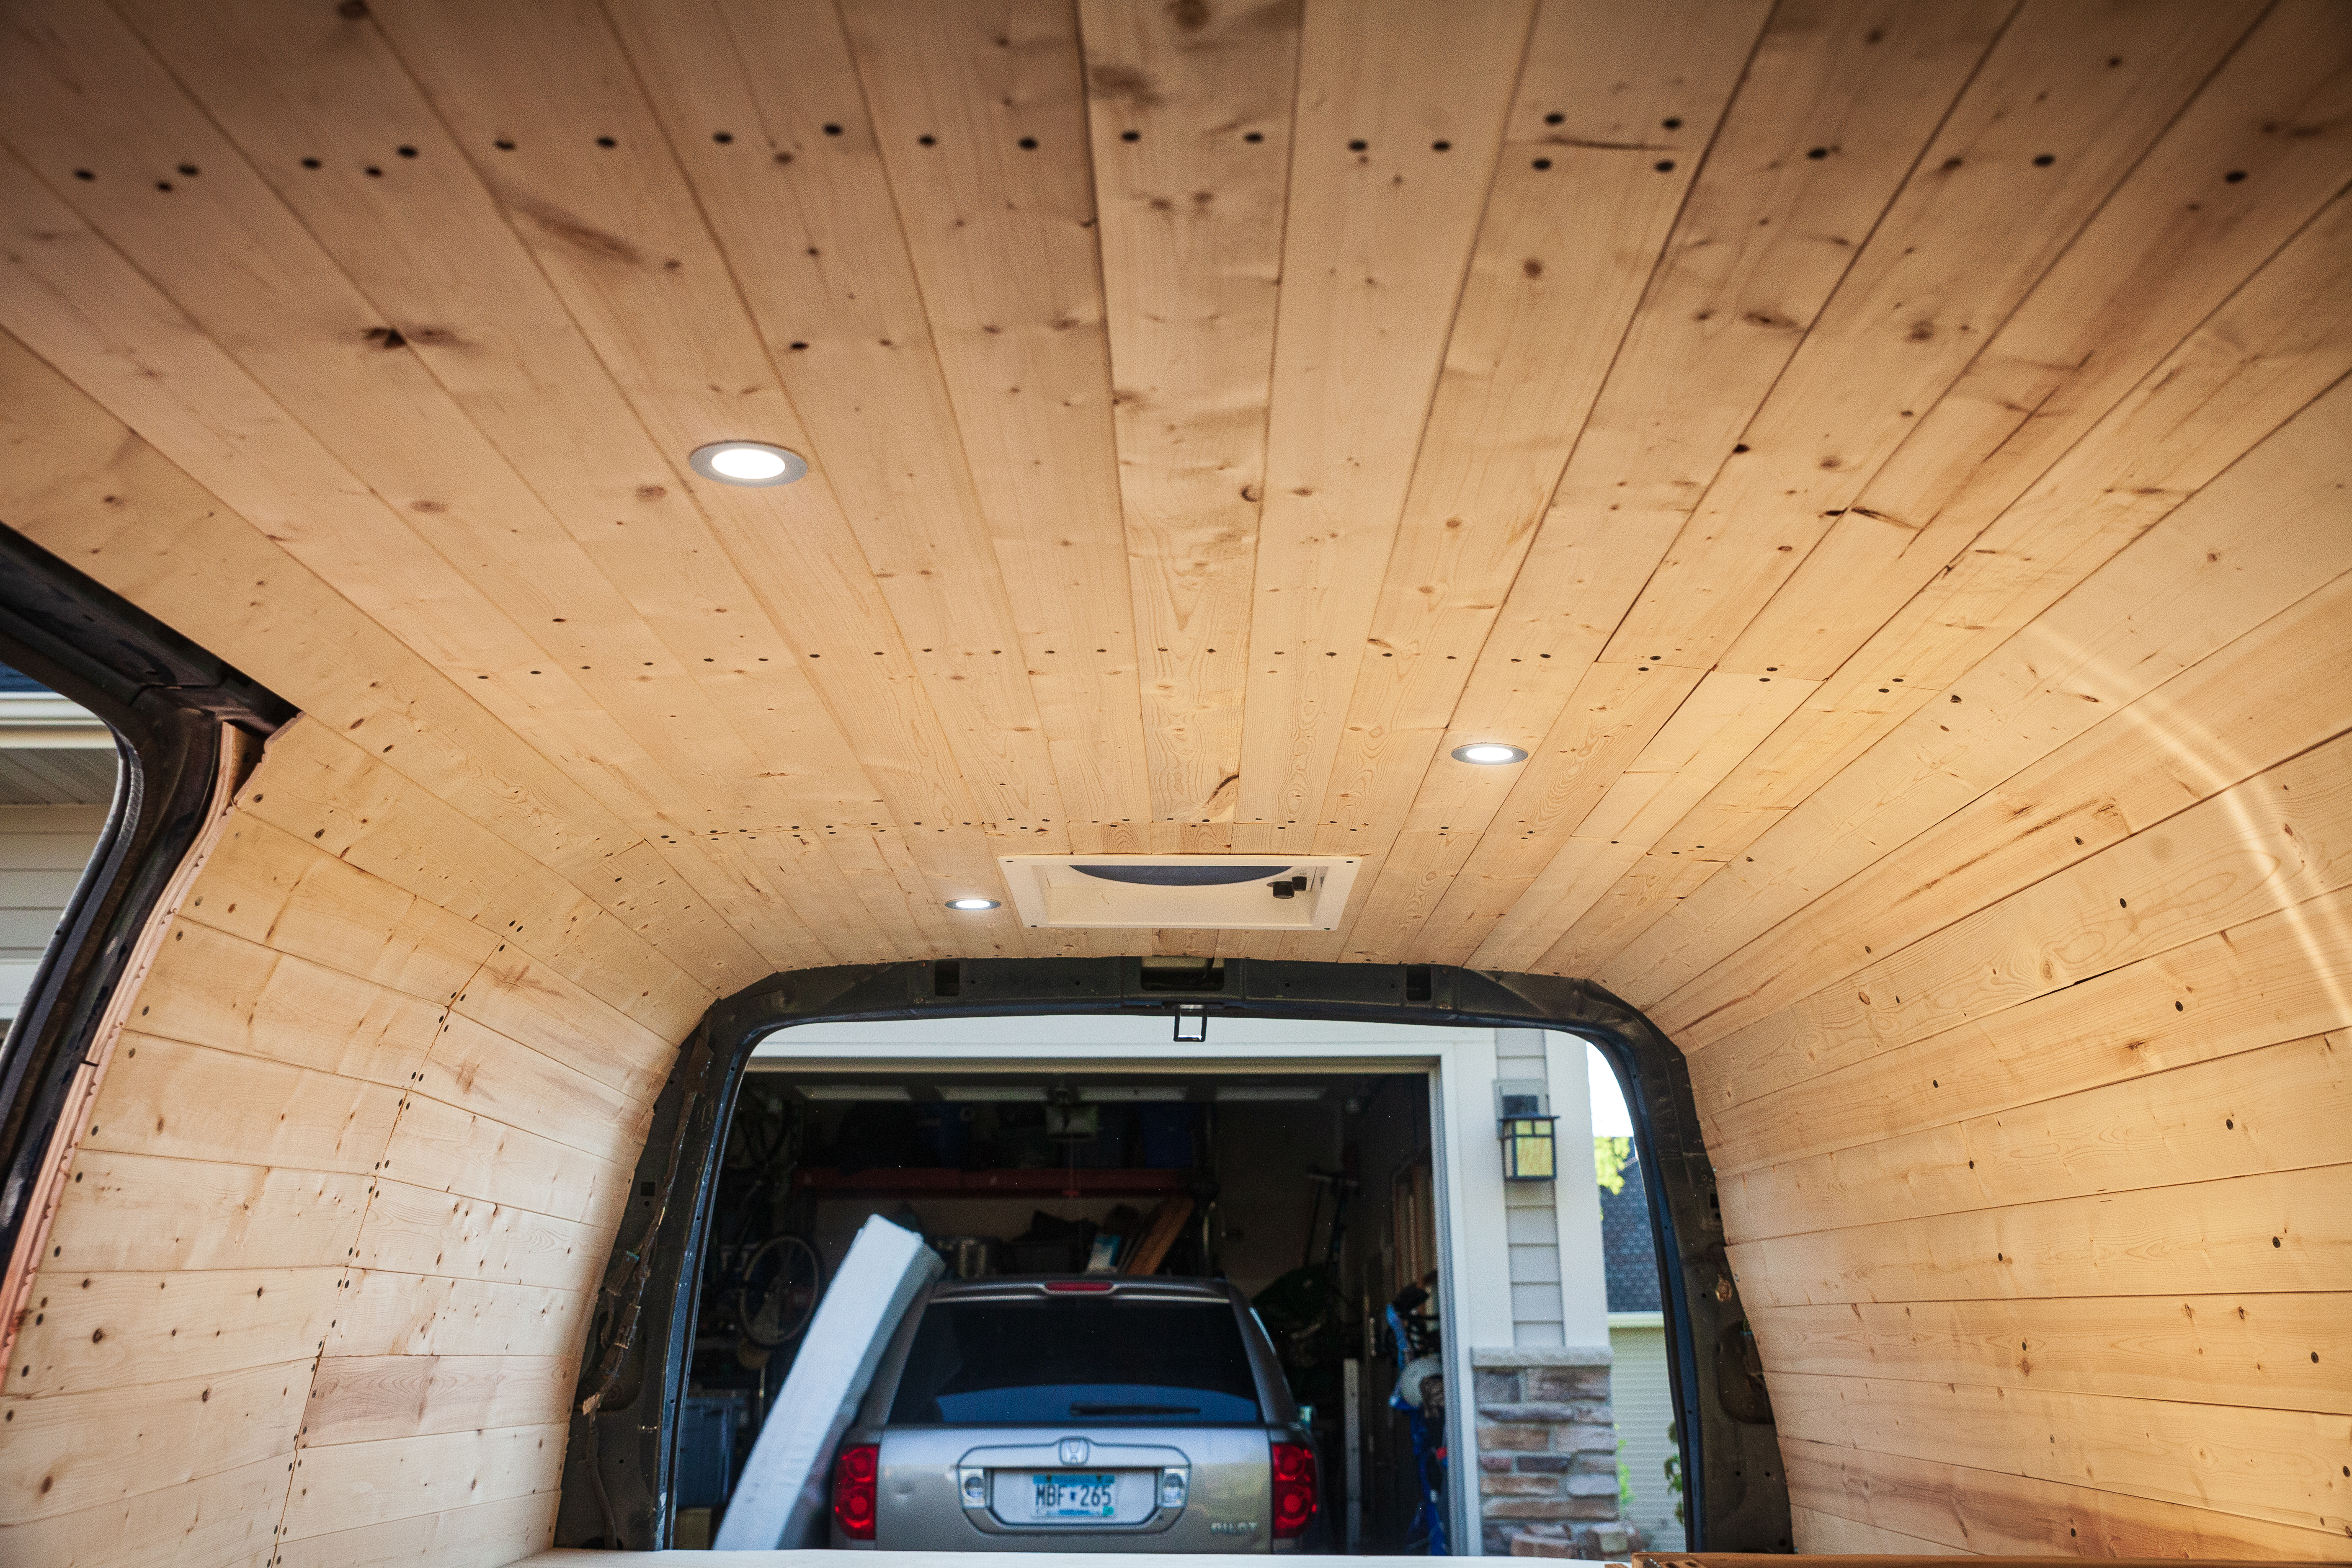
Finally, on the bottom right, our LED lights. I had wired the in series when we put up the ceiling, but it turns out that when you do that, the total voltage is divided by the number of lights, so each one was only getting 3V when they need 12V to fully illuminate. A ‘quick’ rewiring into a parallel circuit had them shining bright!