Ceiling Stuff!
The ceiling is where it really starts to feel like a van conversion! Here we’ve got lights, wires, a fan, and some high quality insulation so we don’t freeze/roast to death. Due to the Coronavirus, we were holed up at Taylor’s parents’ place again, spending most of our days eating and drinking whatever was on hand. There was plenty of alcohol, which helps to explain our lack of progress in some areas.
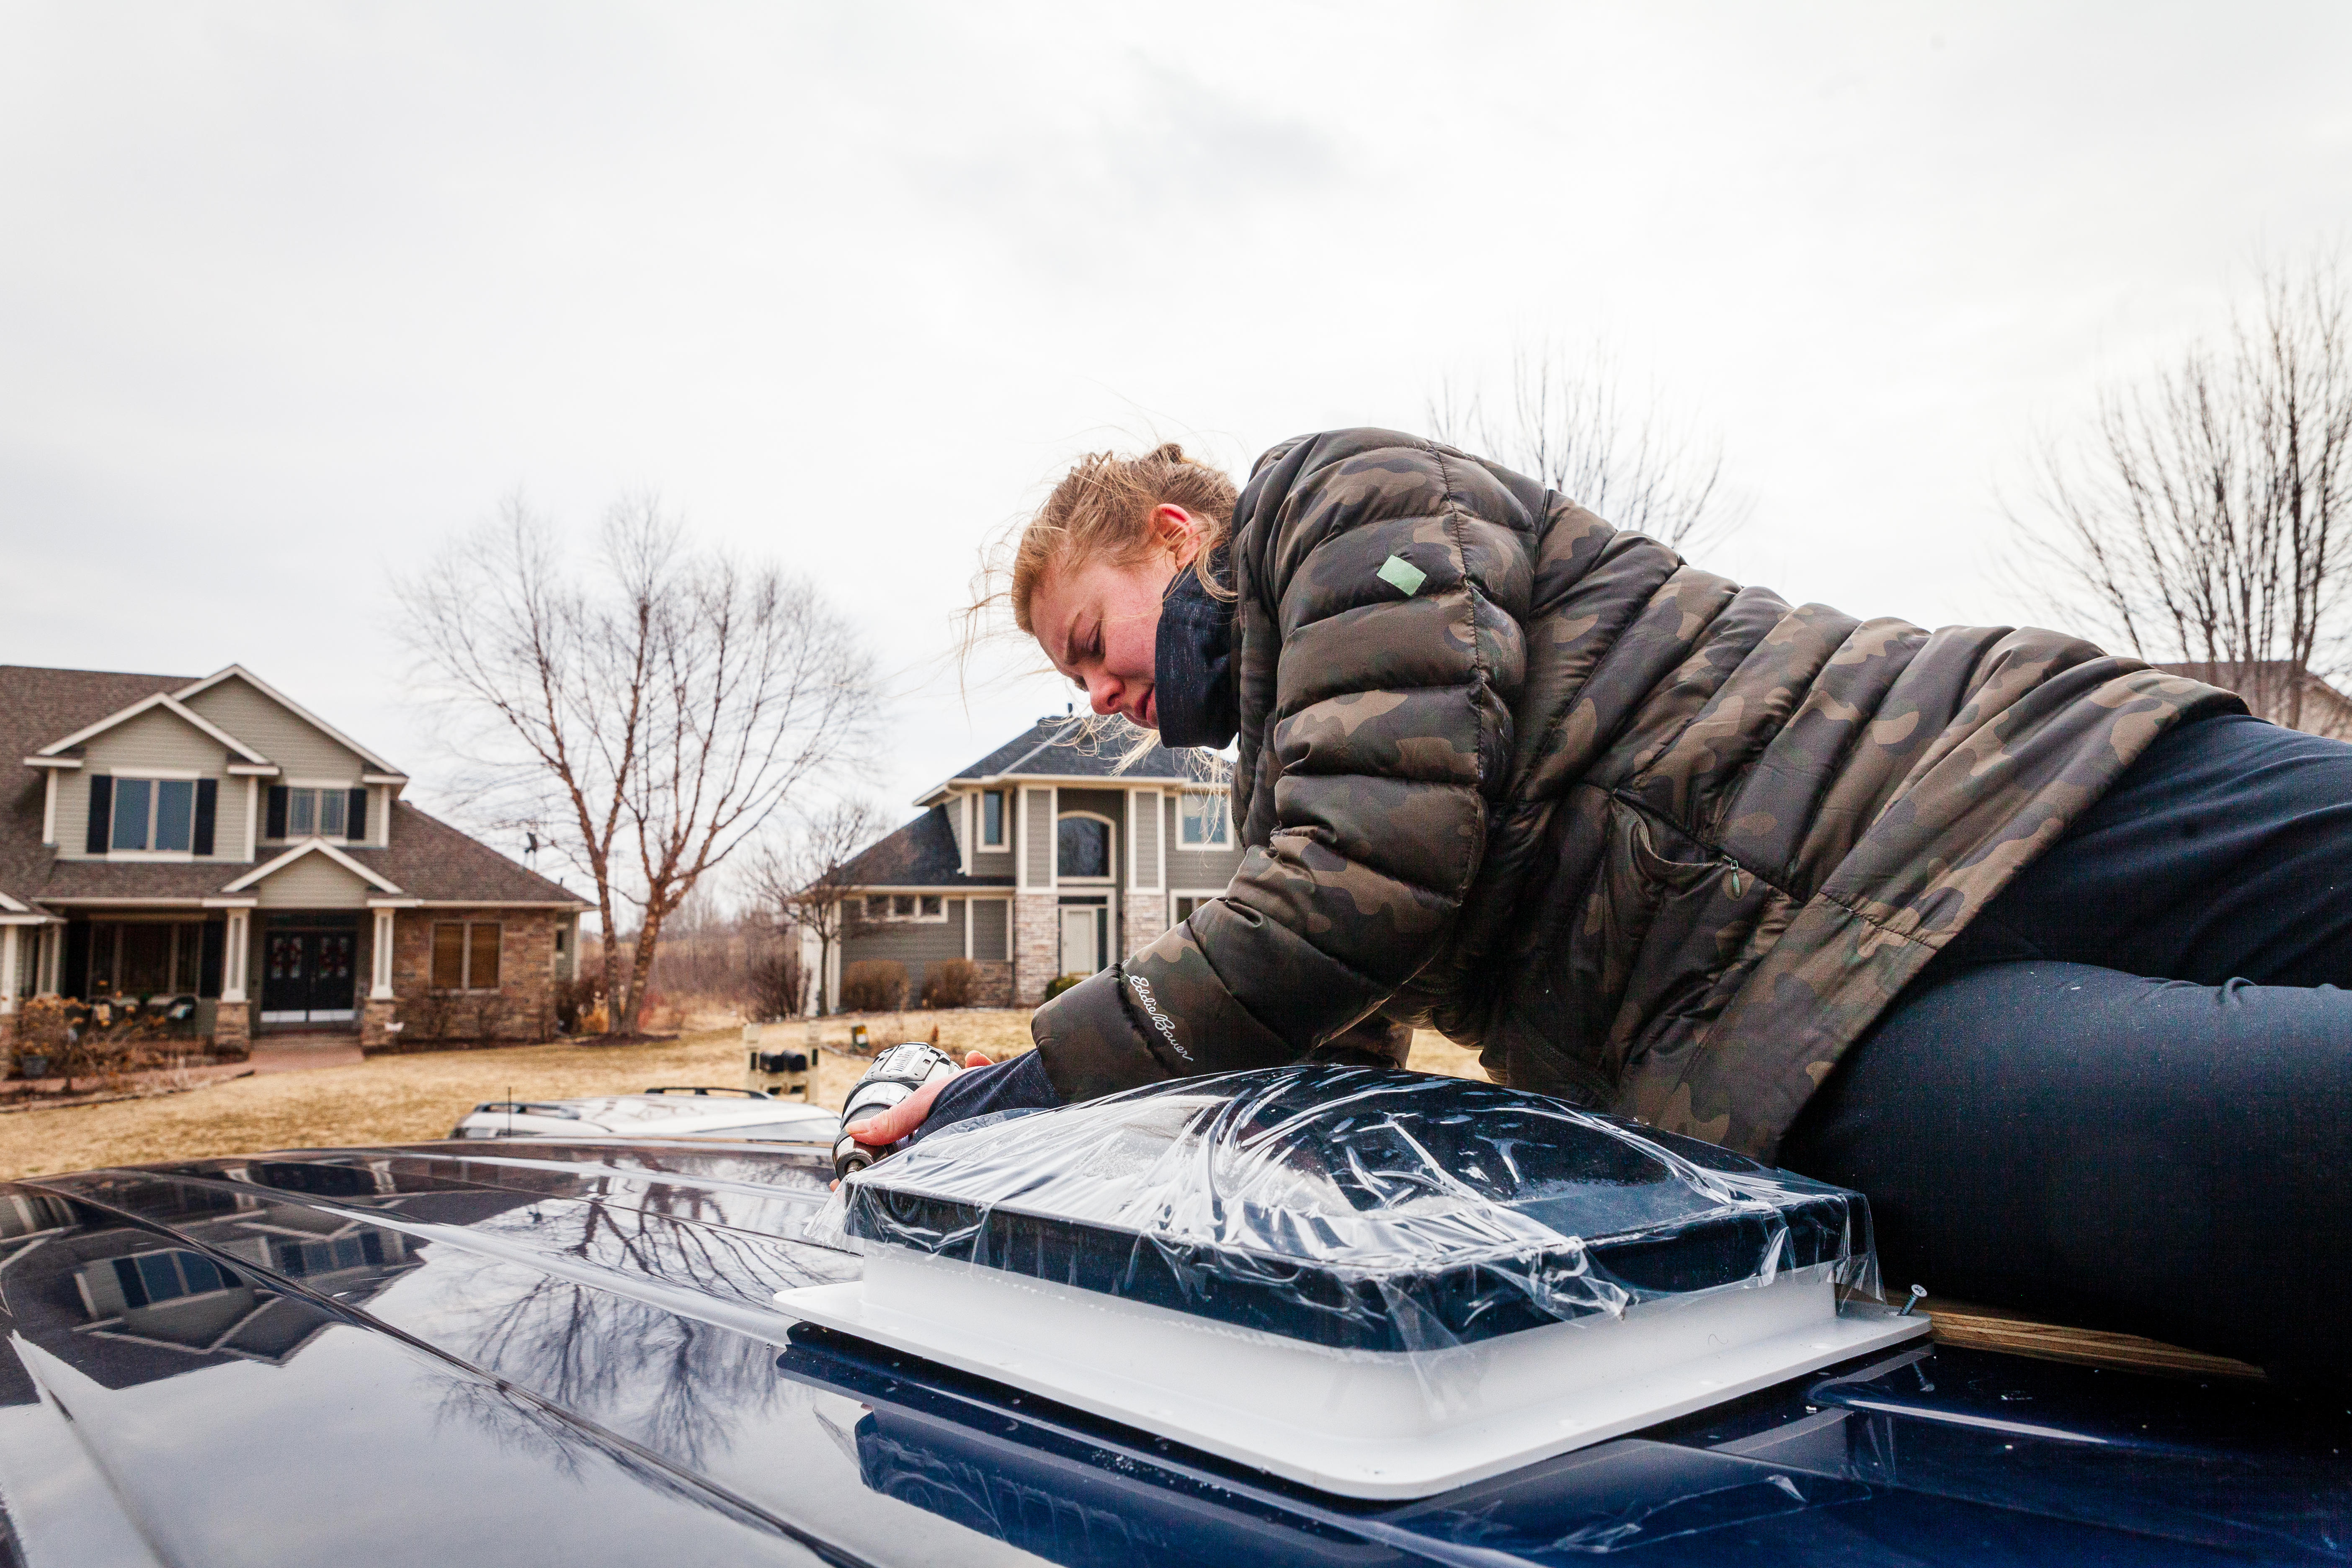
Our first order of business, before we could use that same pine tongue and groove siding to cover the ceiling, was to cut a hole in the roof of the van so we could install the vent fan. I made a run back into the cities to pick it up (it had just been delivered to our apartment) because I was so excited to get it installed! We went with the “Fan-Tastic 1250”, which is one step above the base model, so that we could have the option to blow air in AND out. If we’re going to be cooking in the van, it makes sense to be able to vent out the smoke as well as well as circulating air. It was only twenty dollars more expensive, so we went for it. The fan itself is pretty bare bones: a manual crank to open and close it, a couple of different speeds (the highest of which draws only 3 Amps, so it won’t drain our batteries even if we run it all night on high), and a built in fuse, which is nice (one less thing to build into our electrical system when we eventually get to that step).
To the PROCESS!
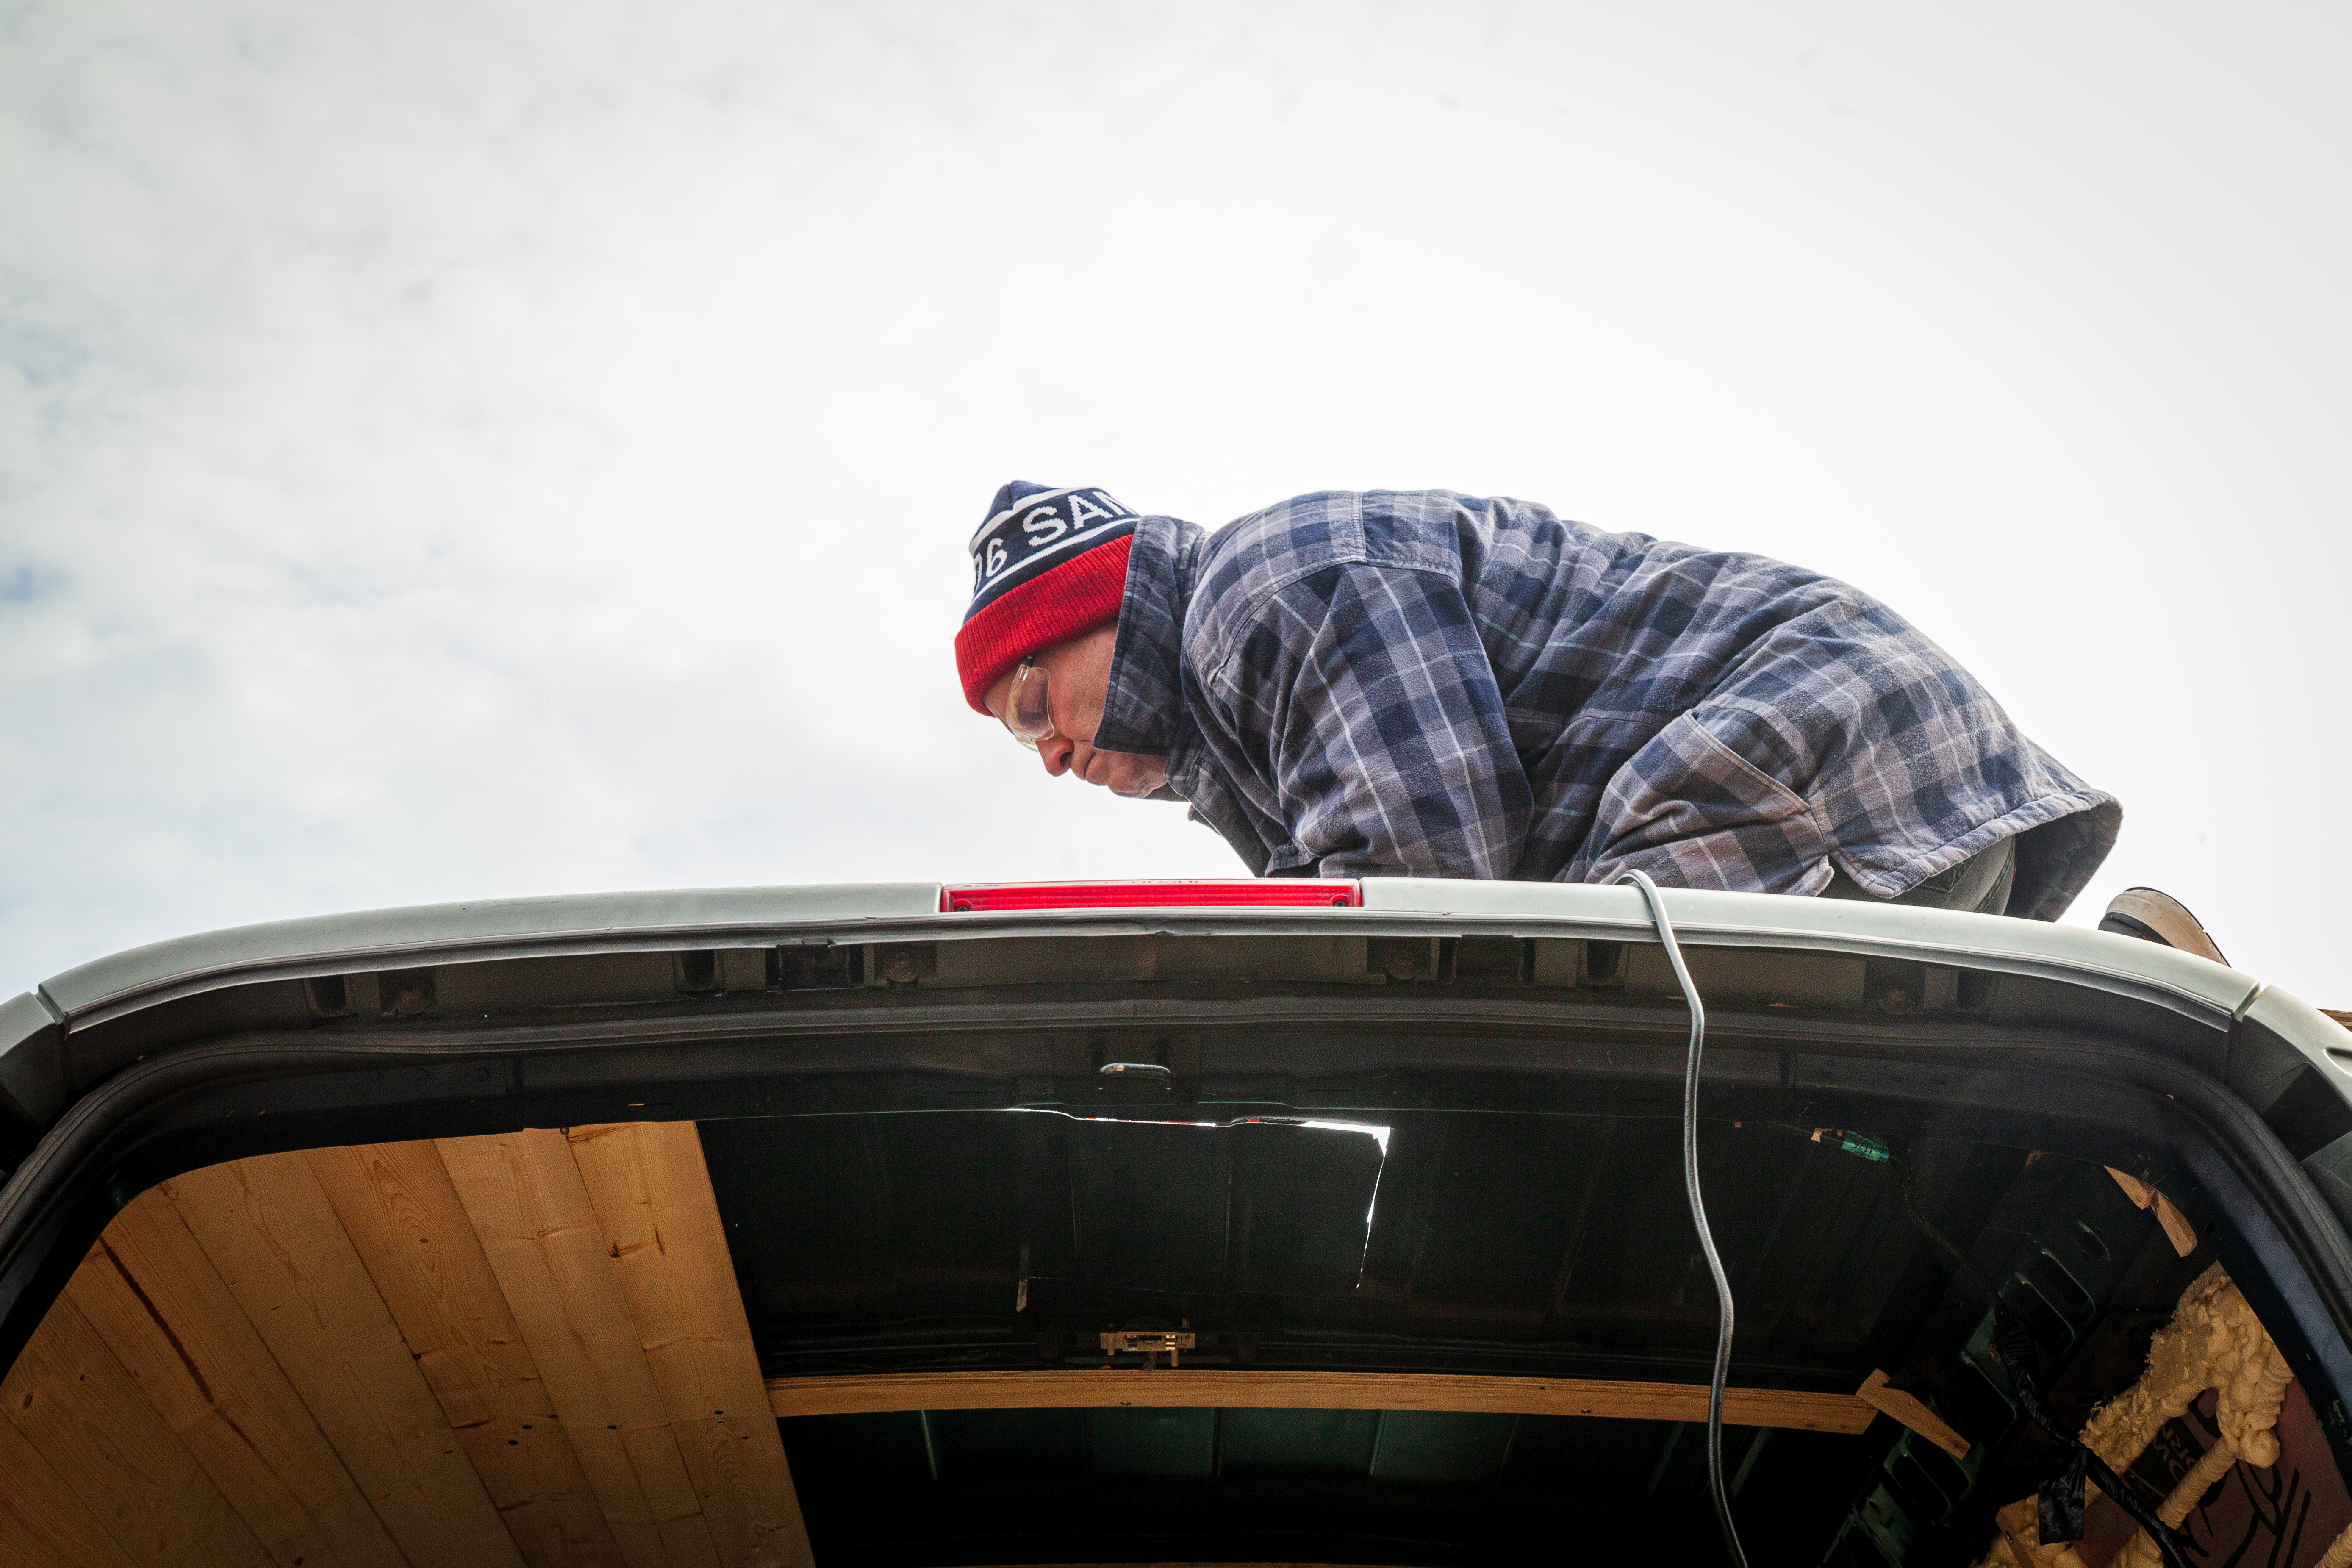
Taylor and her dad handled the fan installation while I worked on getting our LED puck lights mounted in the ceiling boards, so they’d be ready to toss up as soon as we got started on the ceiling. Cutting into the van was the first irreversible alteration we’d made to the van, so we were all a bit nervous for it. We shouldn’t have been! A few broken drill bits aside, there were no complications and, within about an hour, we had a fully seated fan. We put a thick layer of 100% silicon sealant around the outside and inside, and we’ll add another layer later, just in case.
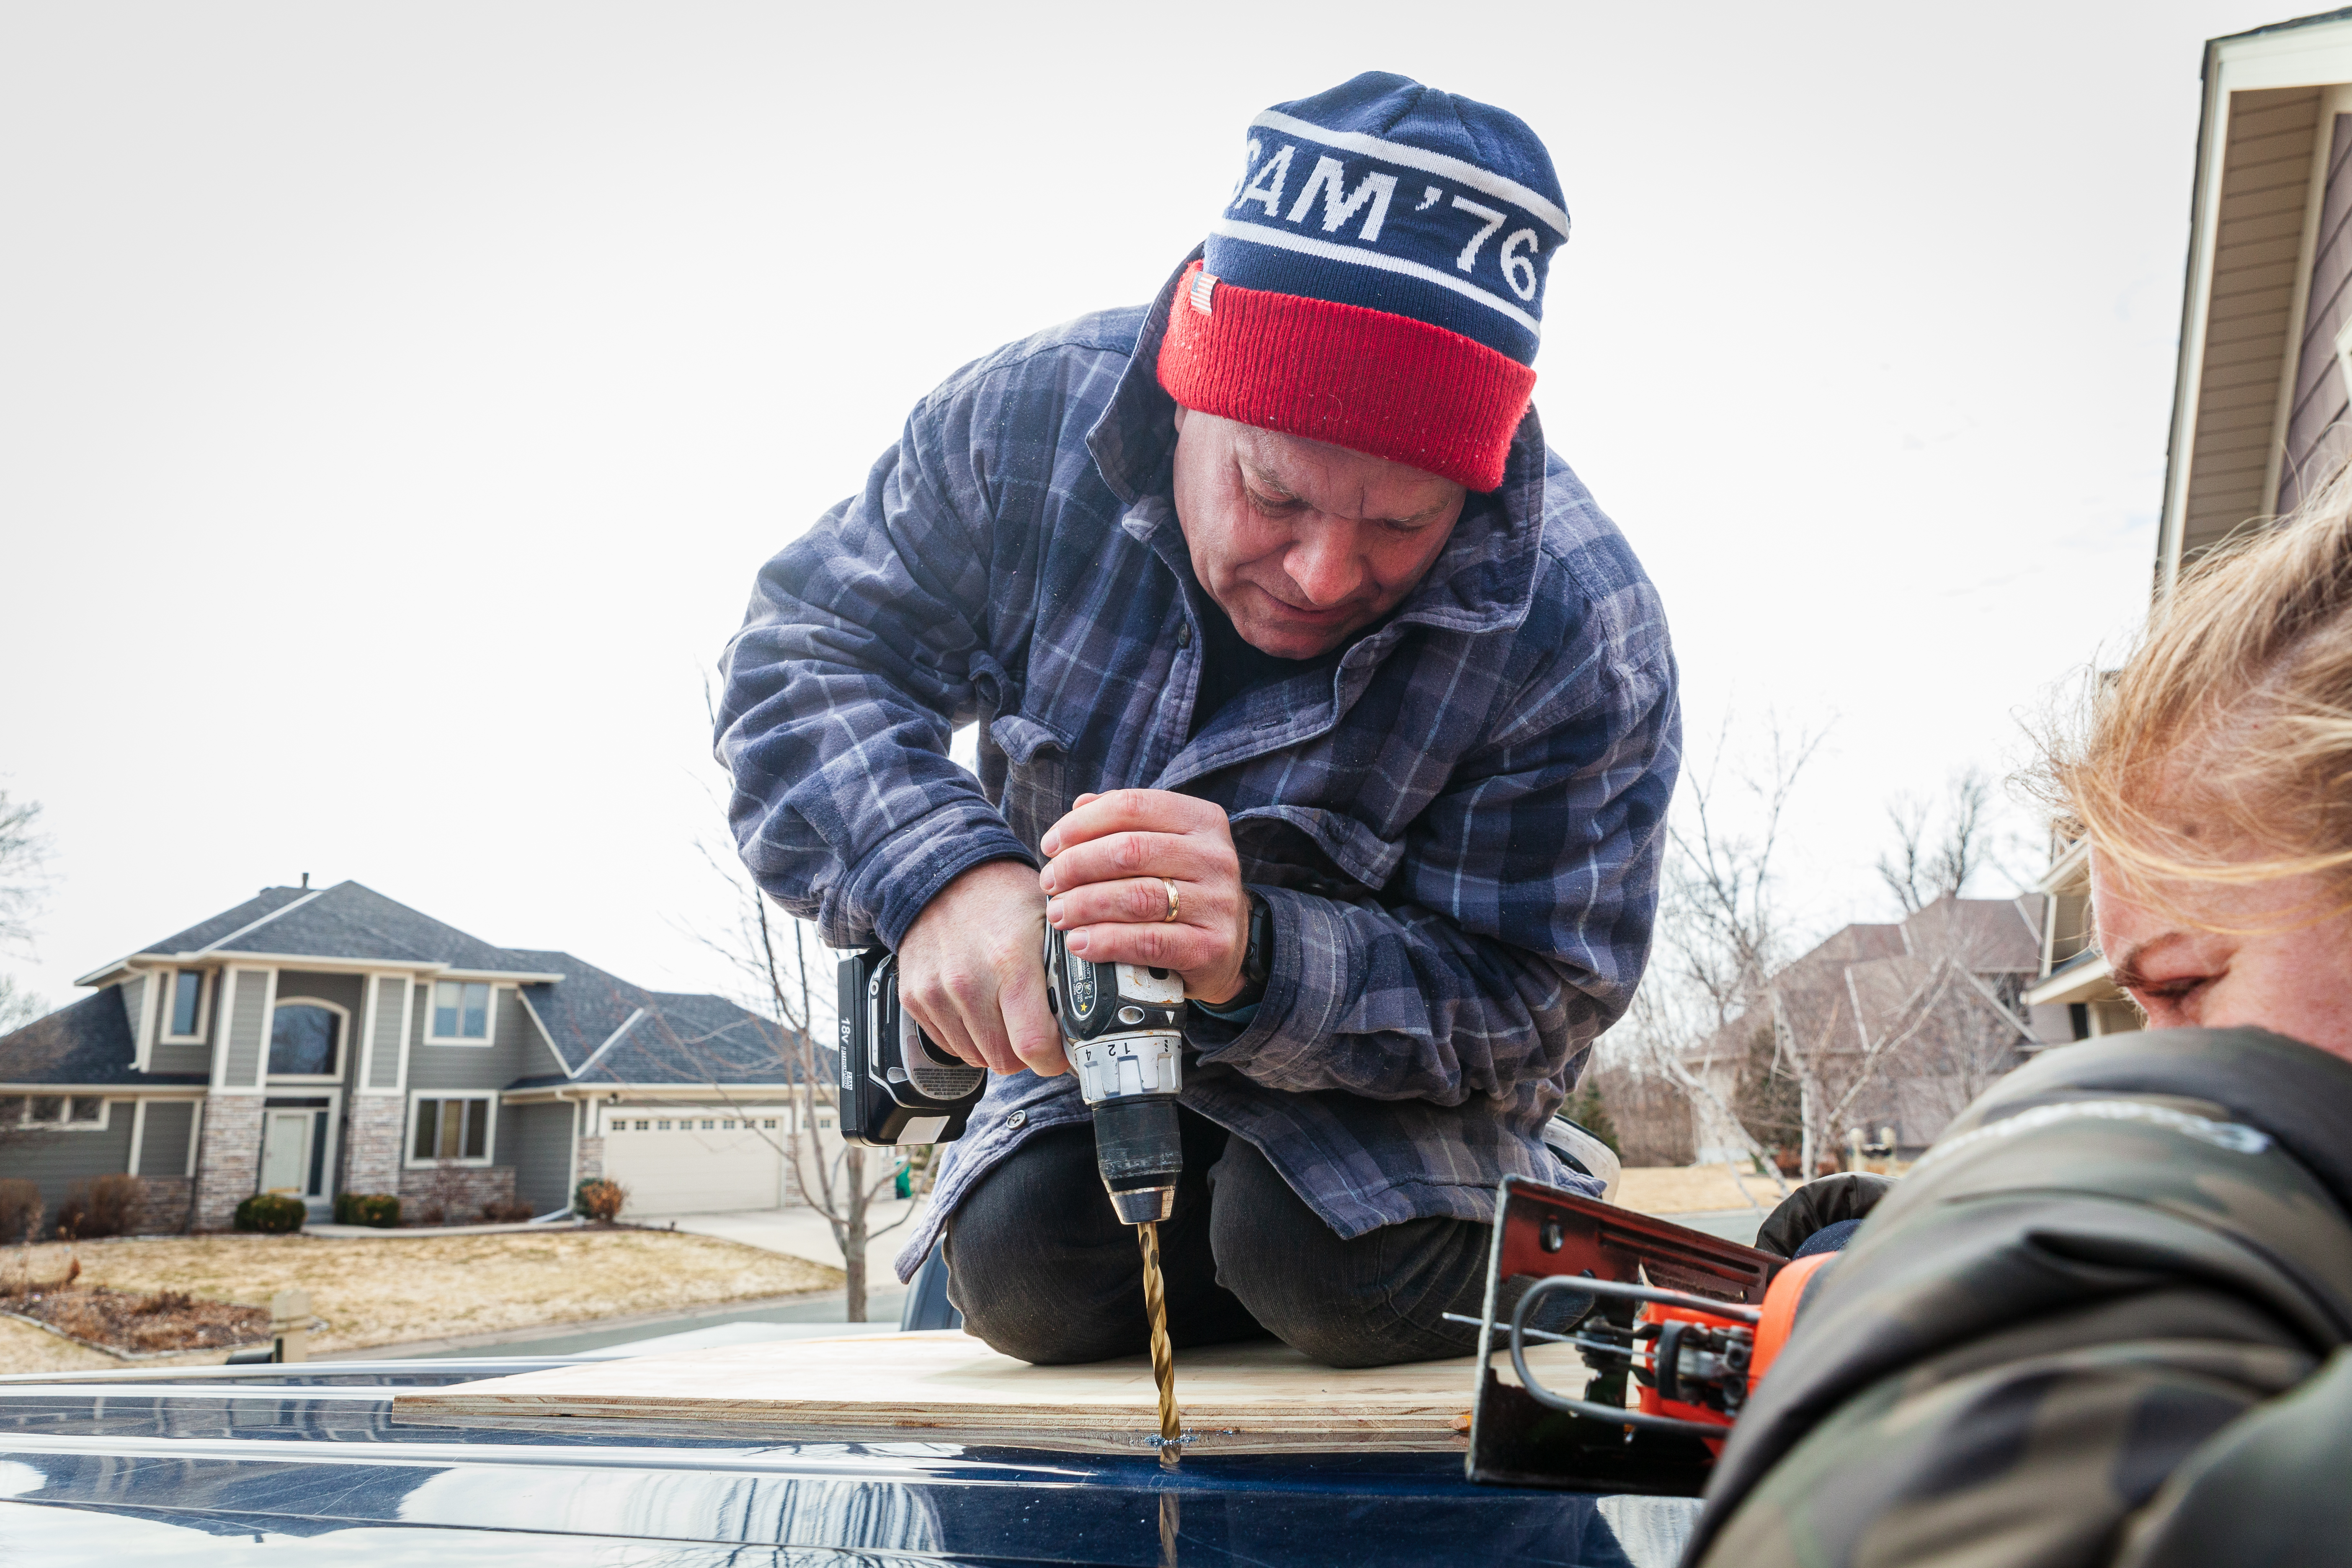
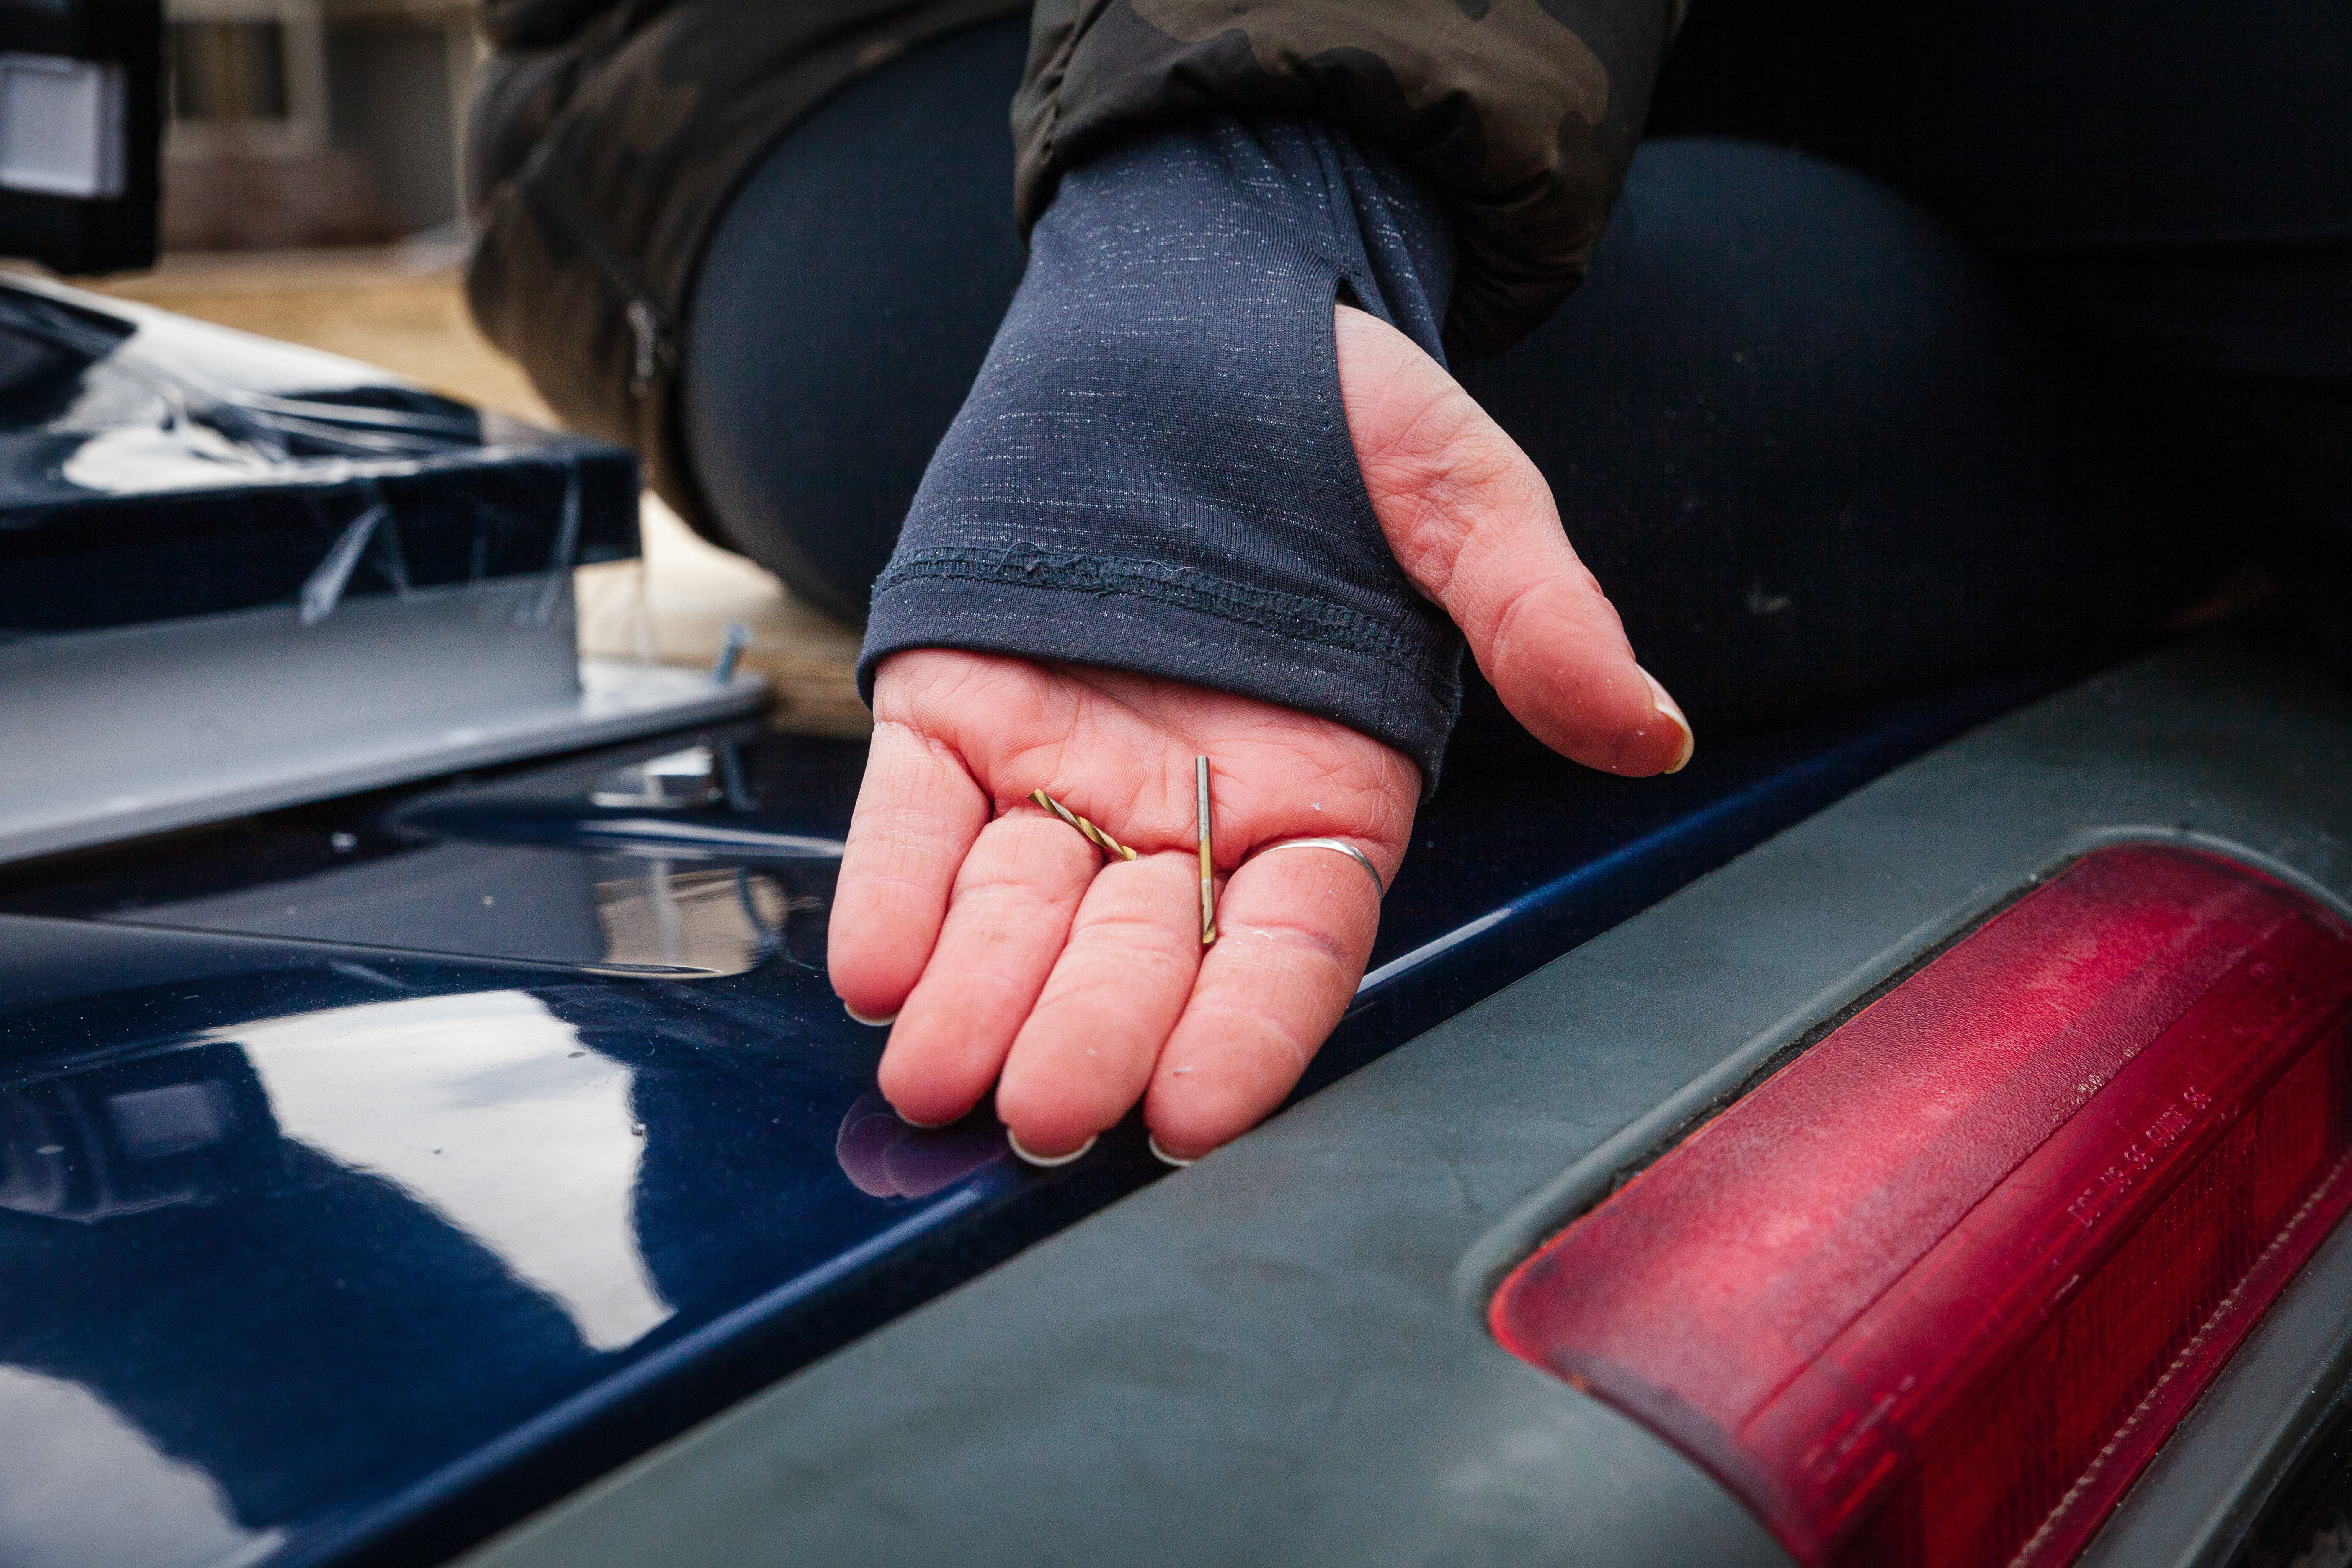
We broke a couple of bits, which is totally our fault; they were wood bits and we were just too lazy to go buy metal ones. 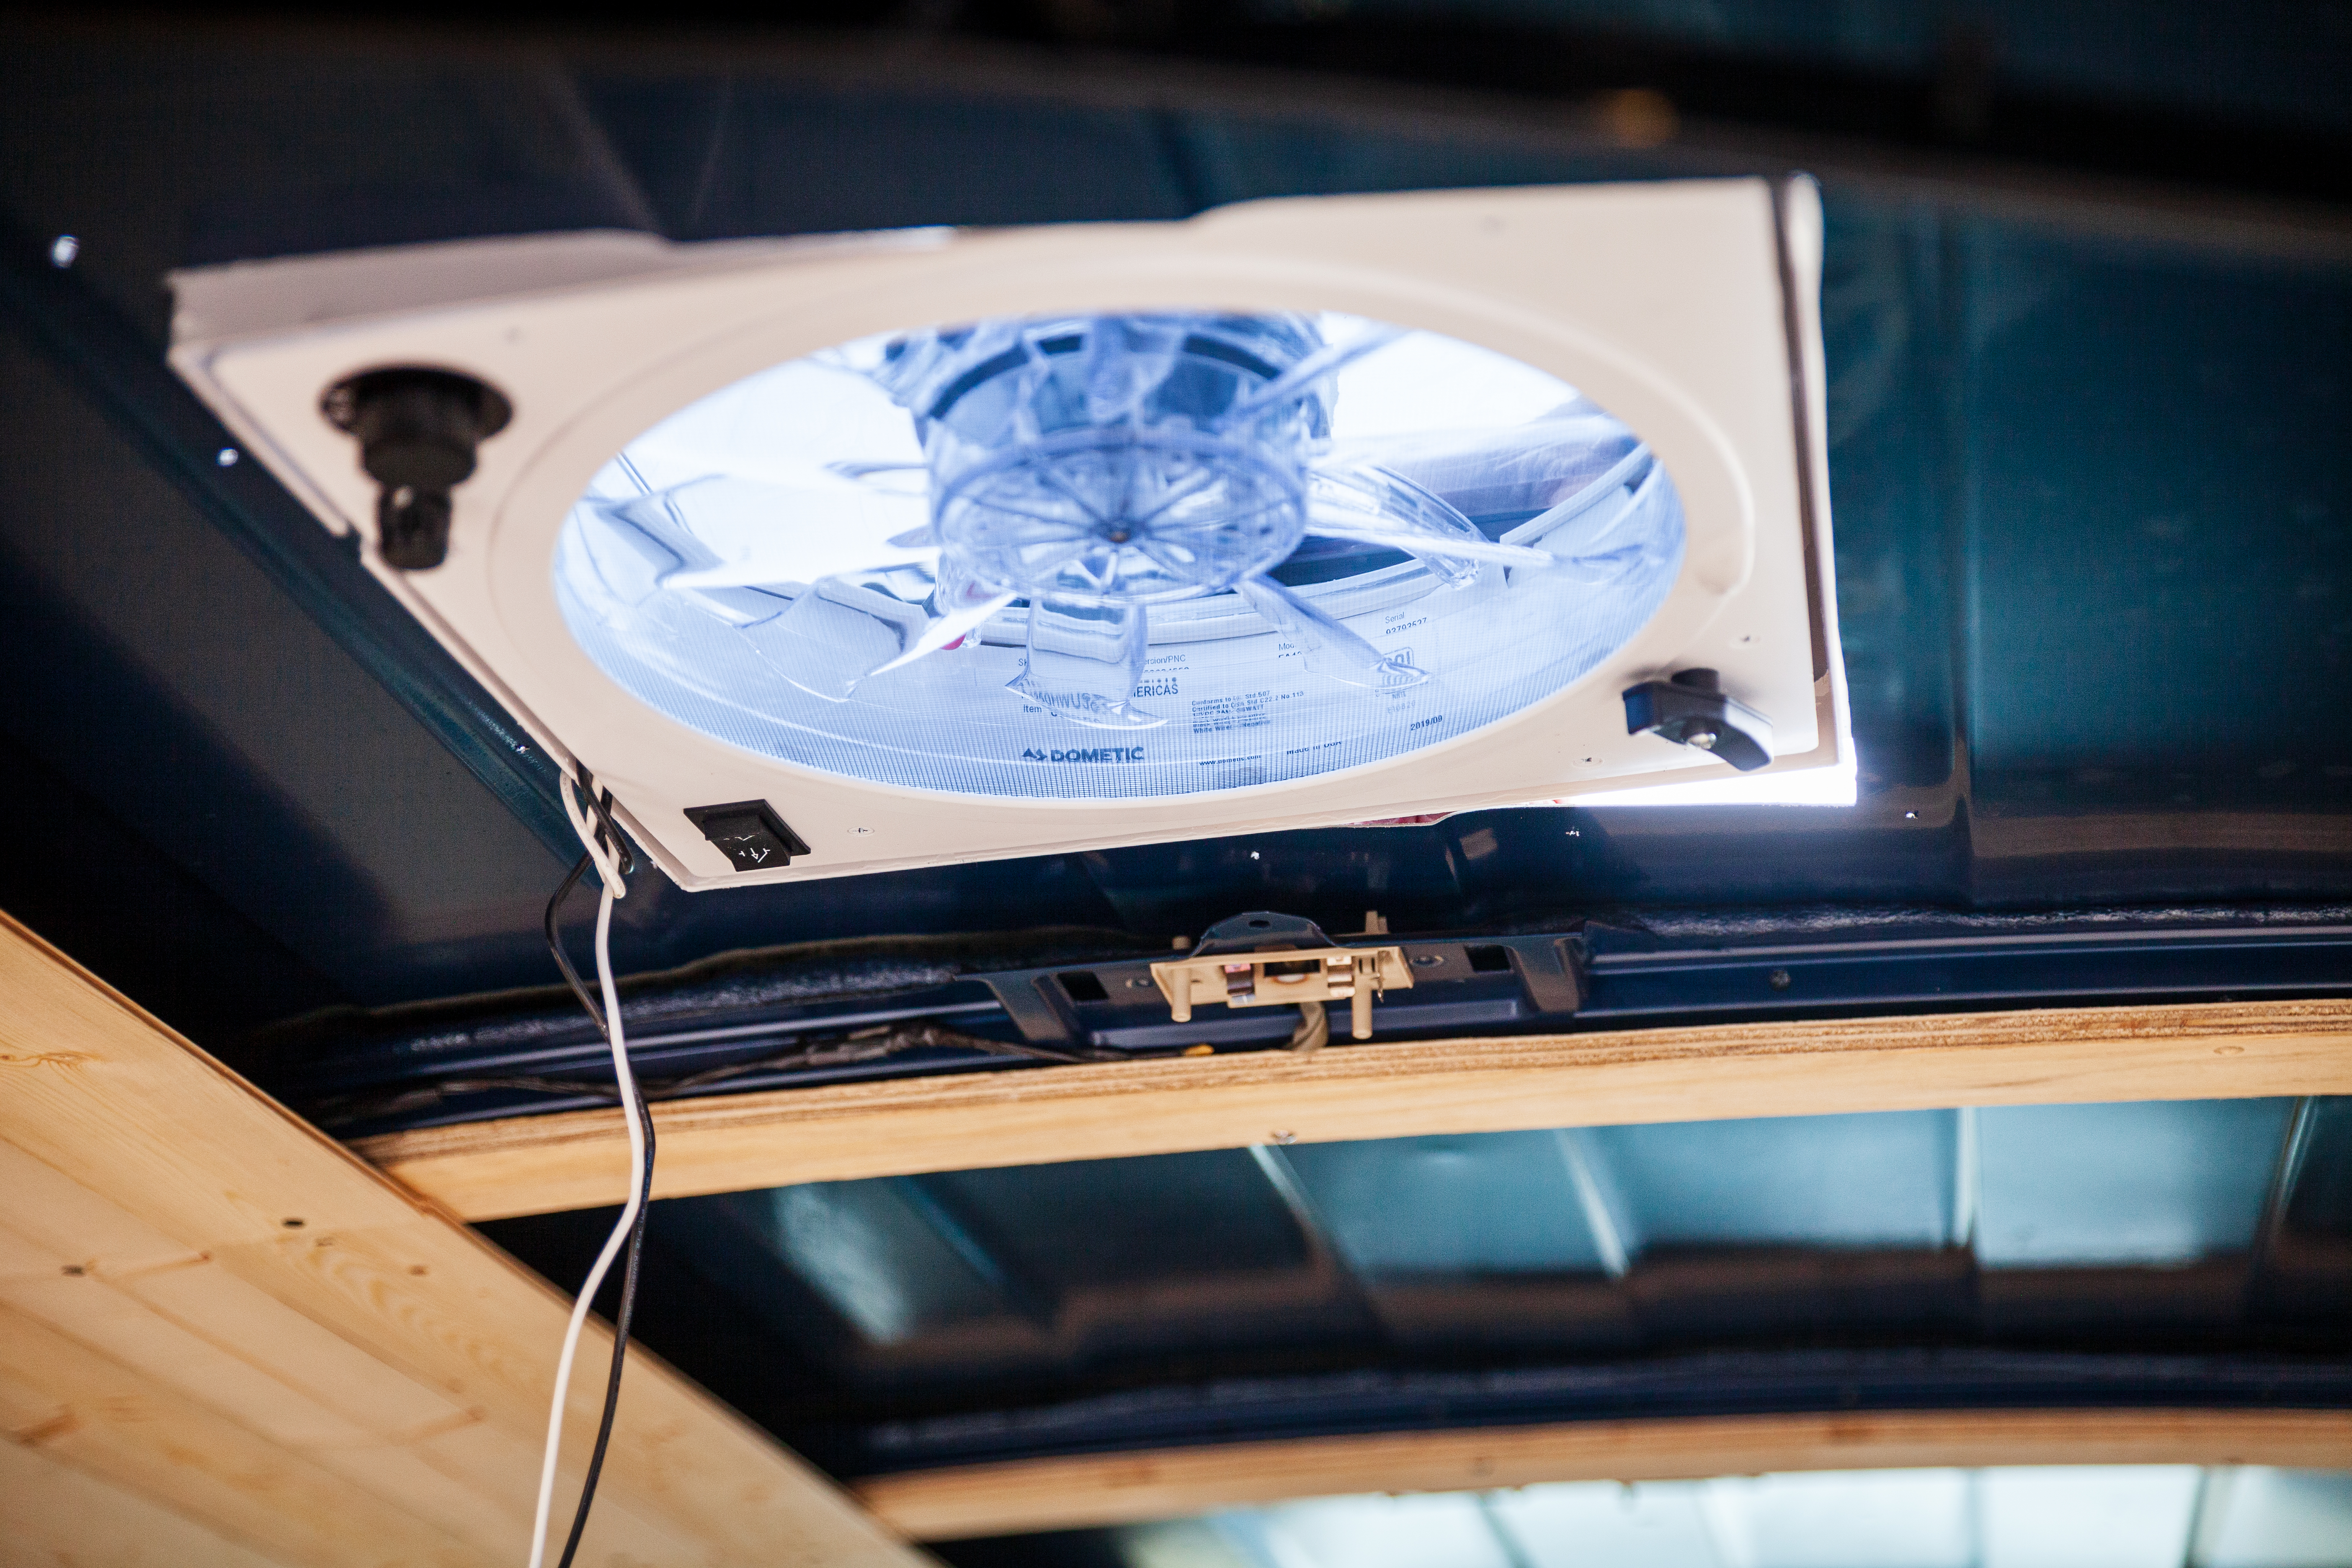
The initial cut wasn’t perfect, but with a few slices here and there, we managed to fit the fan in snugly.
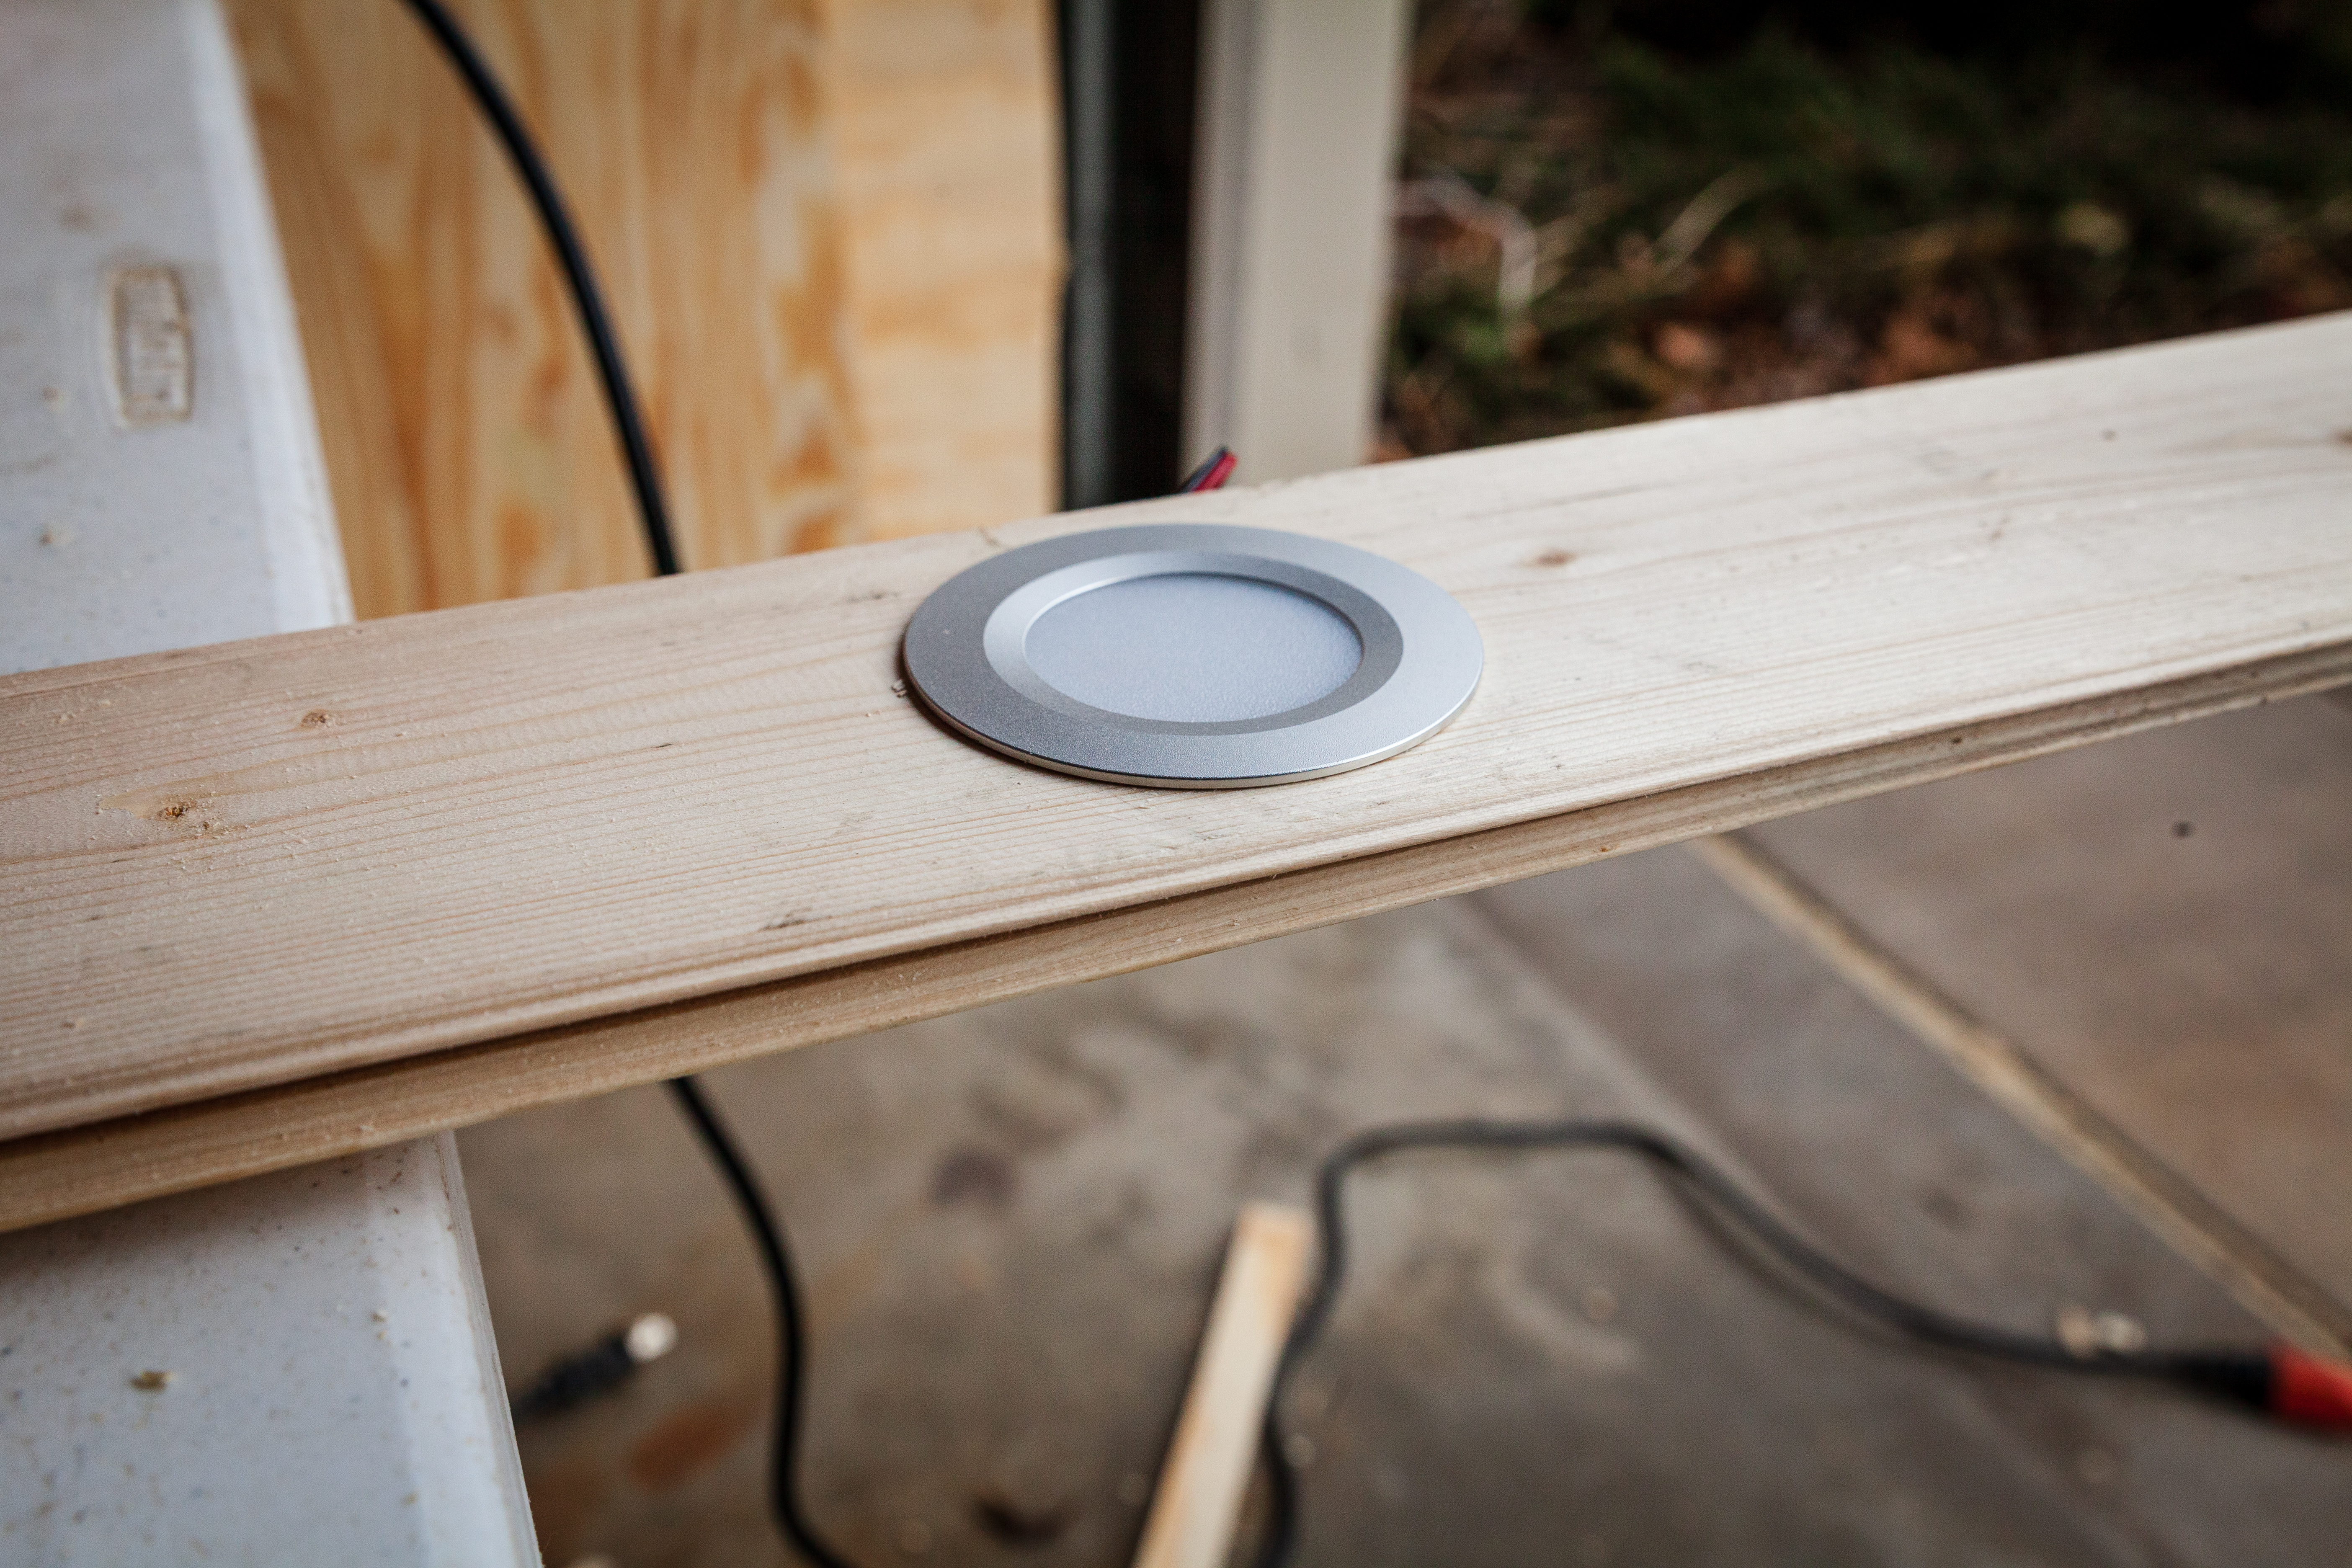
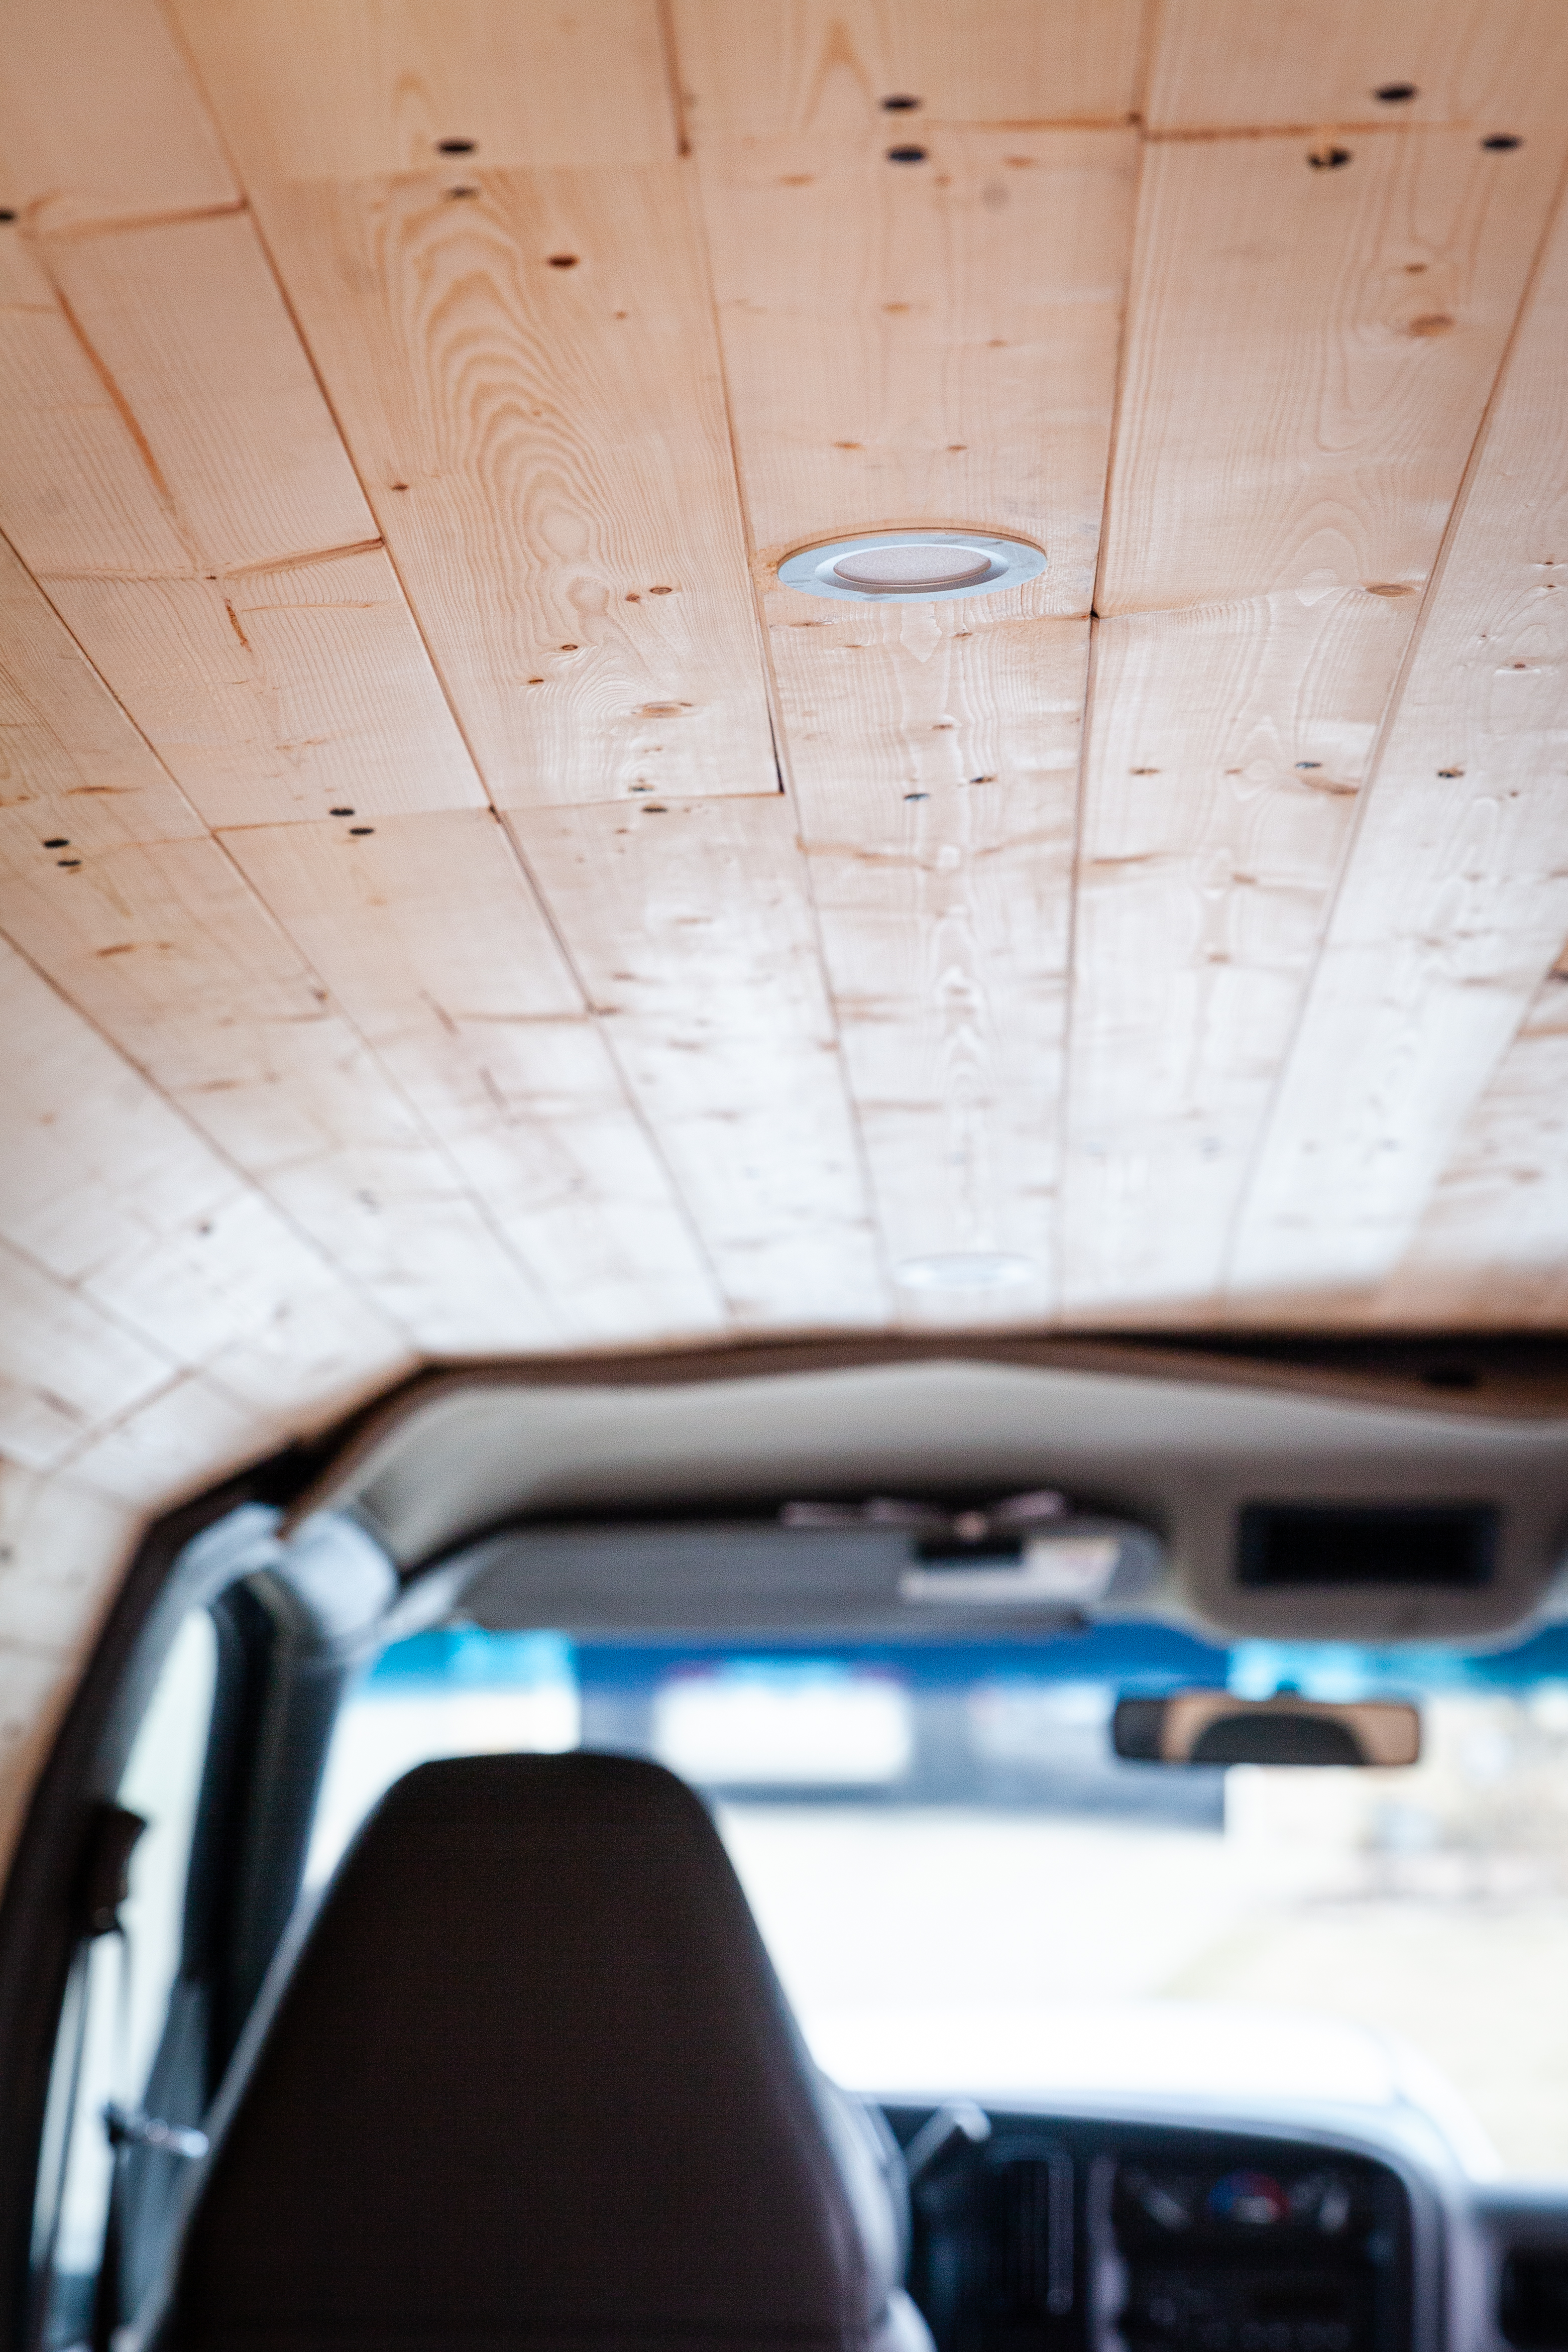
Next up: paneling the ceiling and putting in our lights. I got these puck lights on Amazon for a couple of bucks after seeing them in half of the van build videos I watched on Youtube. They draw 3 Watts each, if I remember correctly, so the four that we have in the ceiling will draw a little less than an Amp, meaning we can use them quite a bit without having to worry about draining the battery. For installation, I just drilled a hole in the middle of the siding piece to start, then cut a circle with the jigsaw. The lights have small springs on the side to hold them in place, which means we can pull them out if we need to make changes to the wiring (which we likely will).
Prior to putting the ceiling up, I ran the wires for the fan. It came with 16 gauge wire, so I ran some 14 gauge single strand copper wire that I got from Menard’s for a couple bucks.
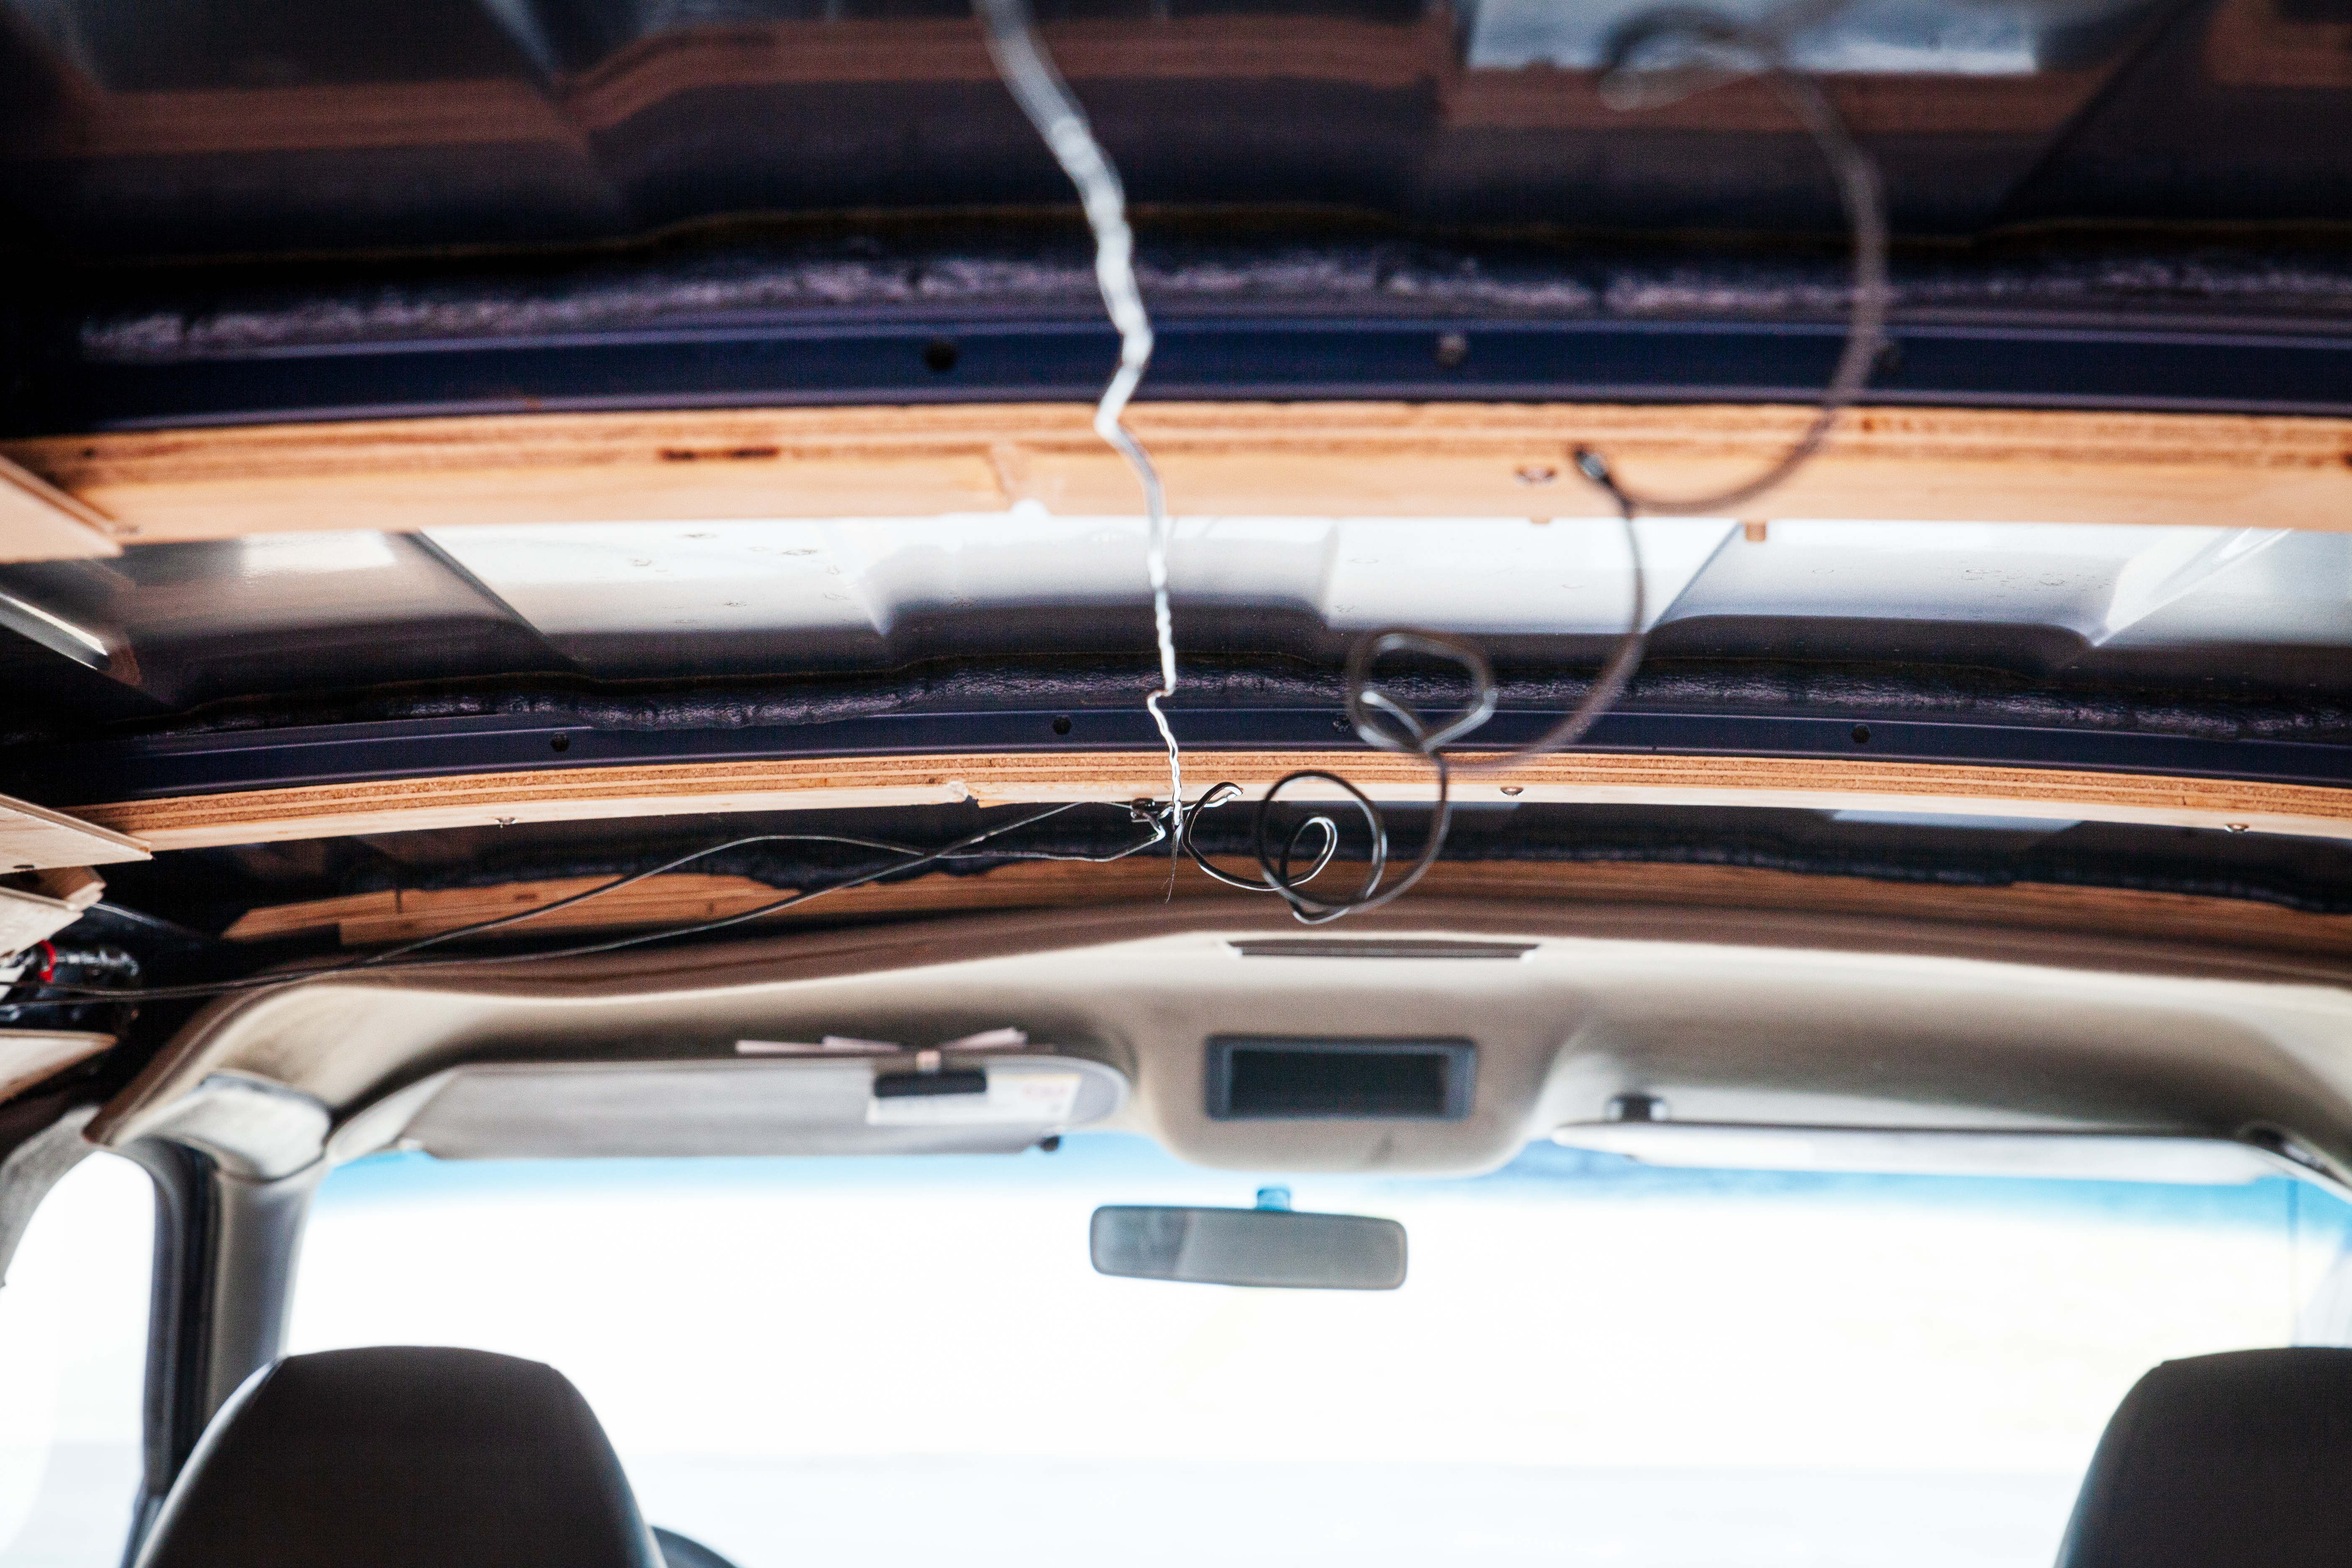
And finally, we wedged in the siding pieces to form the ceiling, running the wire for the lights as we went. We only got halfway across before we called it for the day. Everything takes longer than we expect! But at the end of the day, we had a fan, some lights, and half of the roof! And I forgot to mention the boxes I slapped together out of scrap plywood to hold some fiberglass insulation around the wheel wells, one of the weak spots I saw in a lot of van builds.

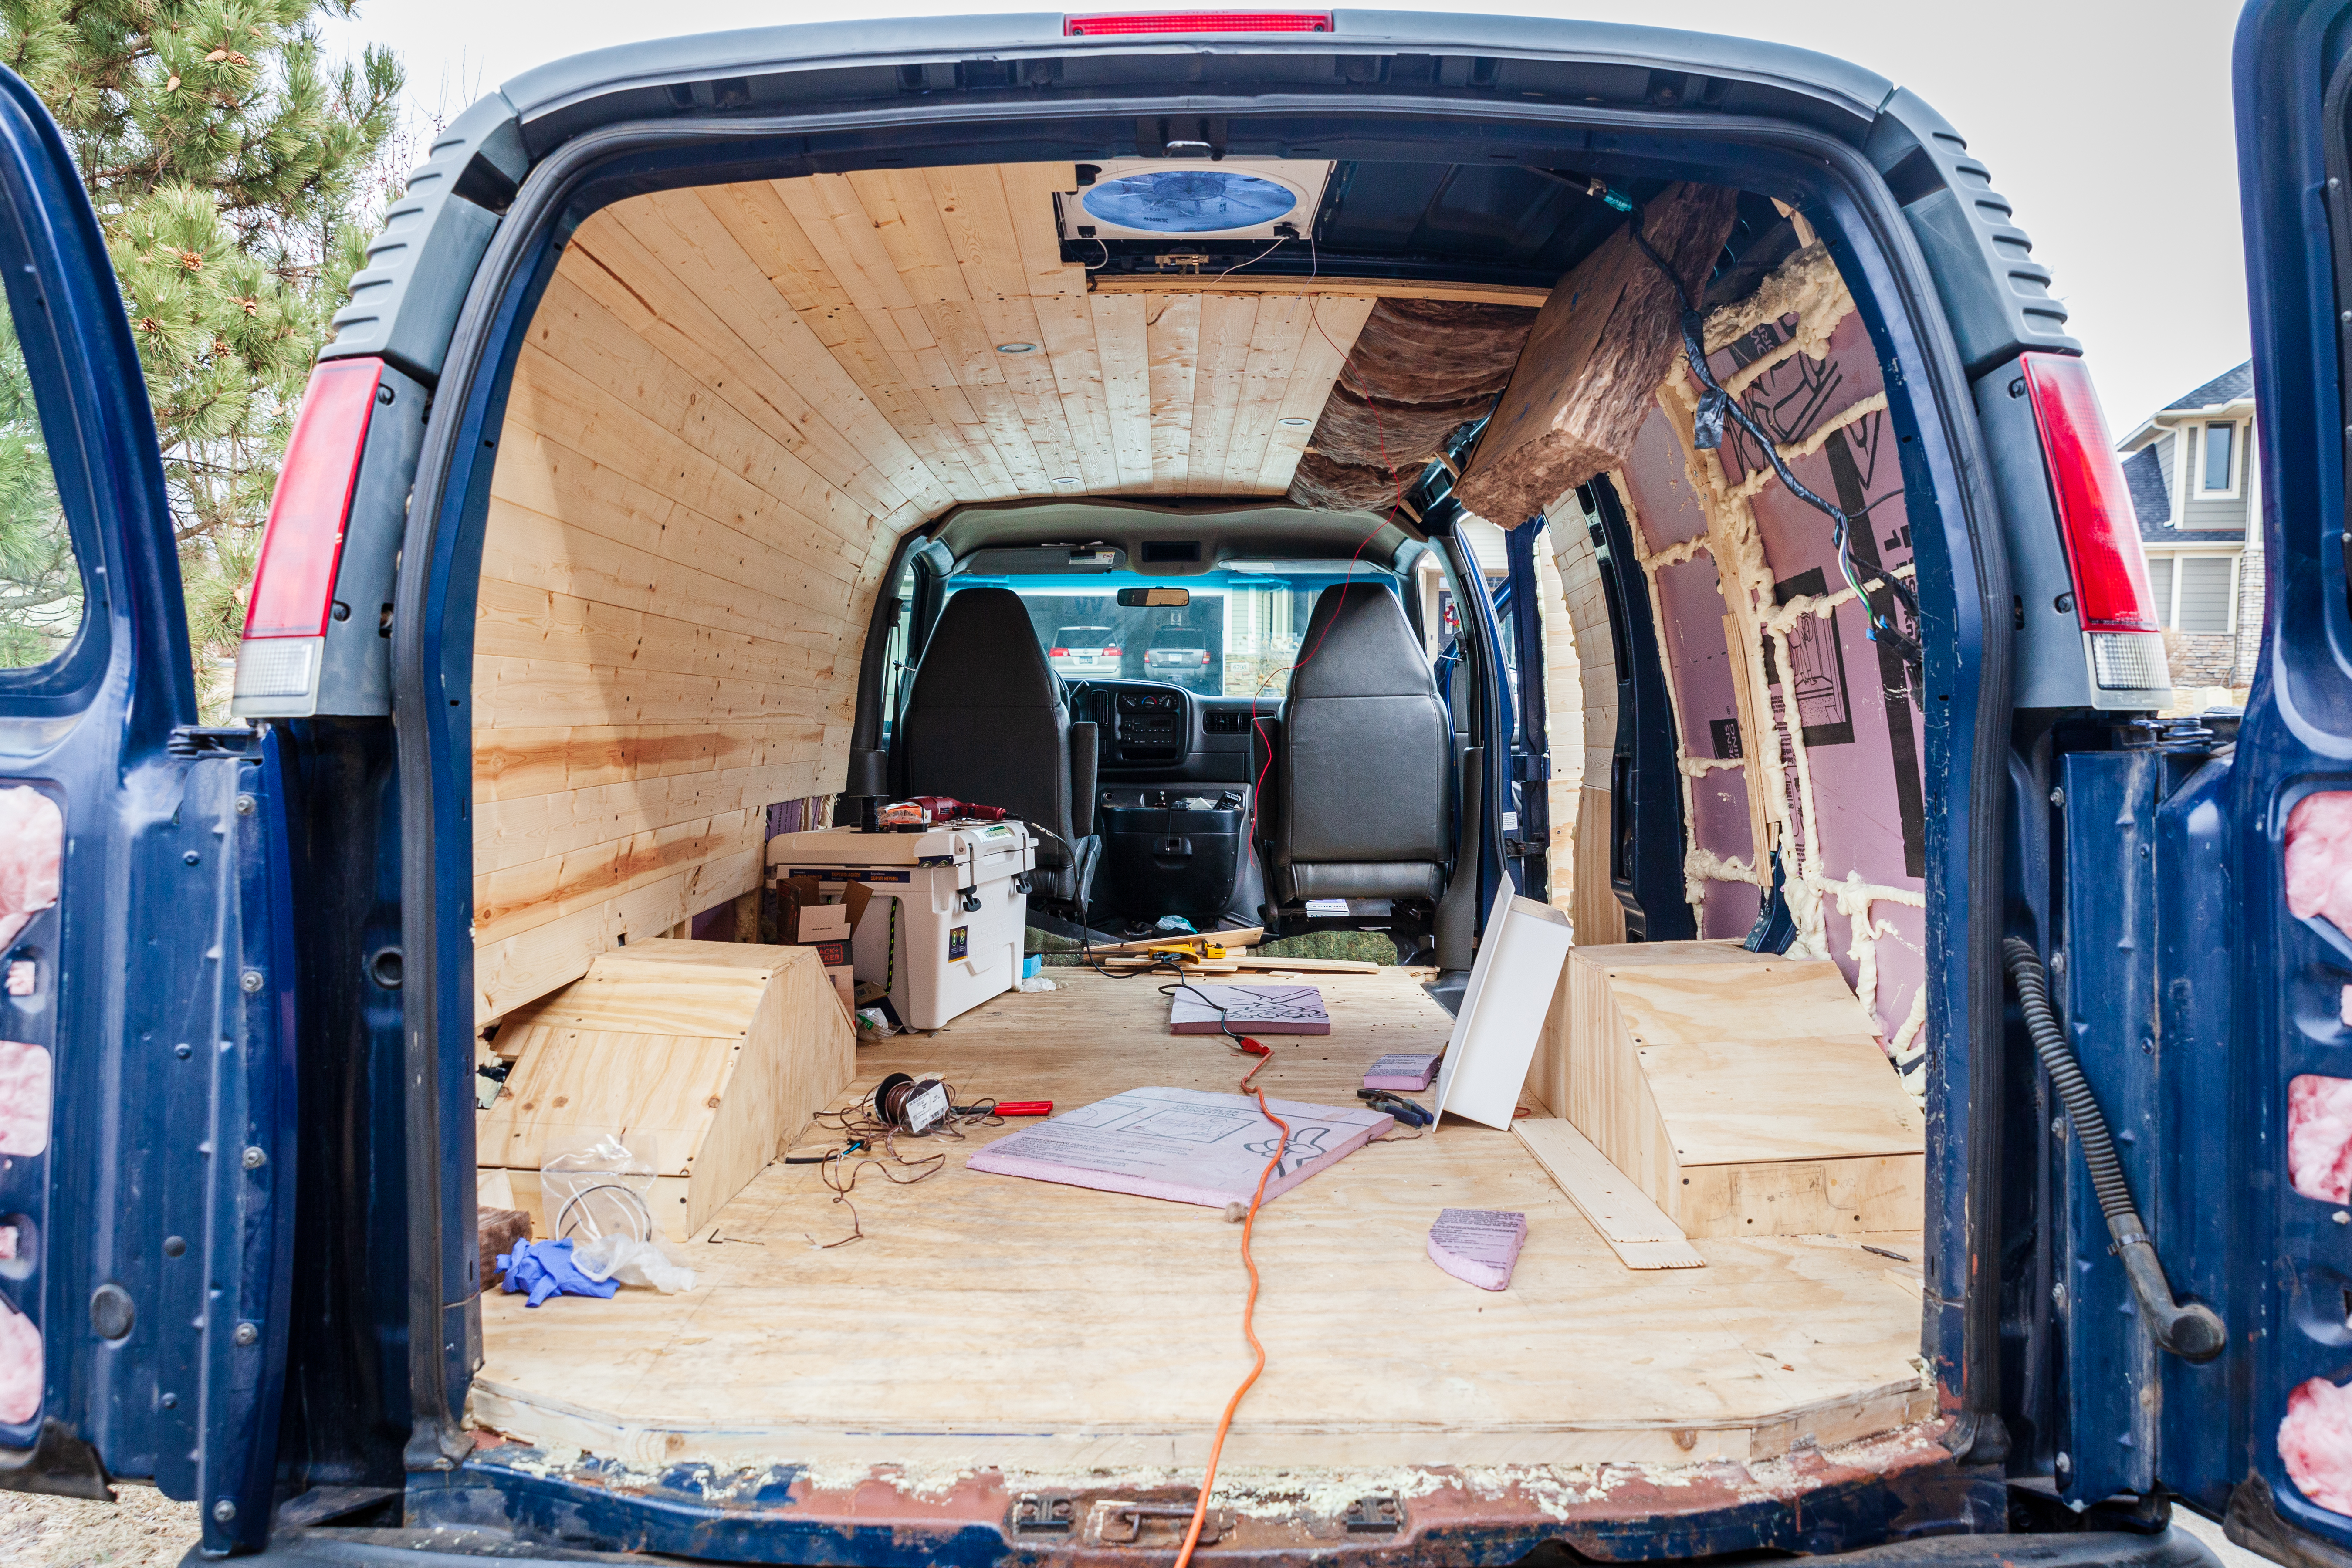
OH! And we got a cooler. A Cascade 45Qt that Taylor’s dad came across at Sam’s Club for $130. Its rated to hold ice for a week (comparable to a Yeti) and is “Bear-Resistant”, which apparently means that, while a grizzly can definitely get in, its going to be a pain in the ass.
Stay tuned for the next post, where we finish up the ceiling and, hopefully, get started on the last wall.
