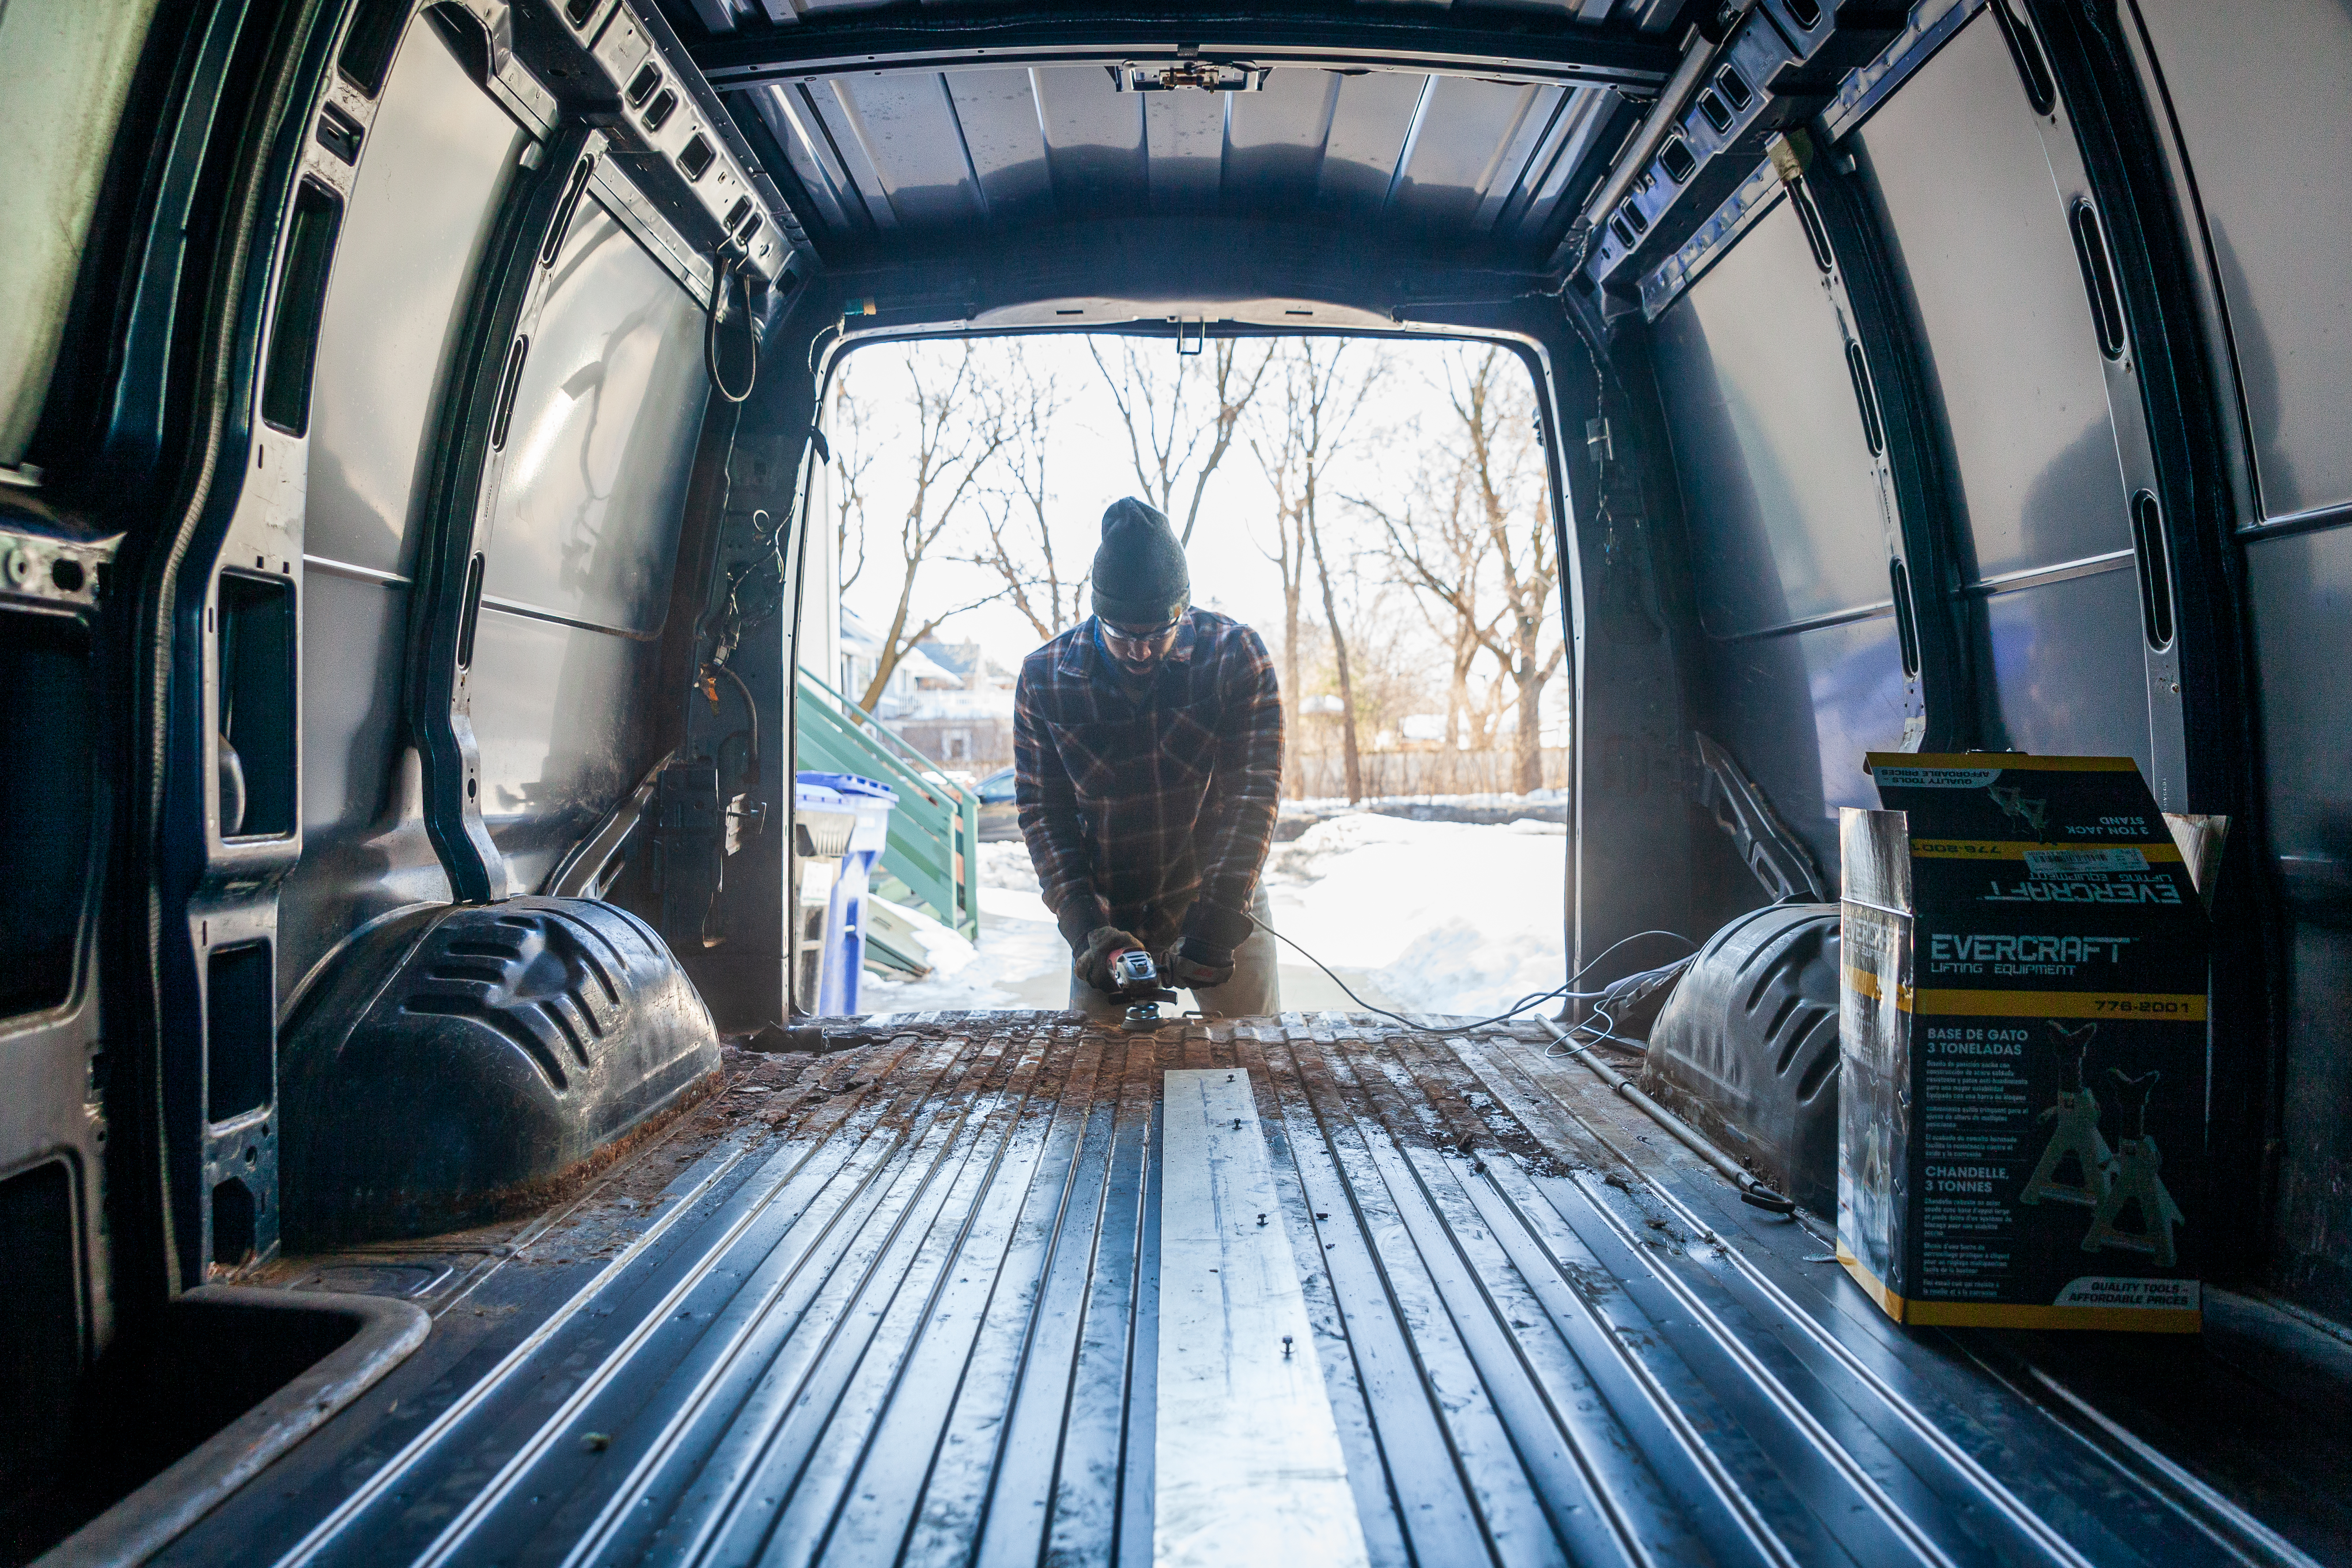
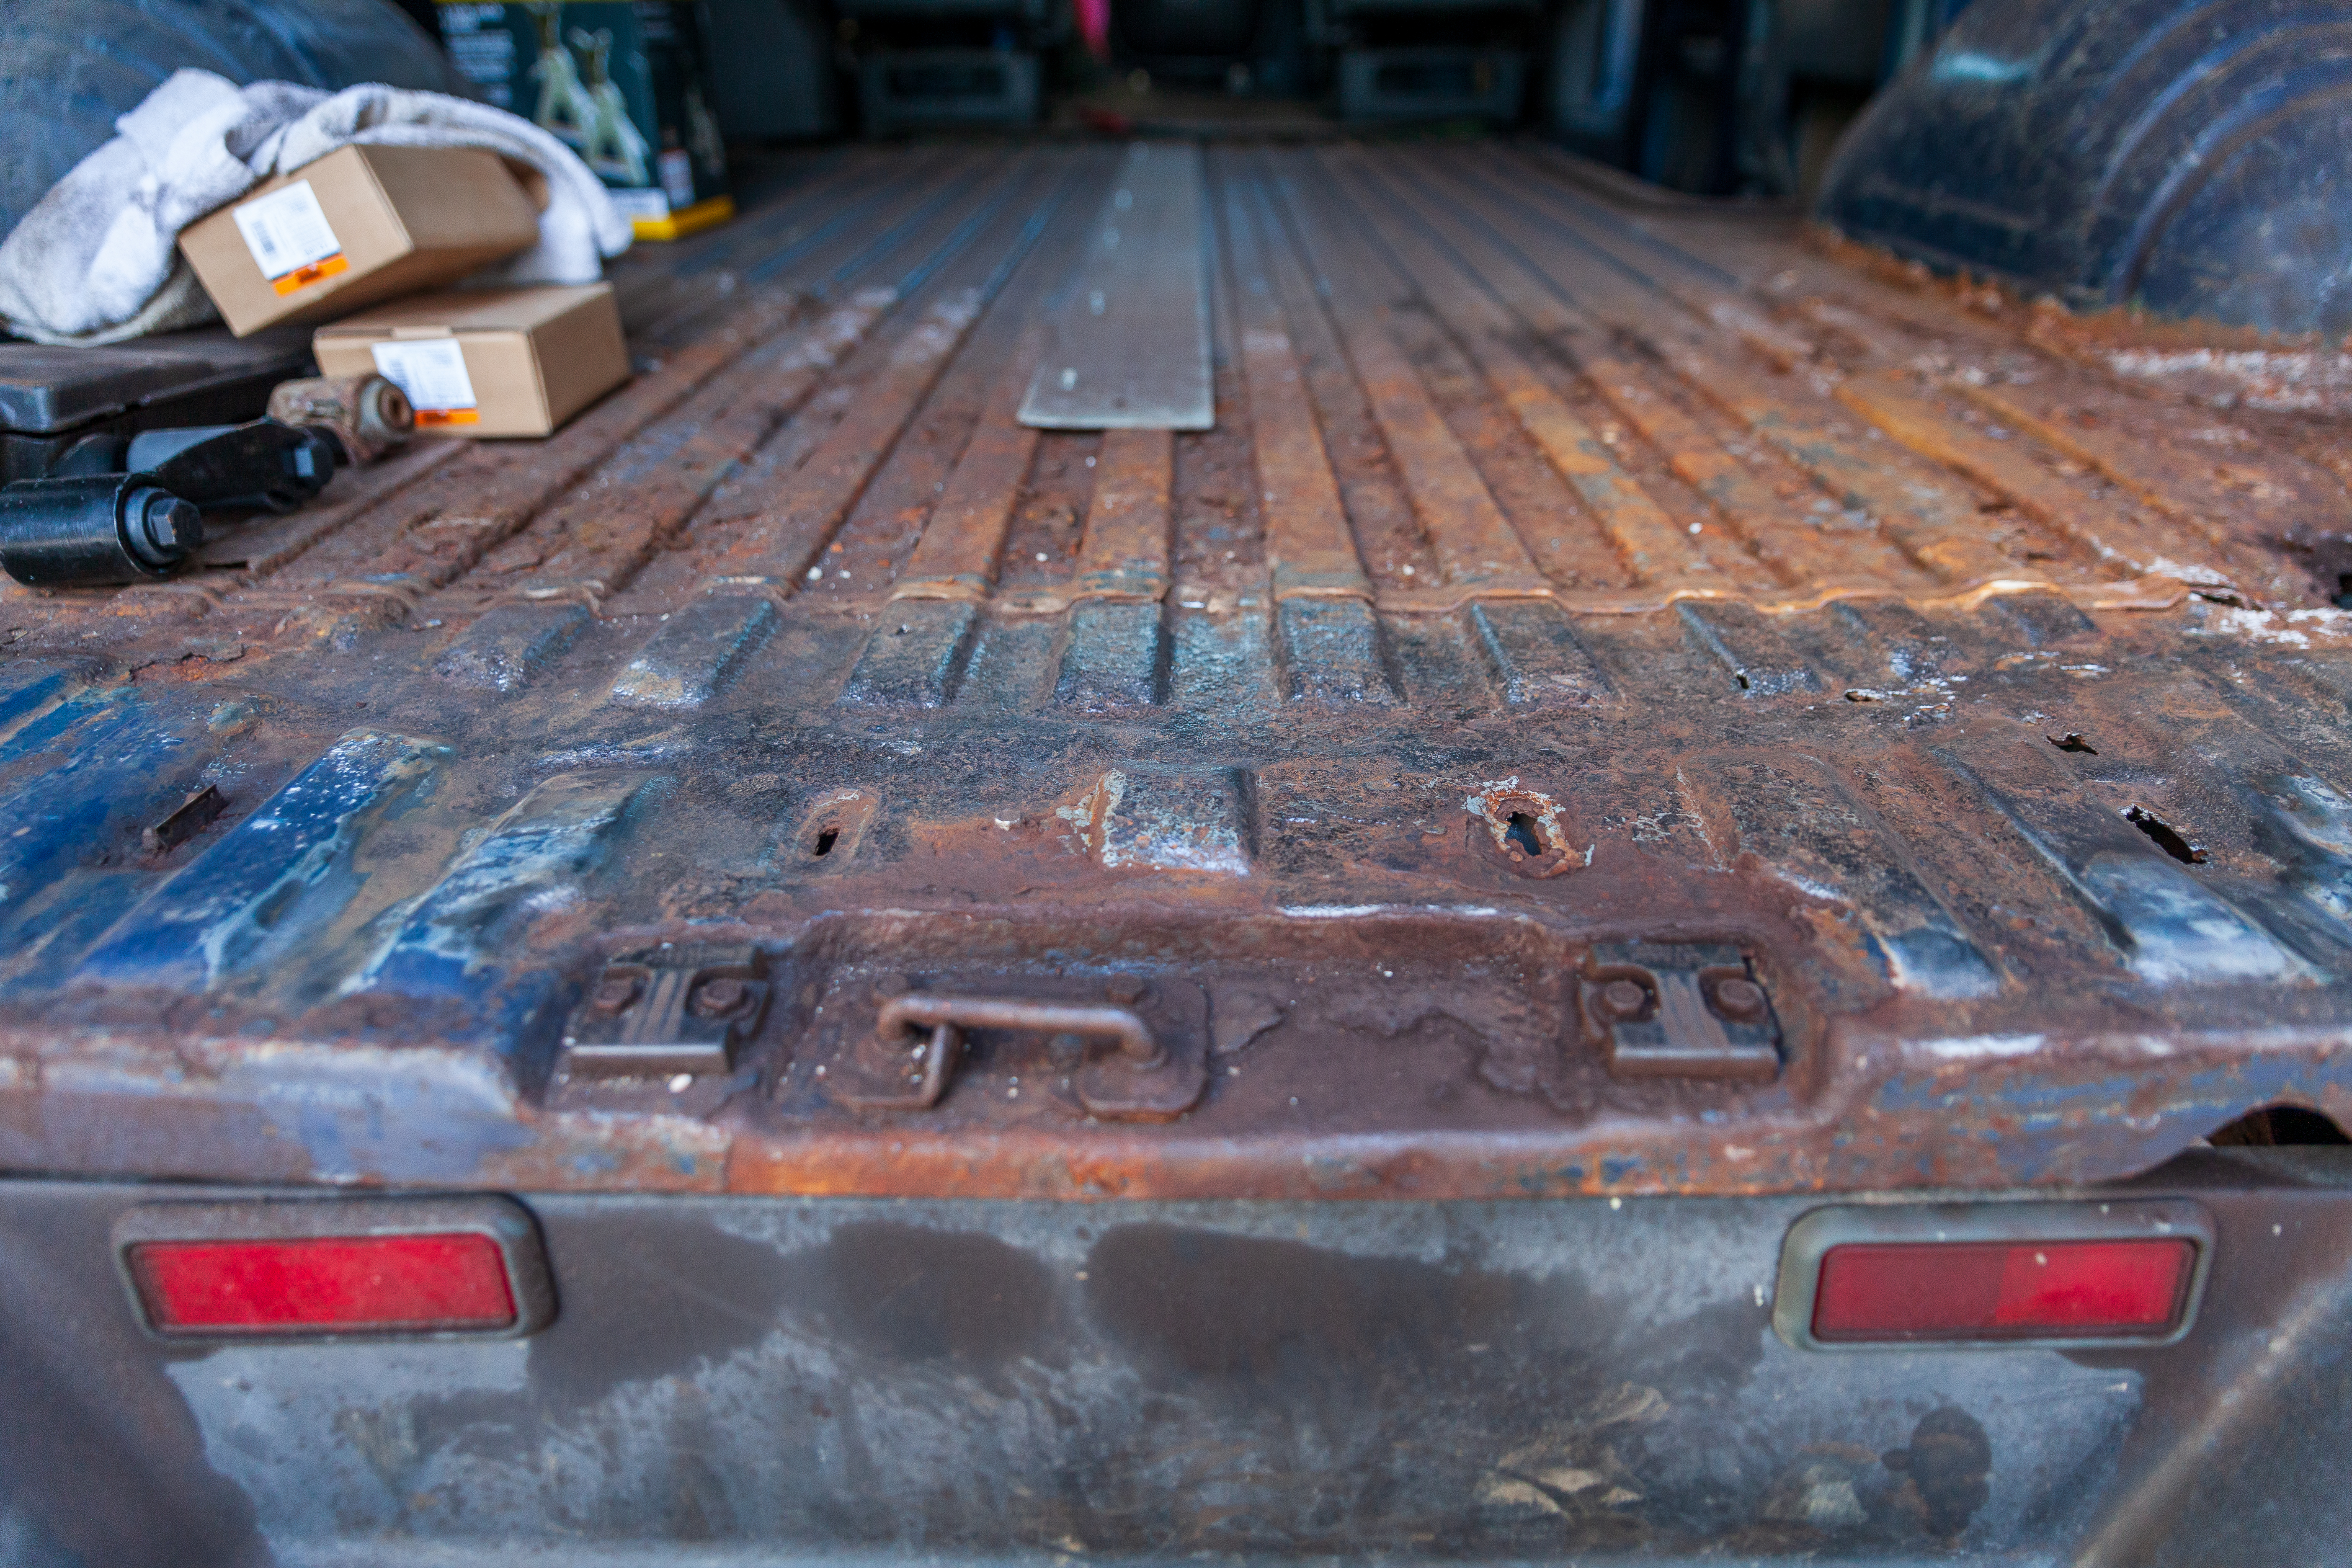
The first order of business was to remove all of the rust from the back third of the floor. A cup brush on my grinder made light work of it, and I was able to get it stripped of all rust and painted with a thick coat of Rust-Oleum heavy rust primer.
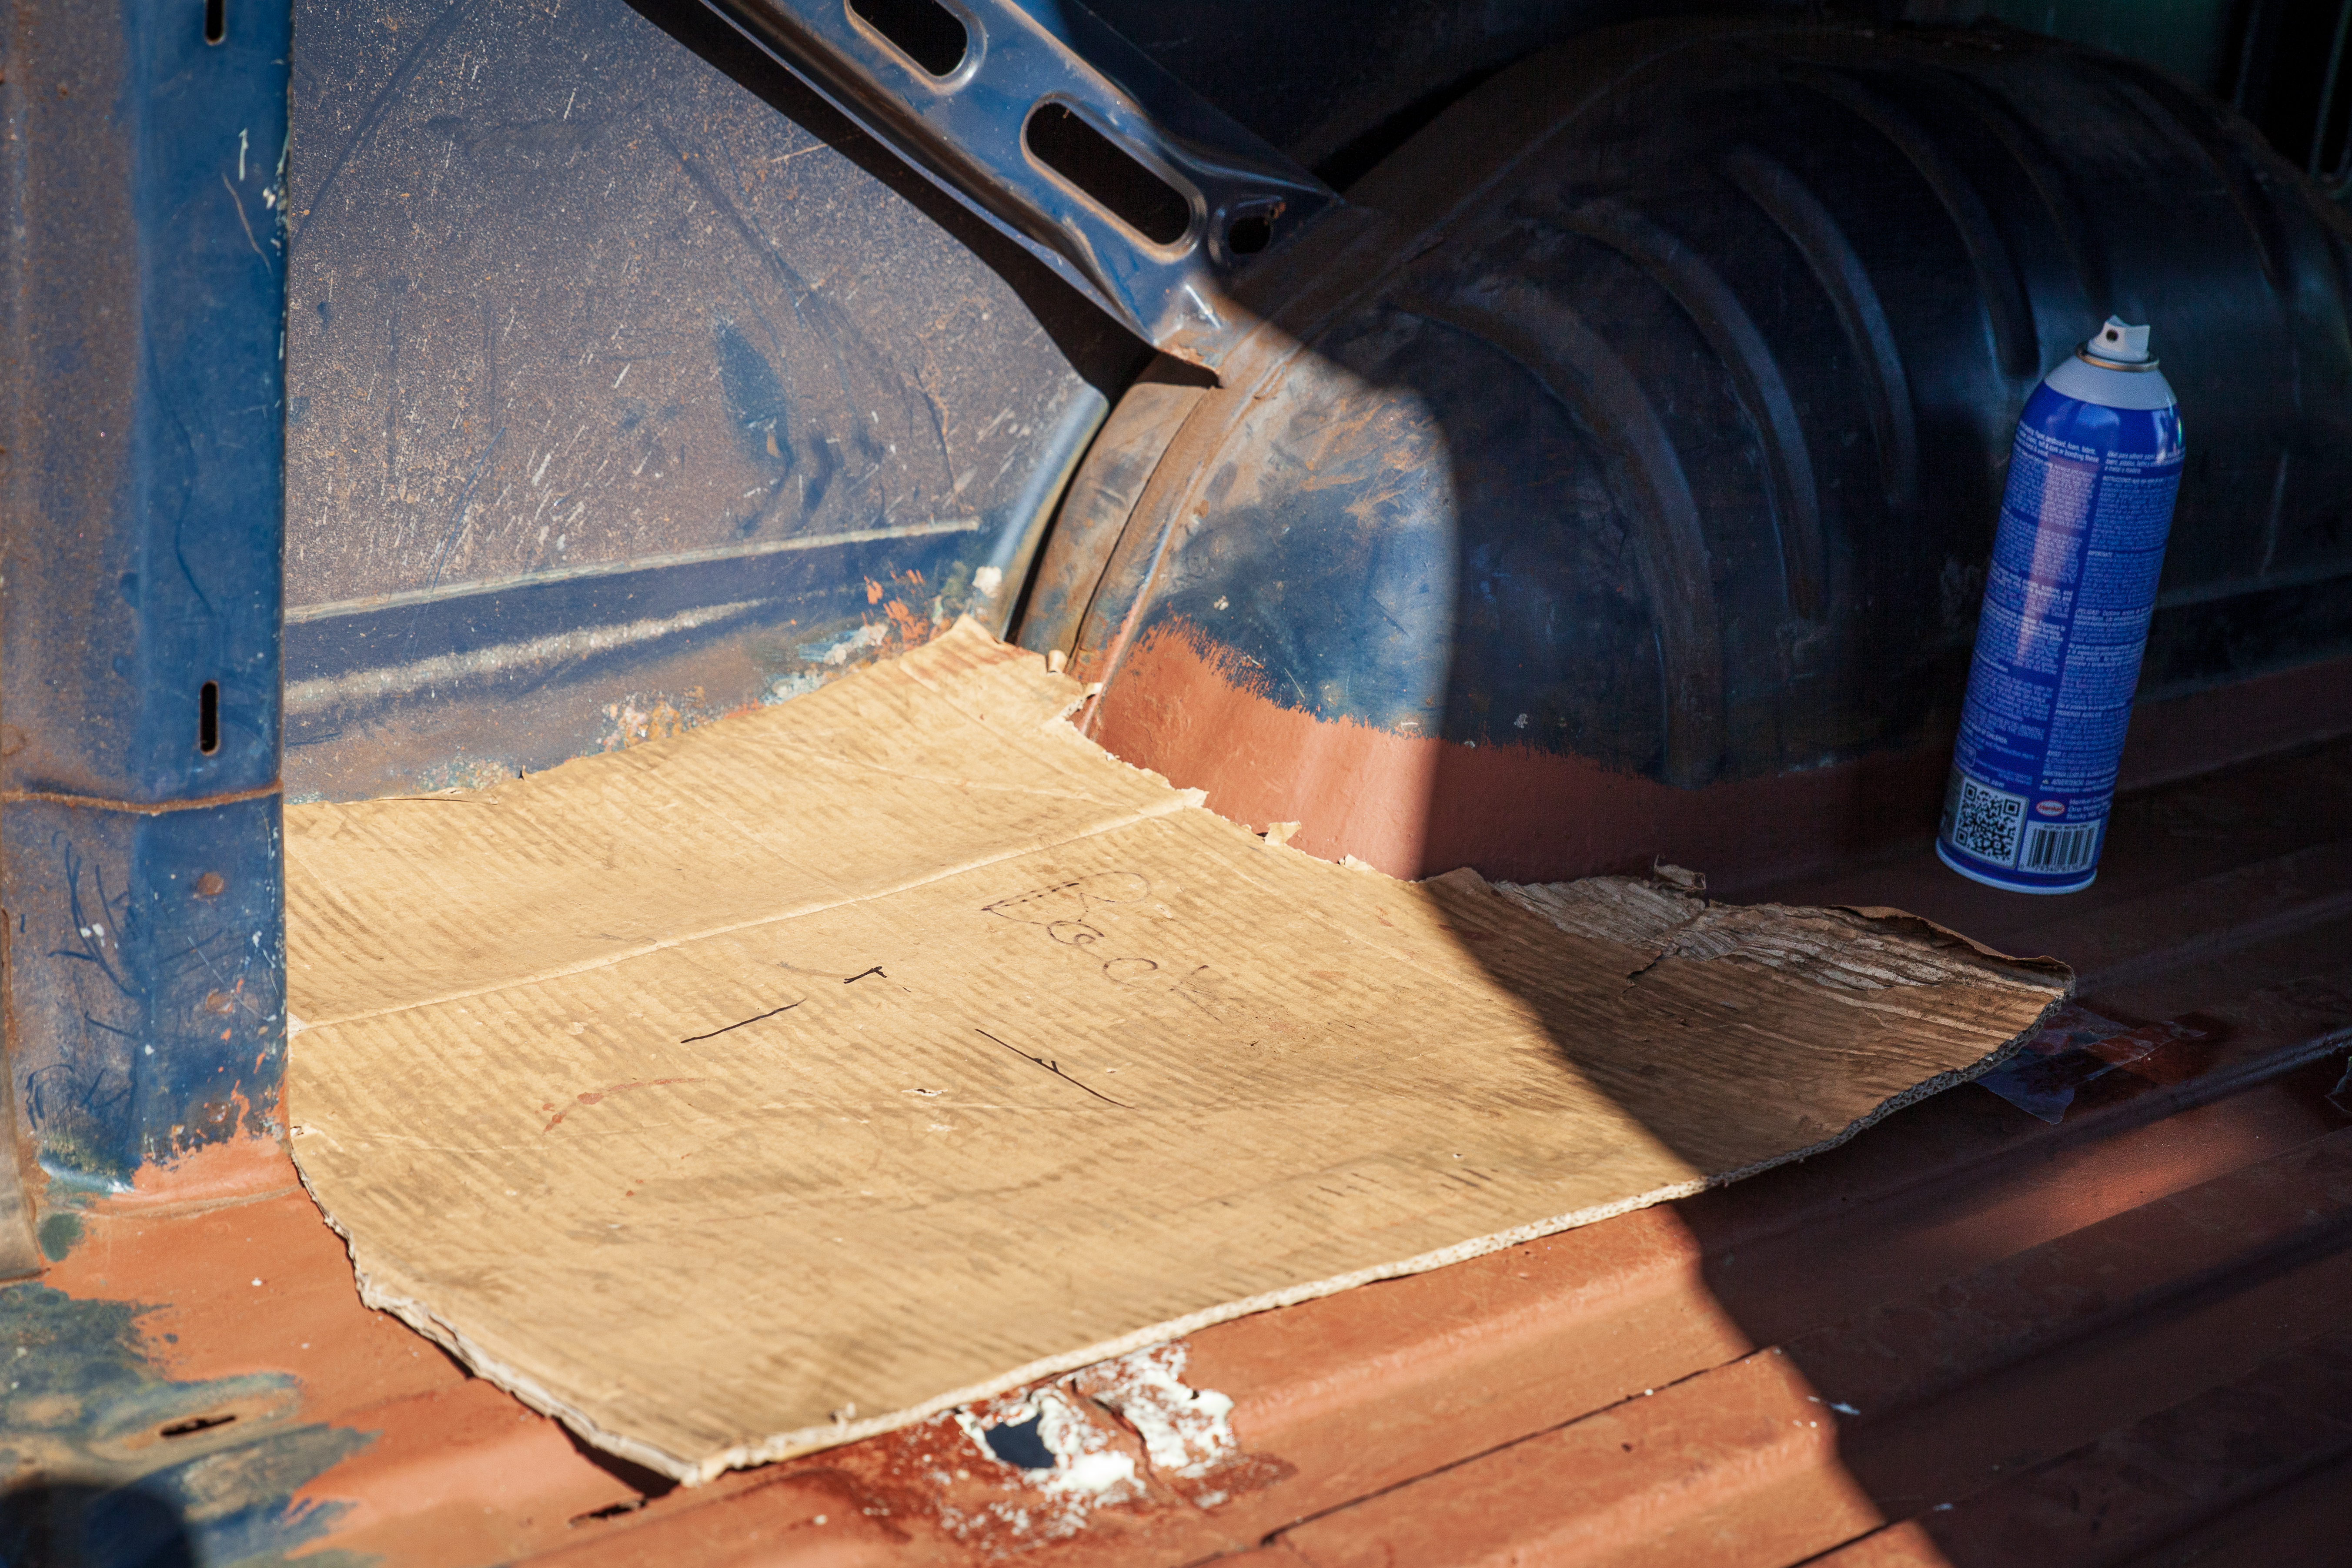
Taylor and I decided to spend the weekend out at her parents, where there was a garage, a wealth of tools, and a yard for the pups. I went out a day ahead to get the floor all patched up and ready to build on. Using some cardboard, I made templates for the wheel wells, traced the onto some 1mm steel sheets I got from Taylor’s uncle Randy, and cut them out with a pair of auto shears (my first time using them) and my trusty angle grinder with a cutting disk. It took a couple of hours, but the final product wasn’t half bad for a first time working with metal.
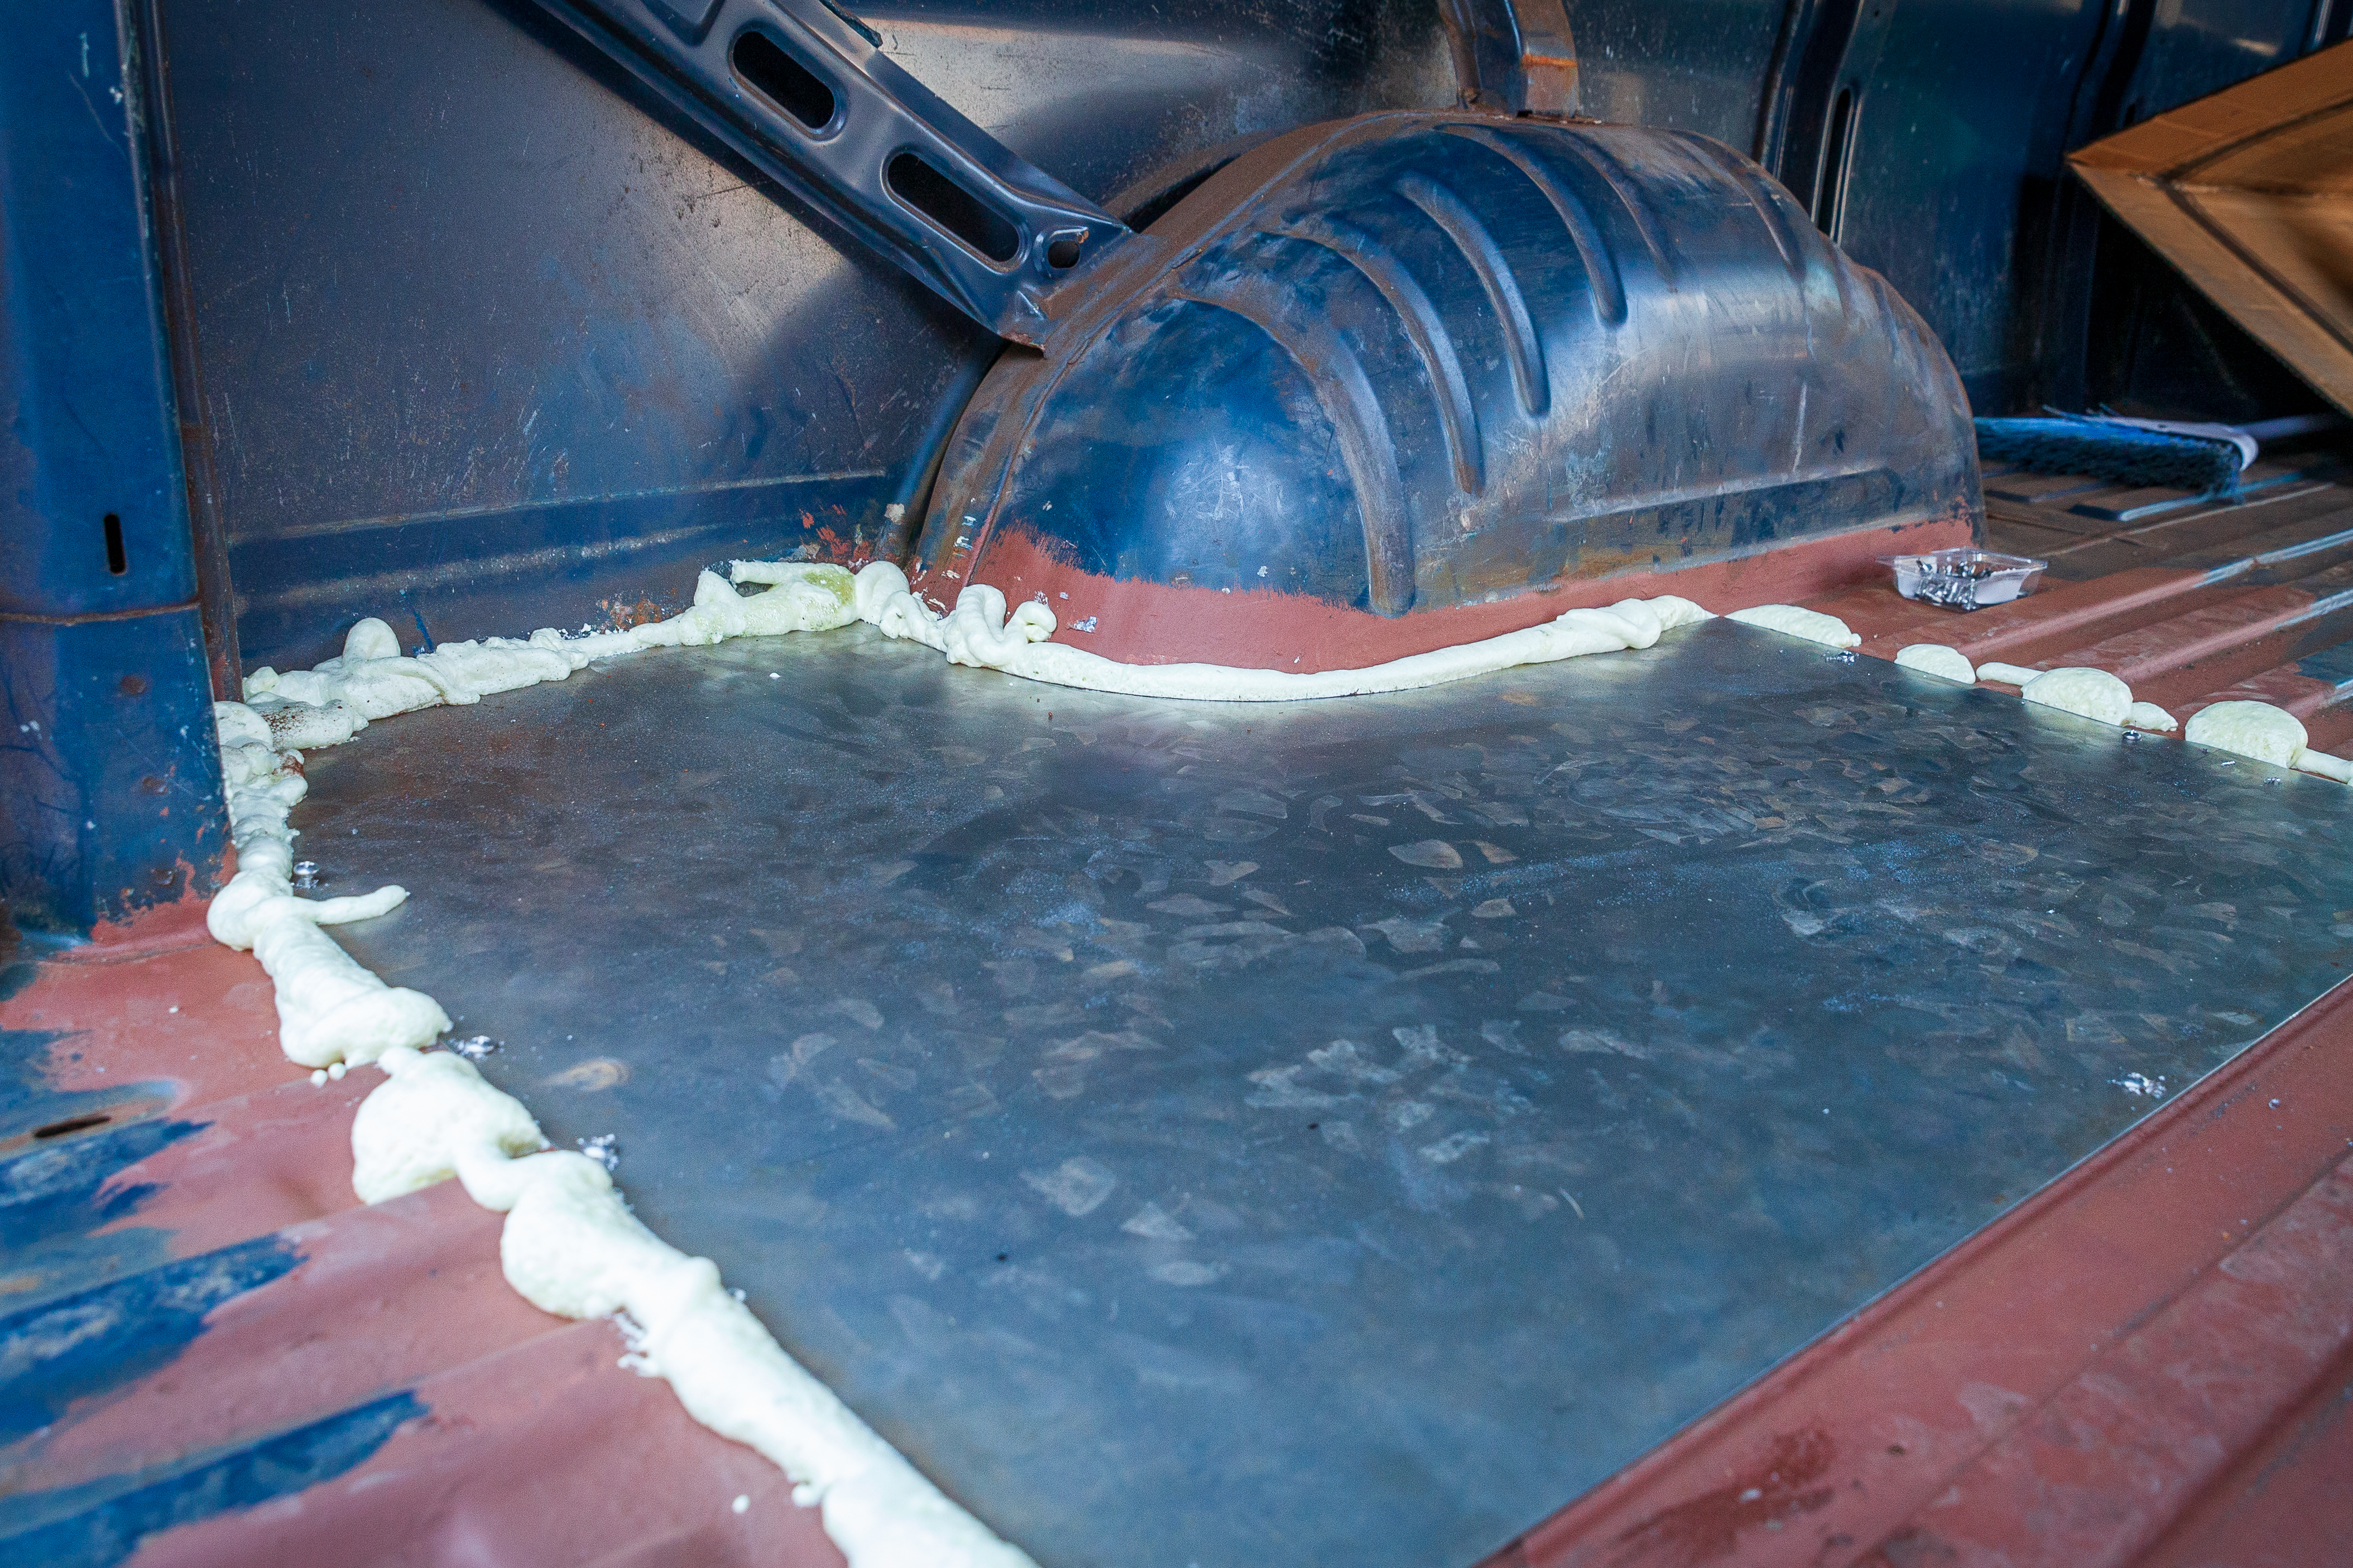

The finished product.
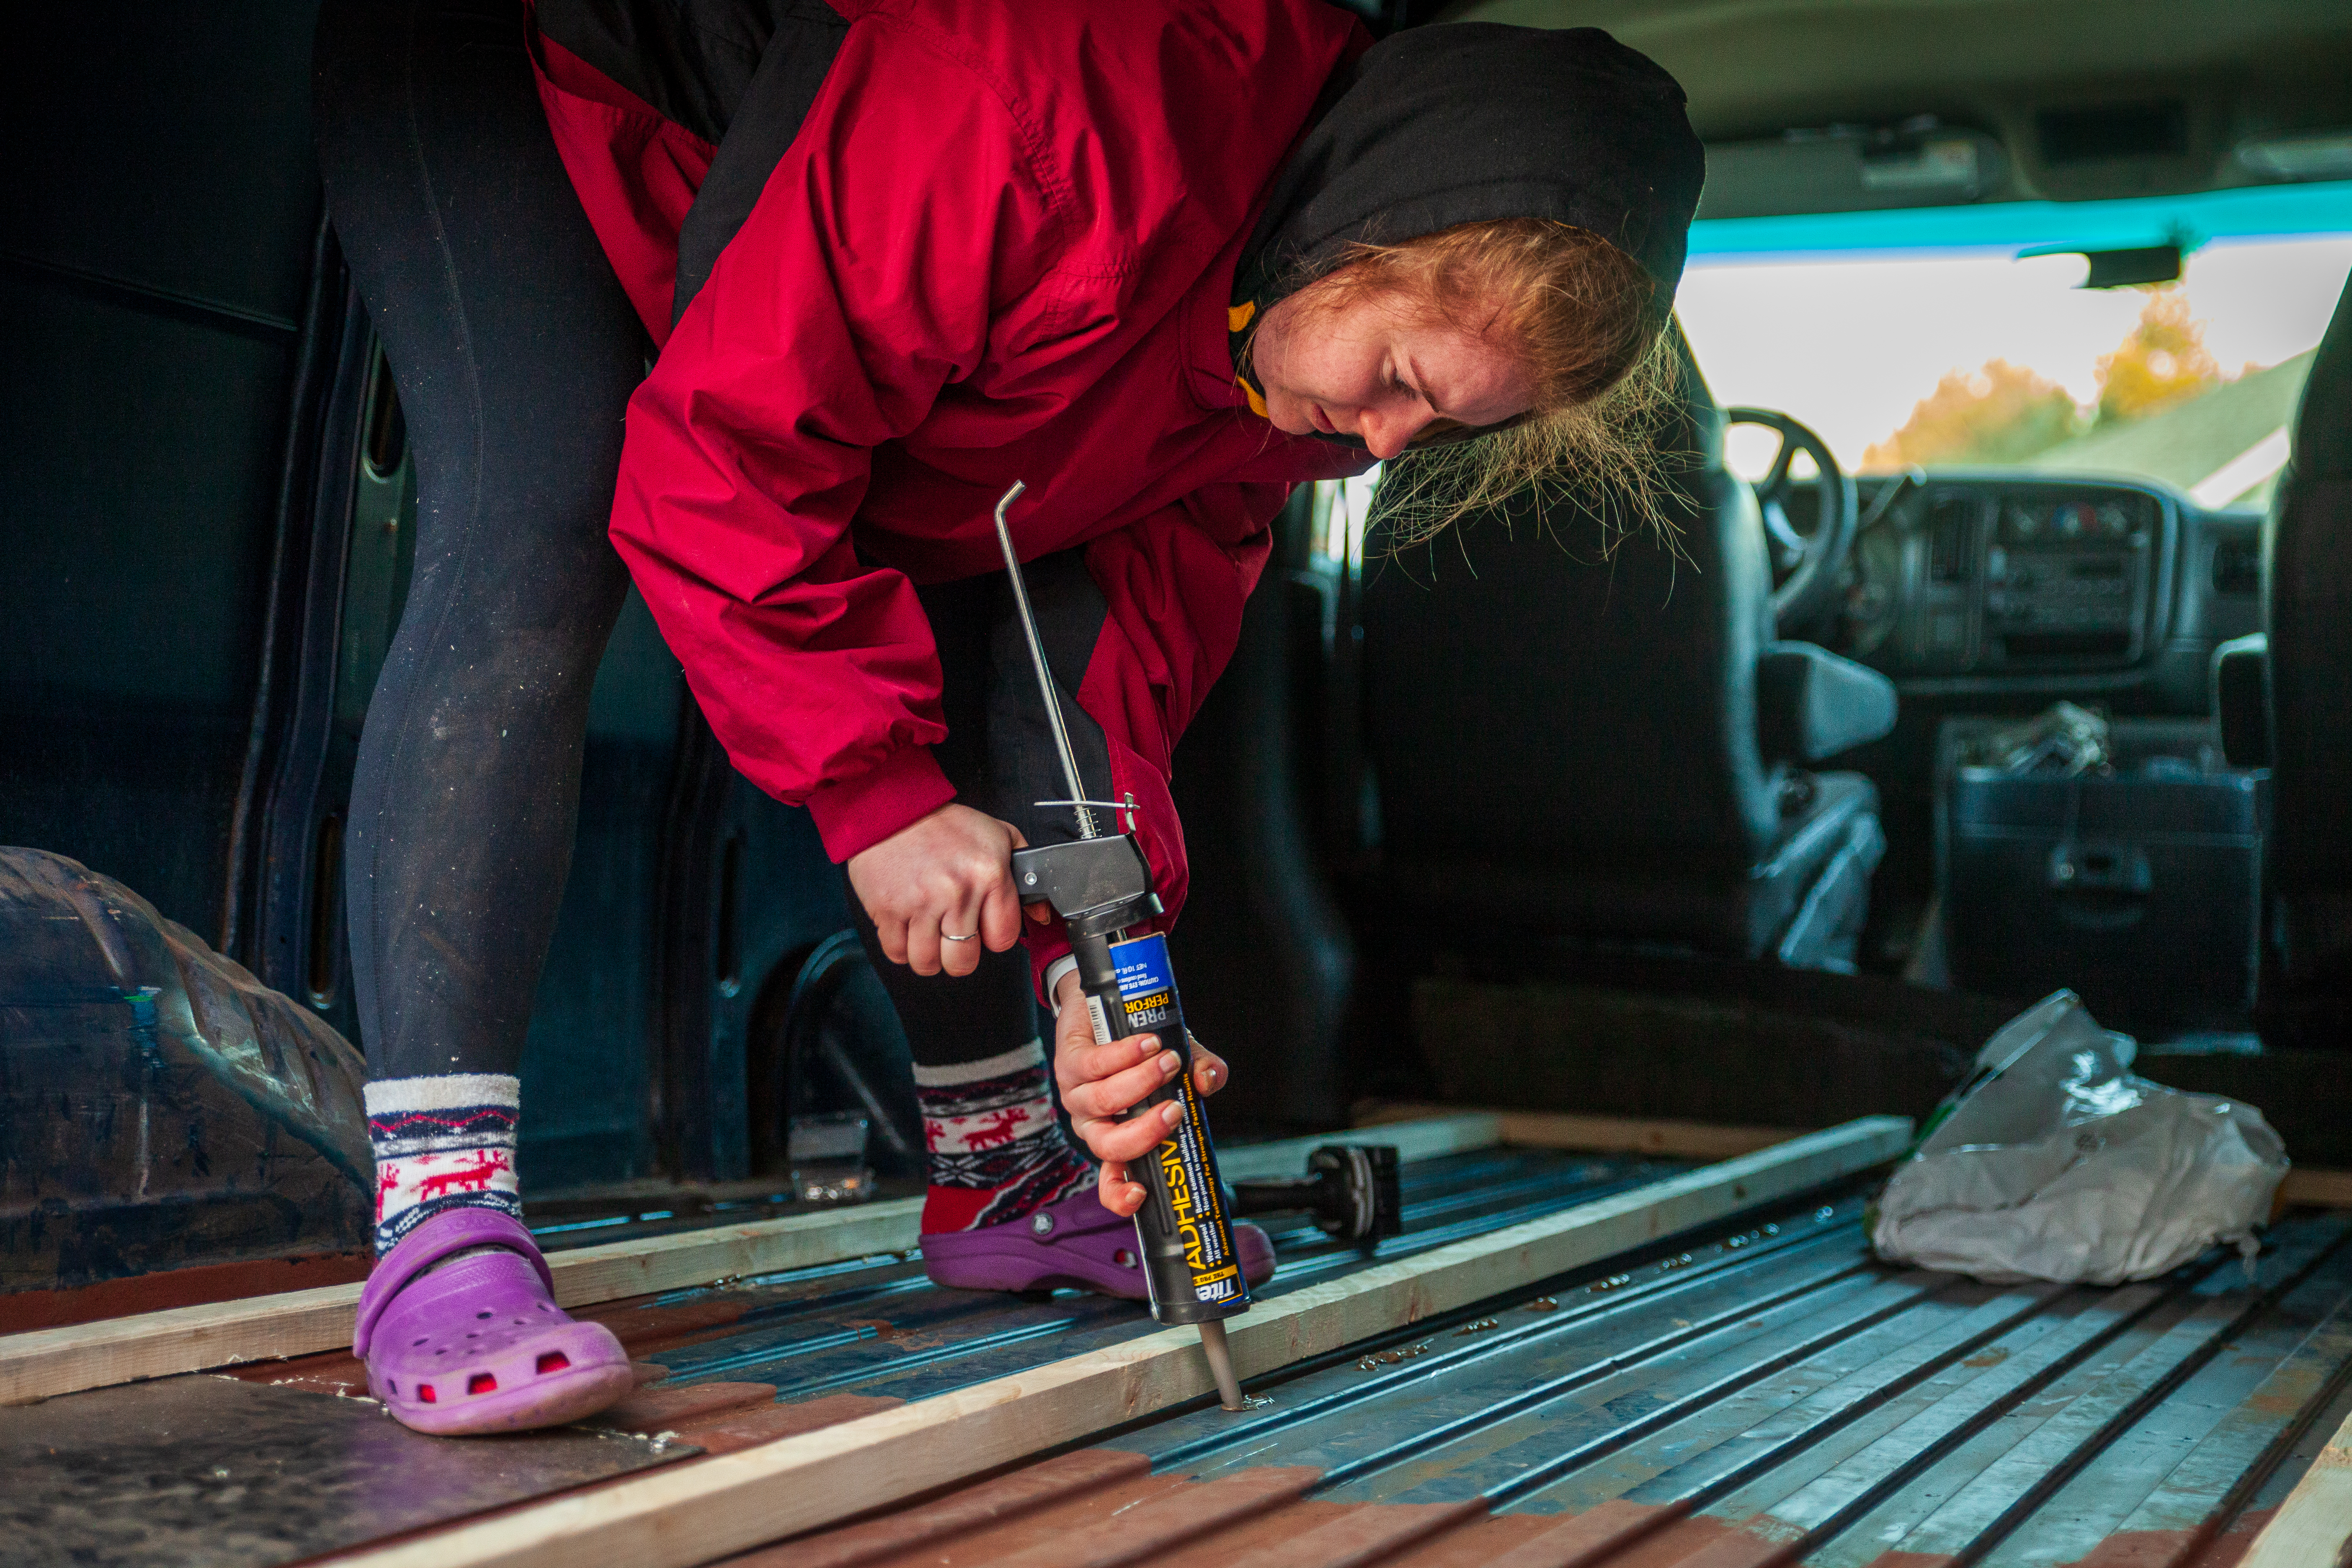
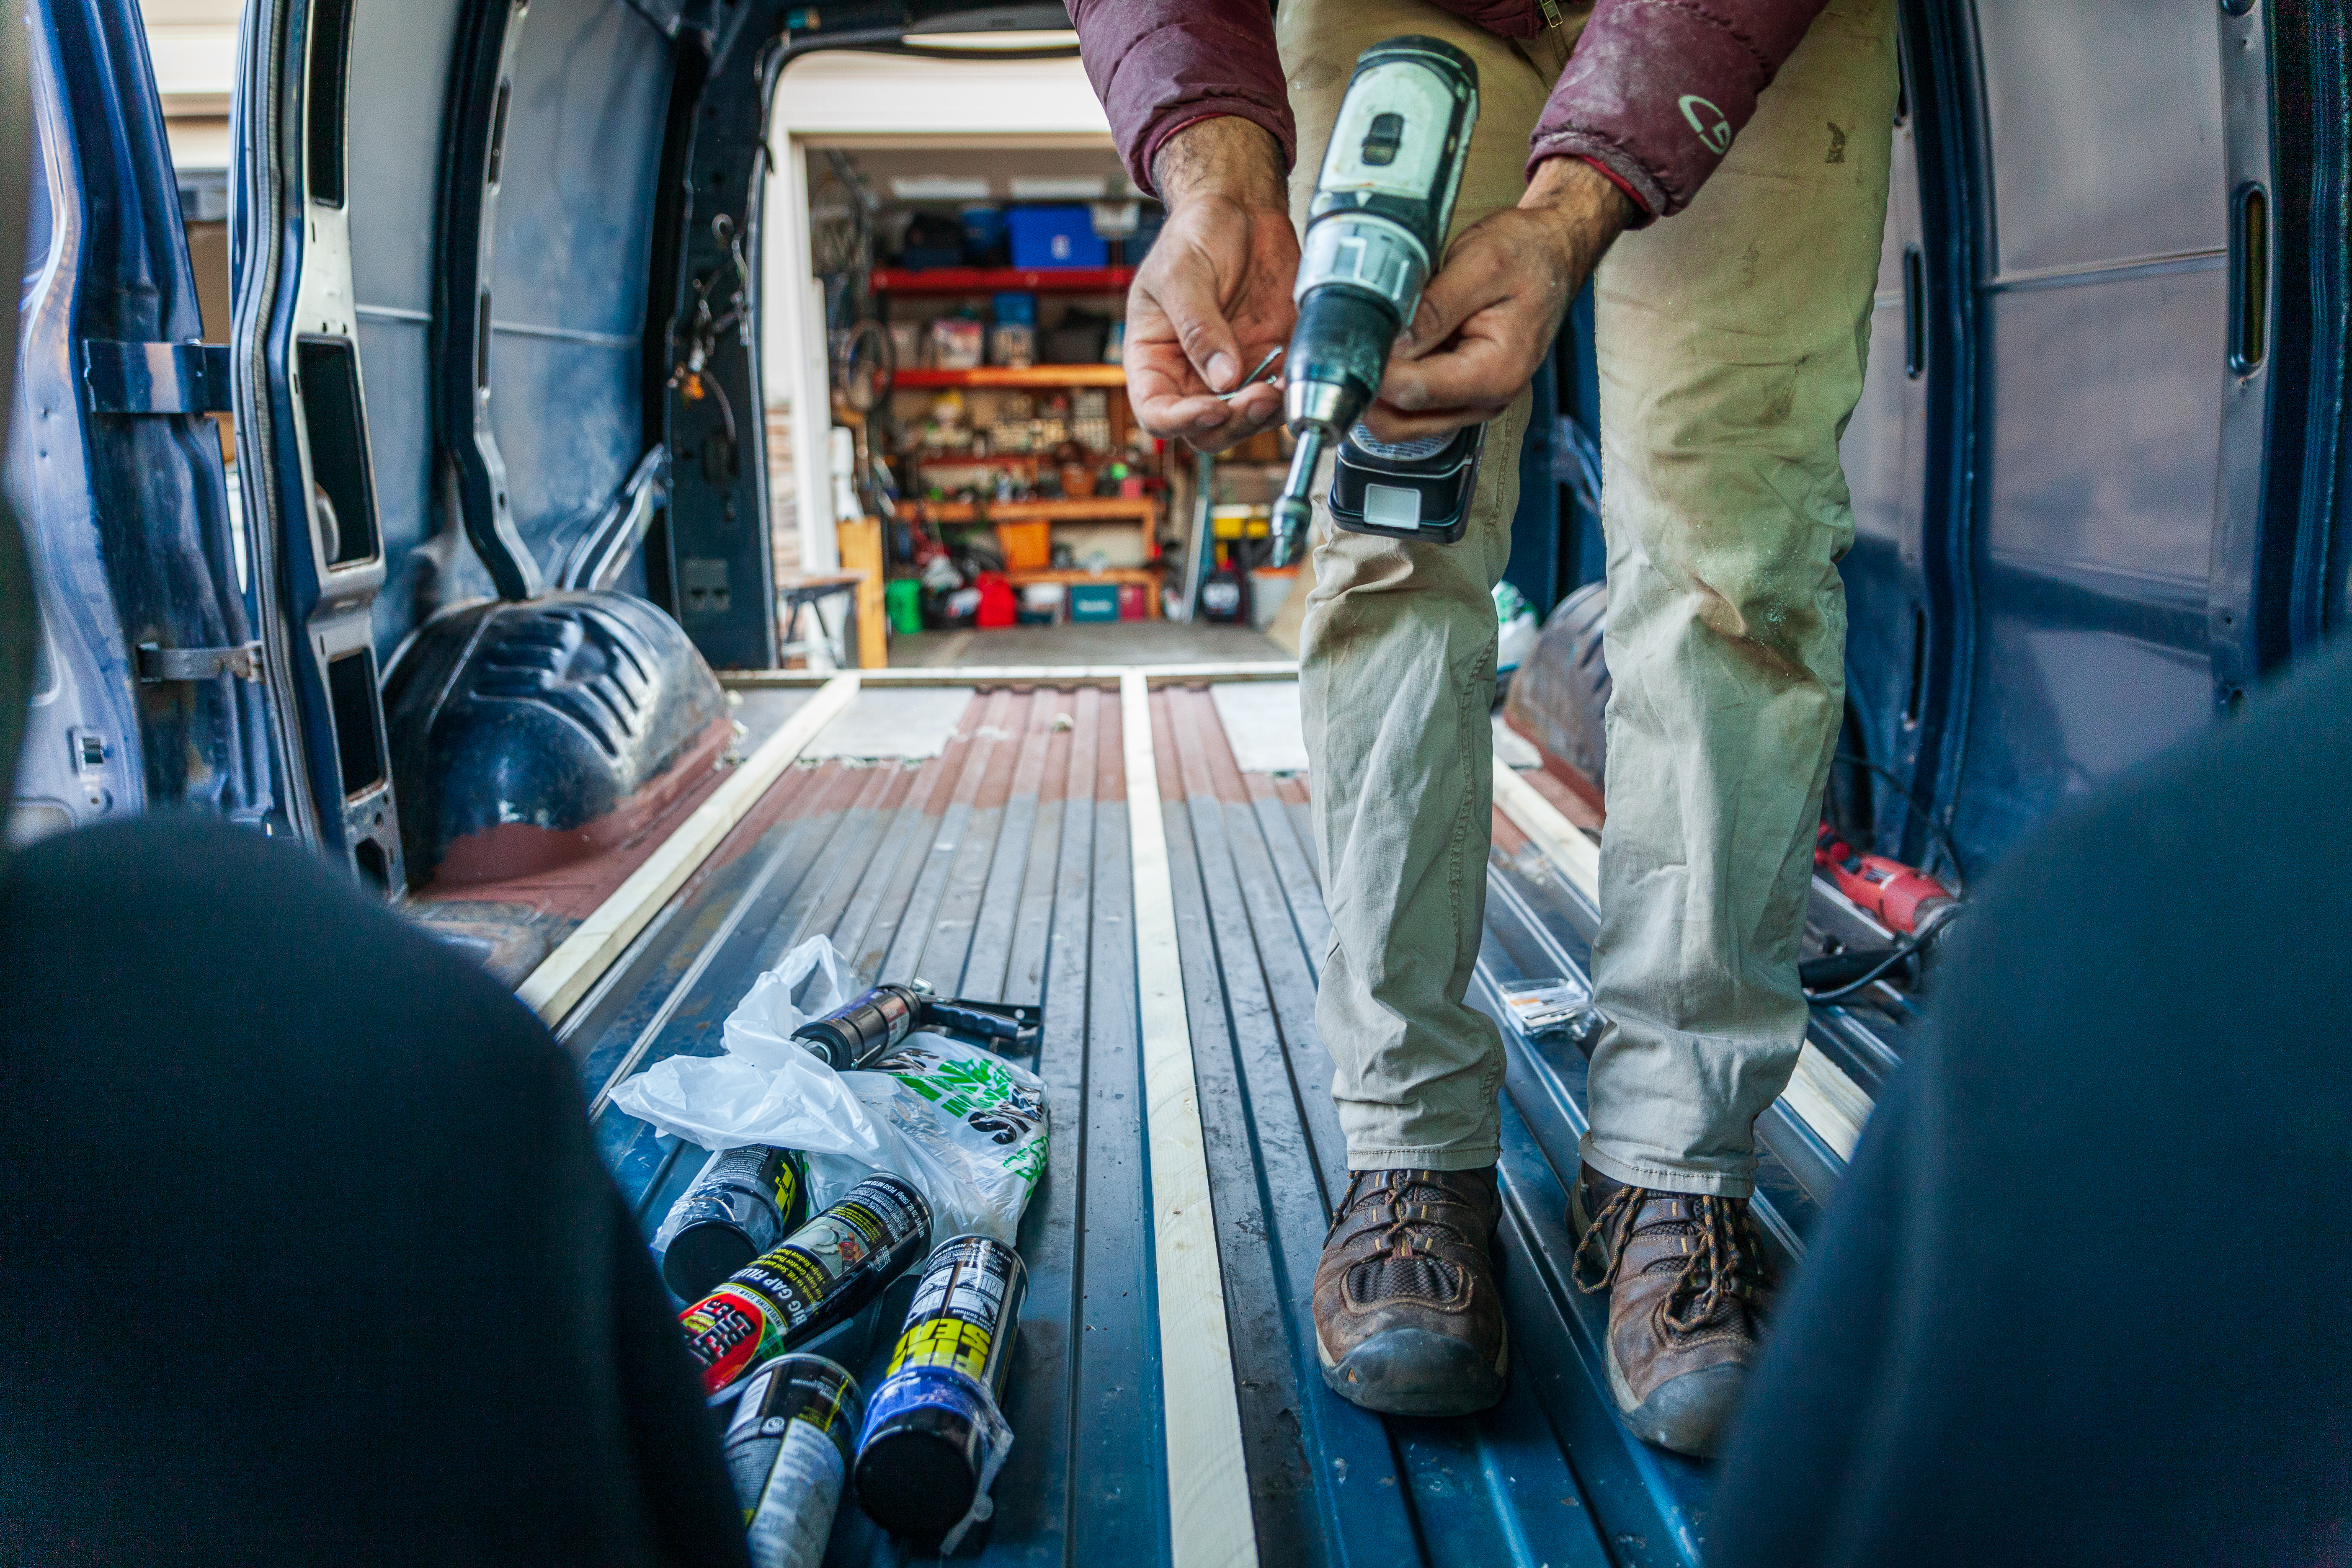
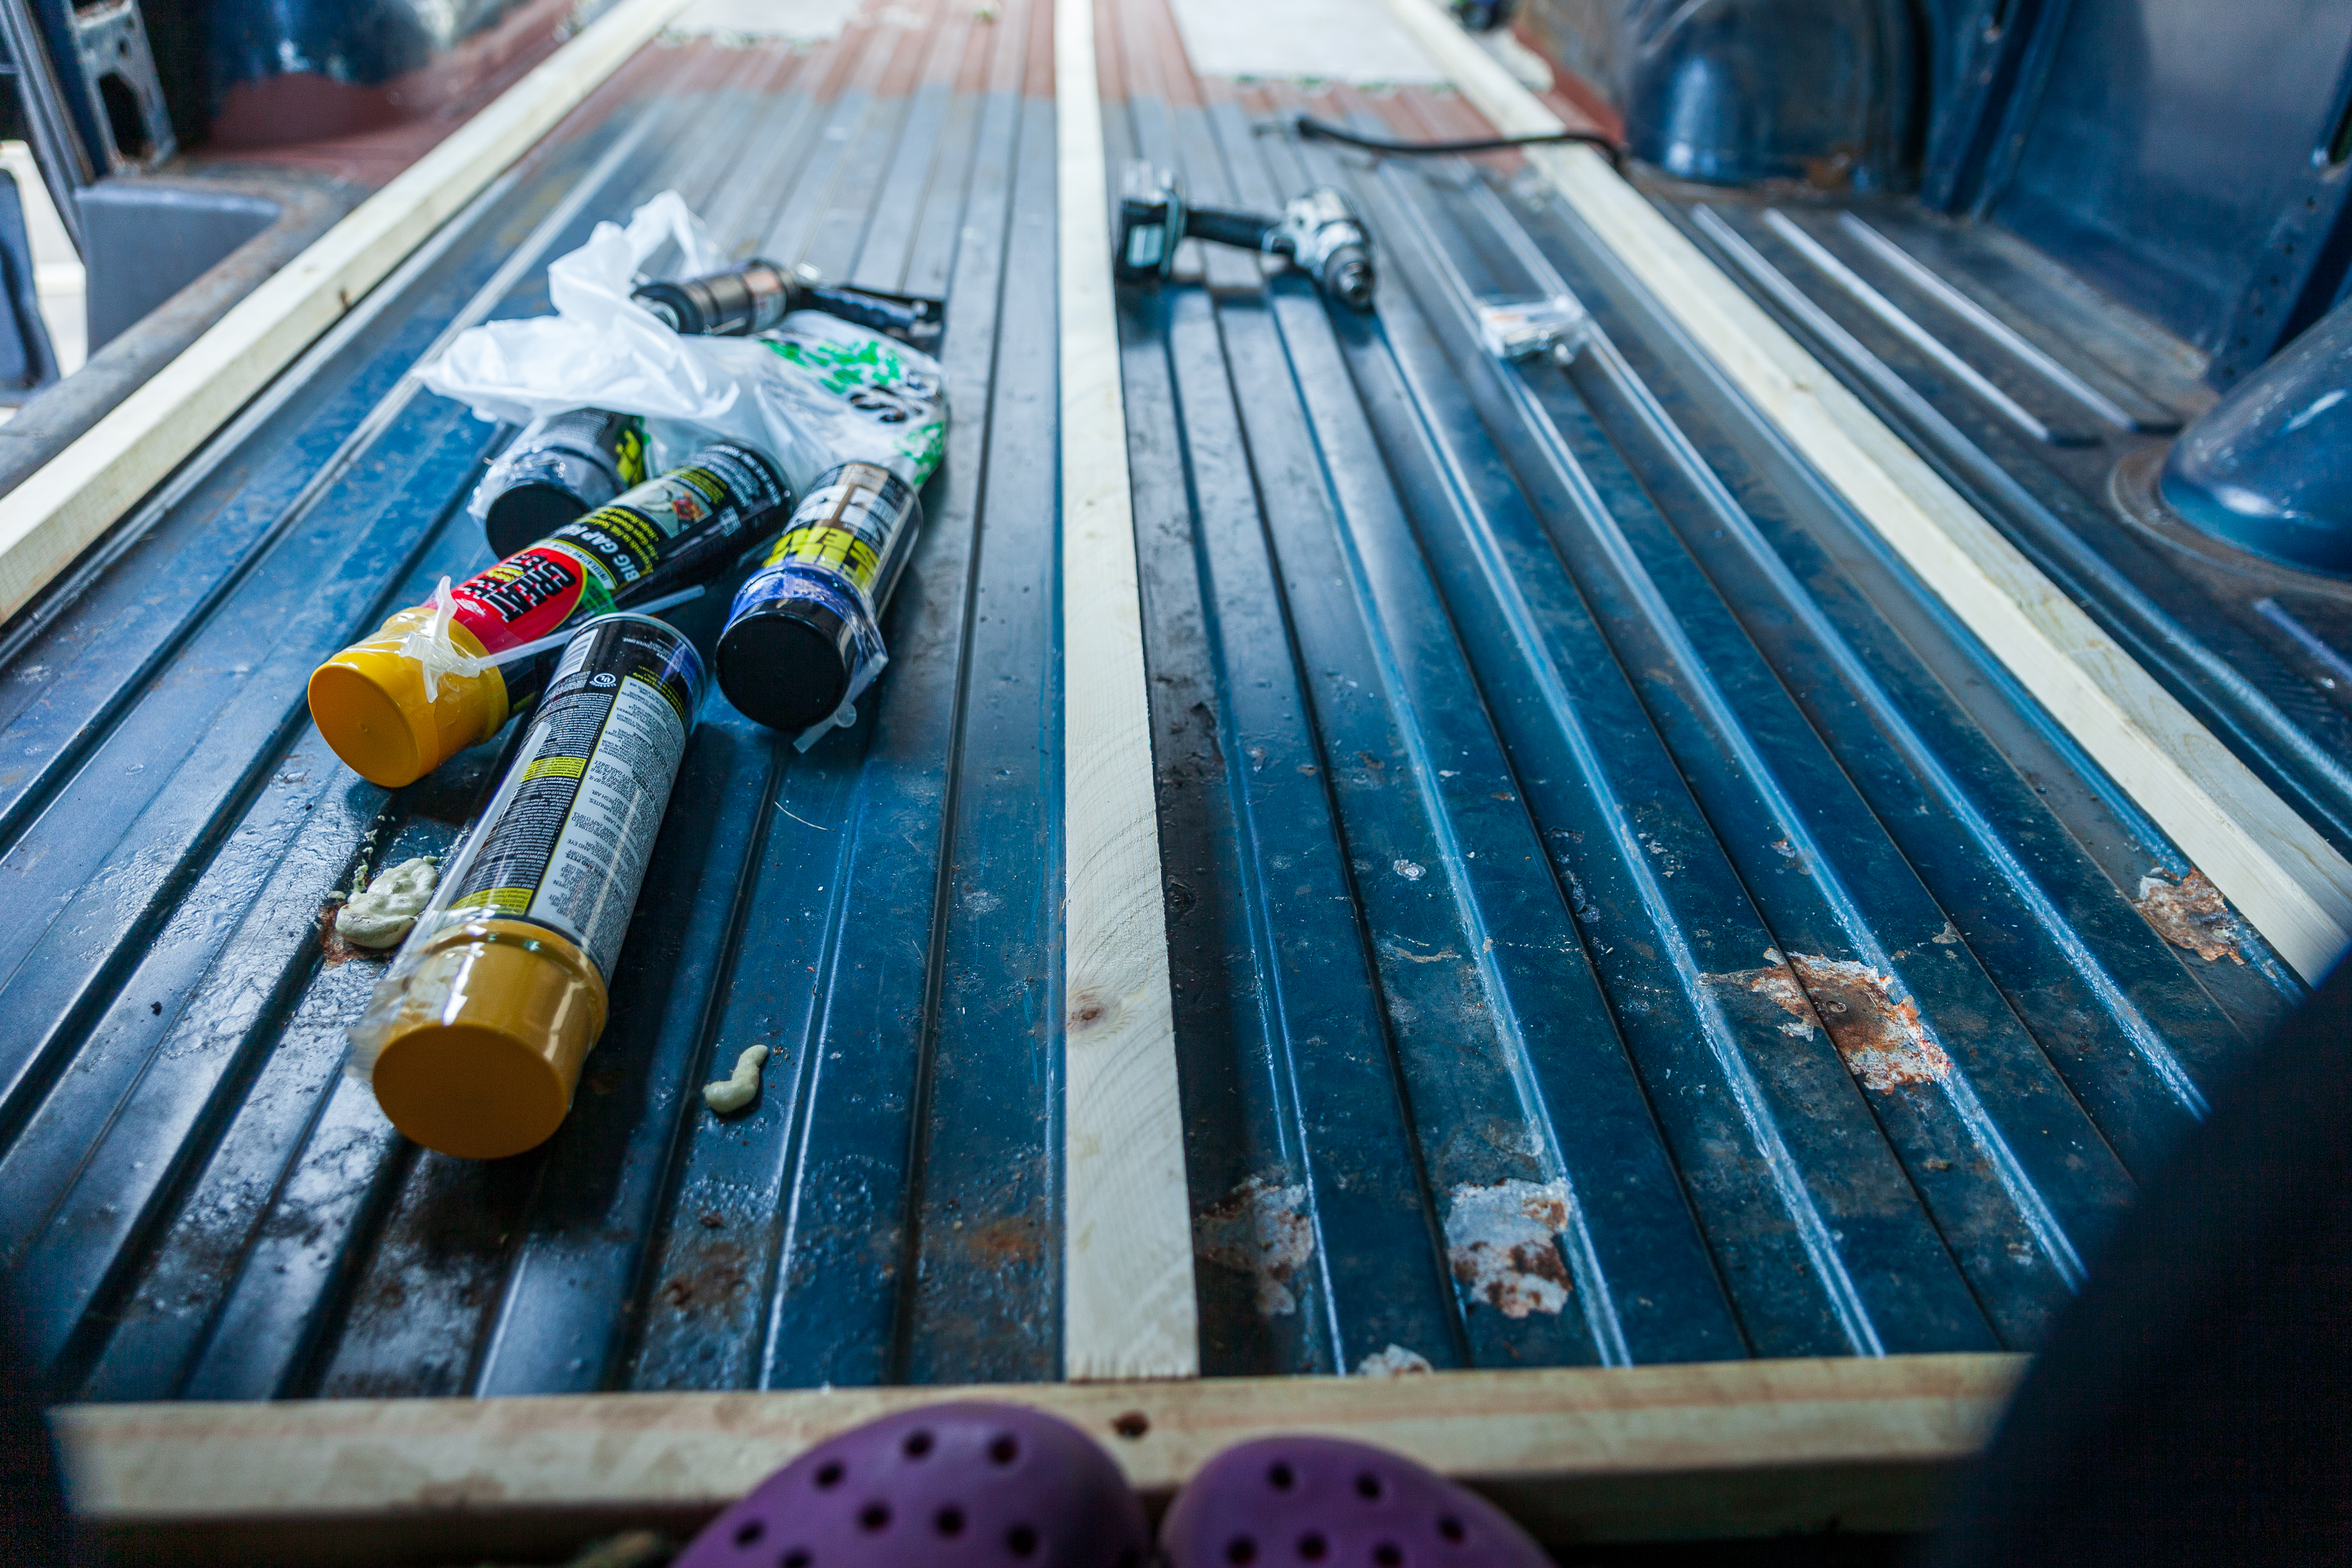
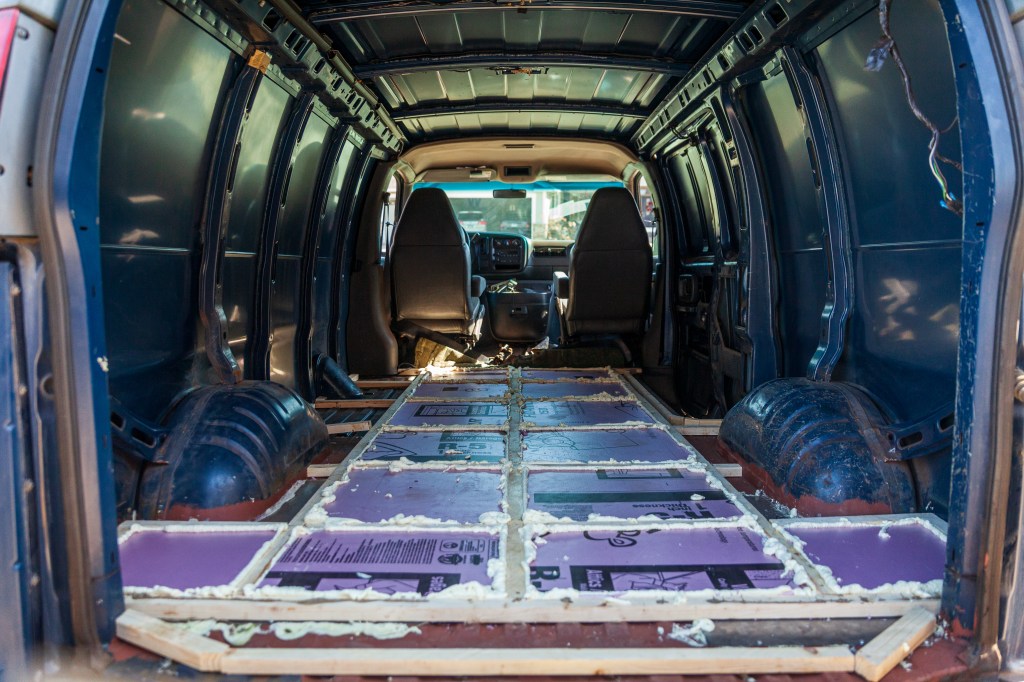
Onto the floor! The next day (Saturday, I think) we started on the floor. Using a couple of 2x2s (actually 2x4s cut in half with a table saw because it was cheaper), we laid out the frame on the floor, glued everything down with some heavy duty construction adhesive (which just so happened to be on sale at Menard’s, now my favorite store) and then screwed it all down with some self-drilling sheet metal screws. This is the first project I’ve ever done where I took the time to find the right type of screws for every part of the job, and it’s made a tremendous difference!
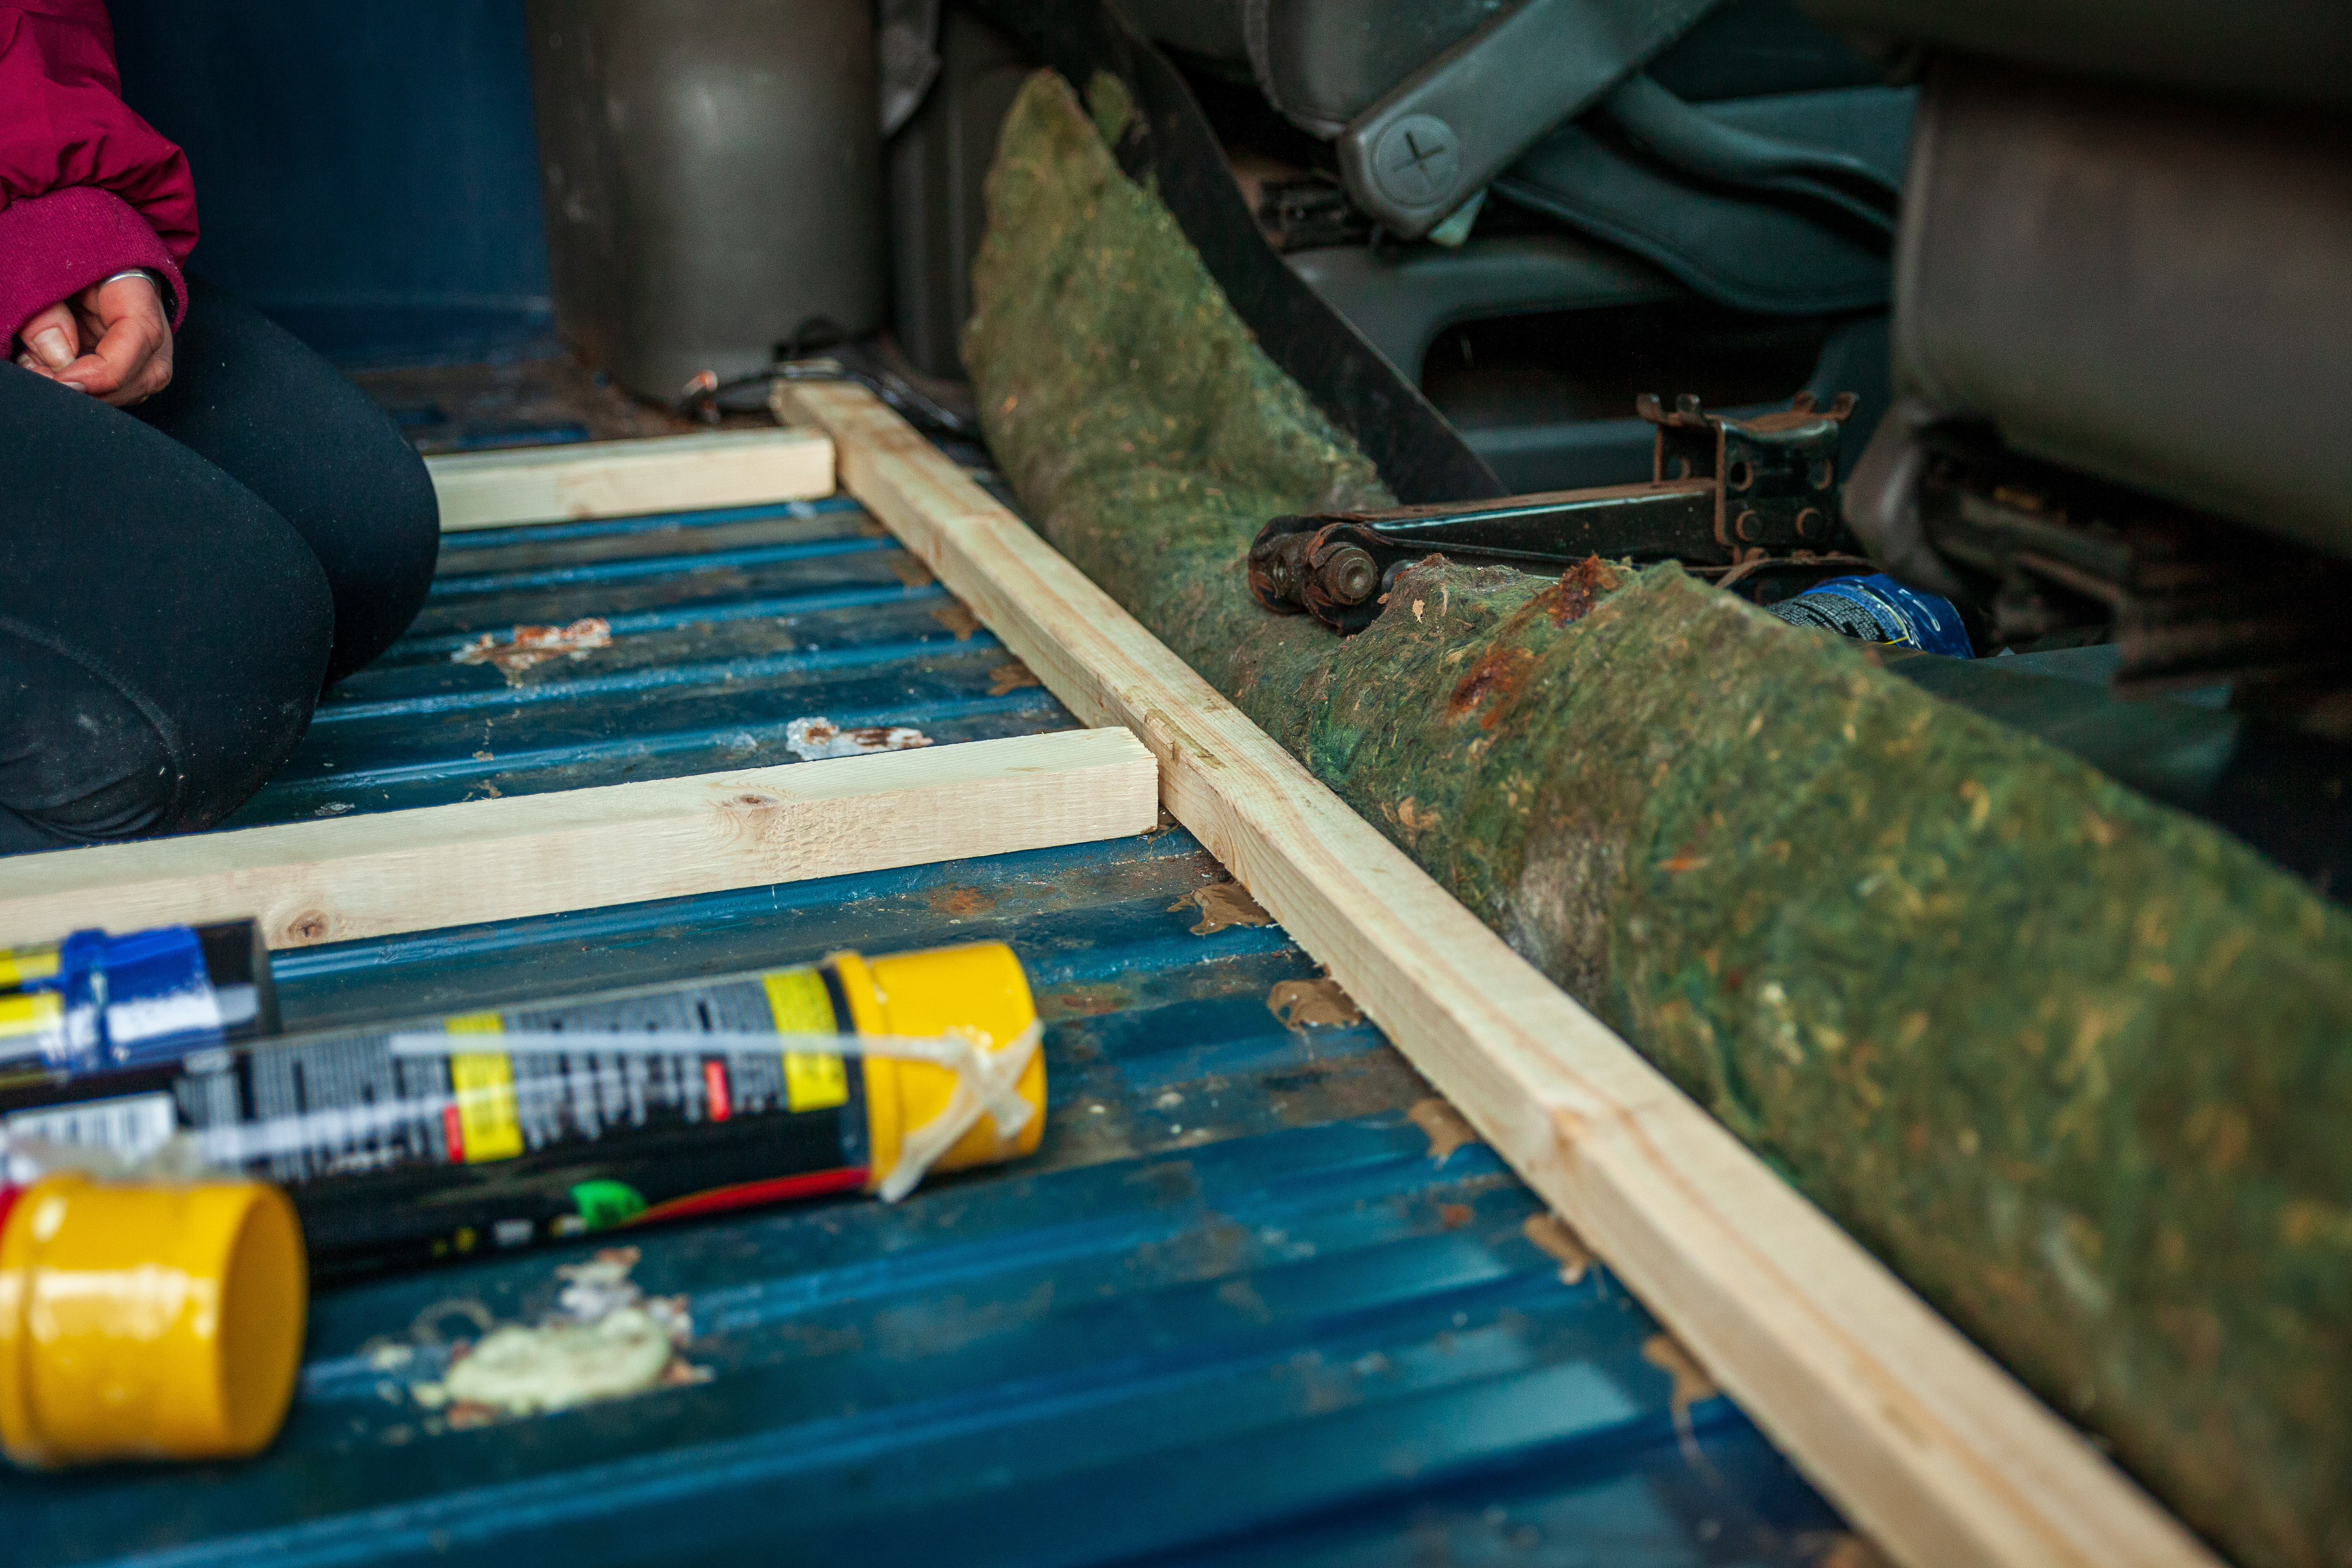

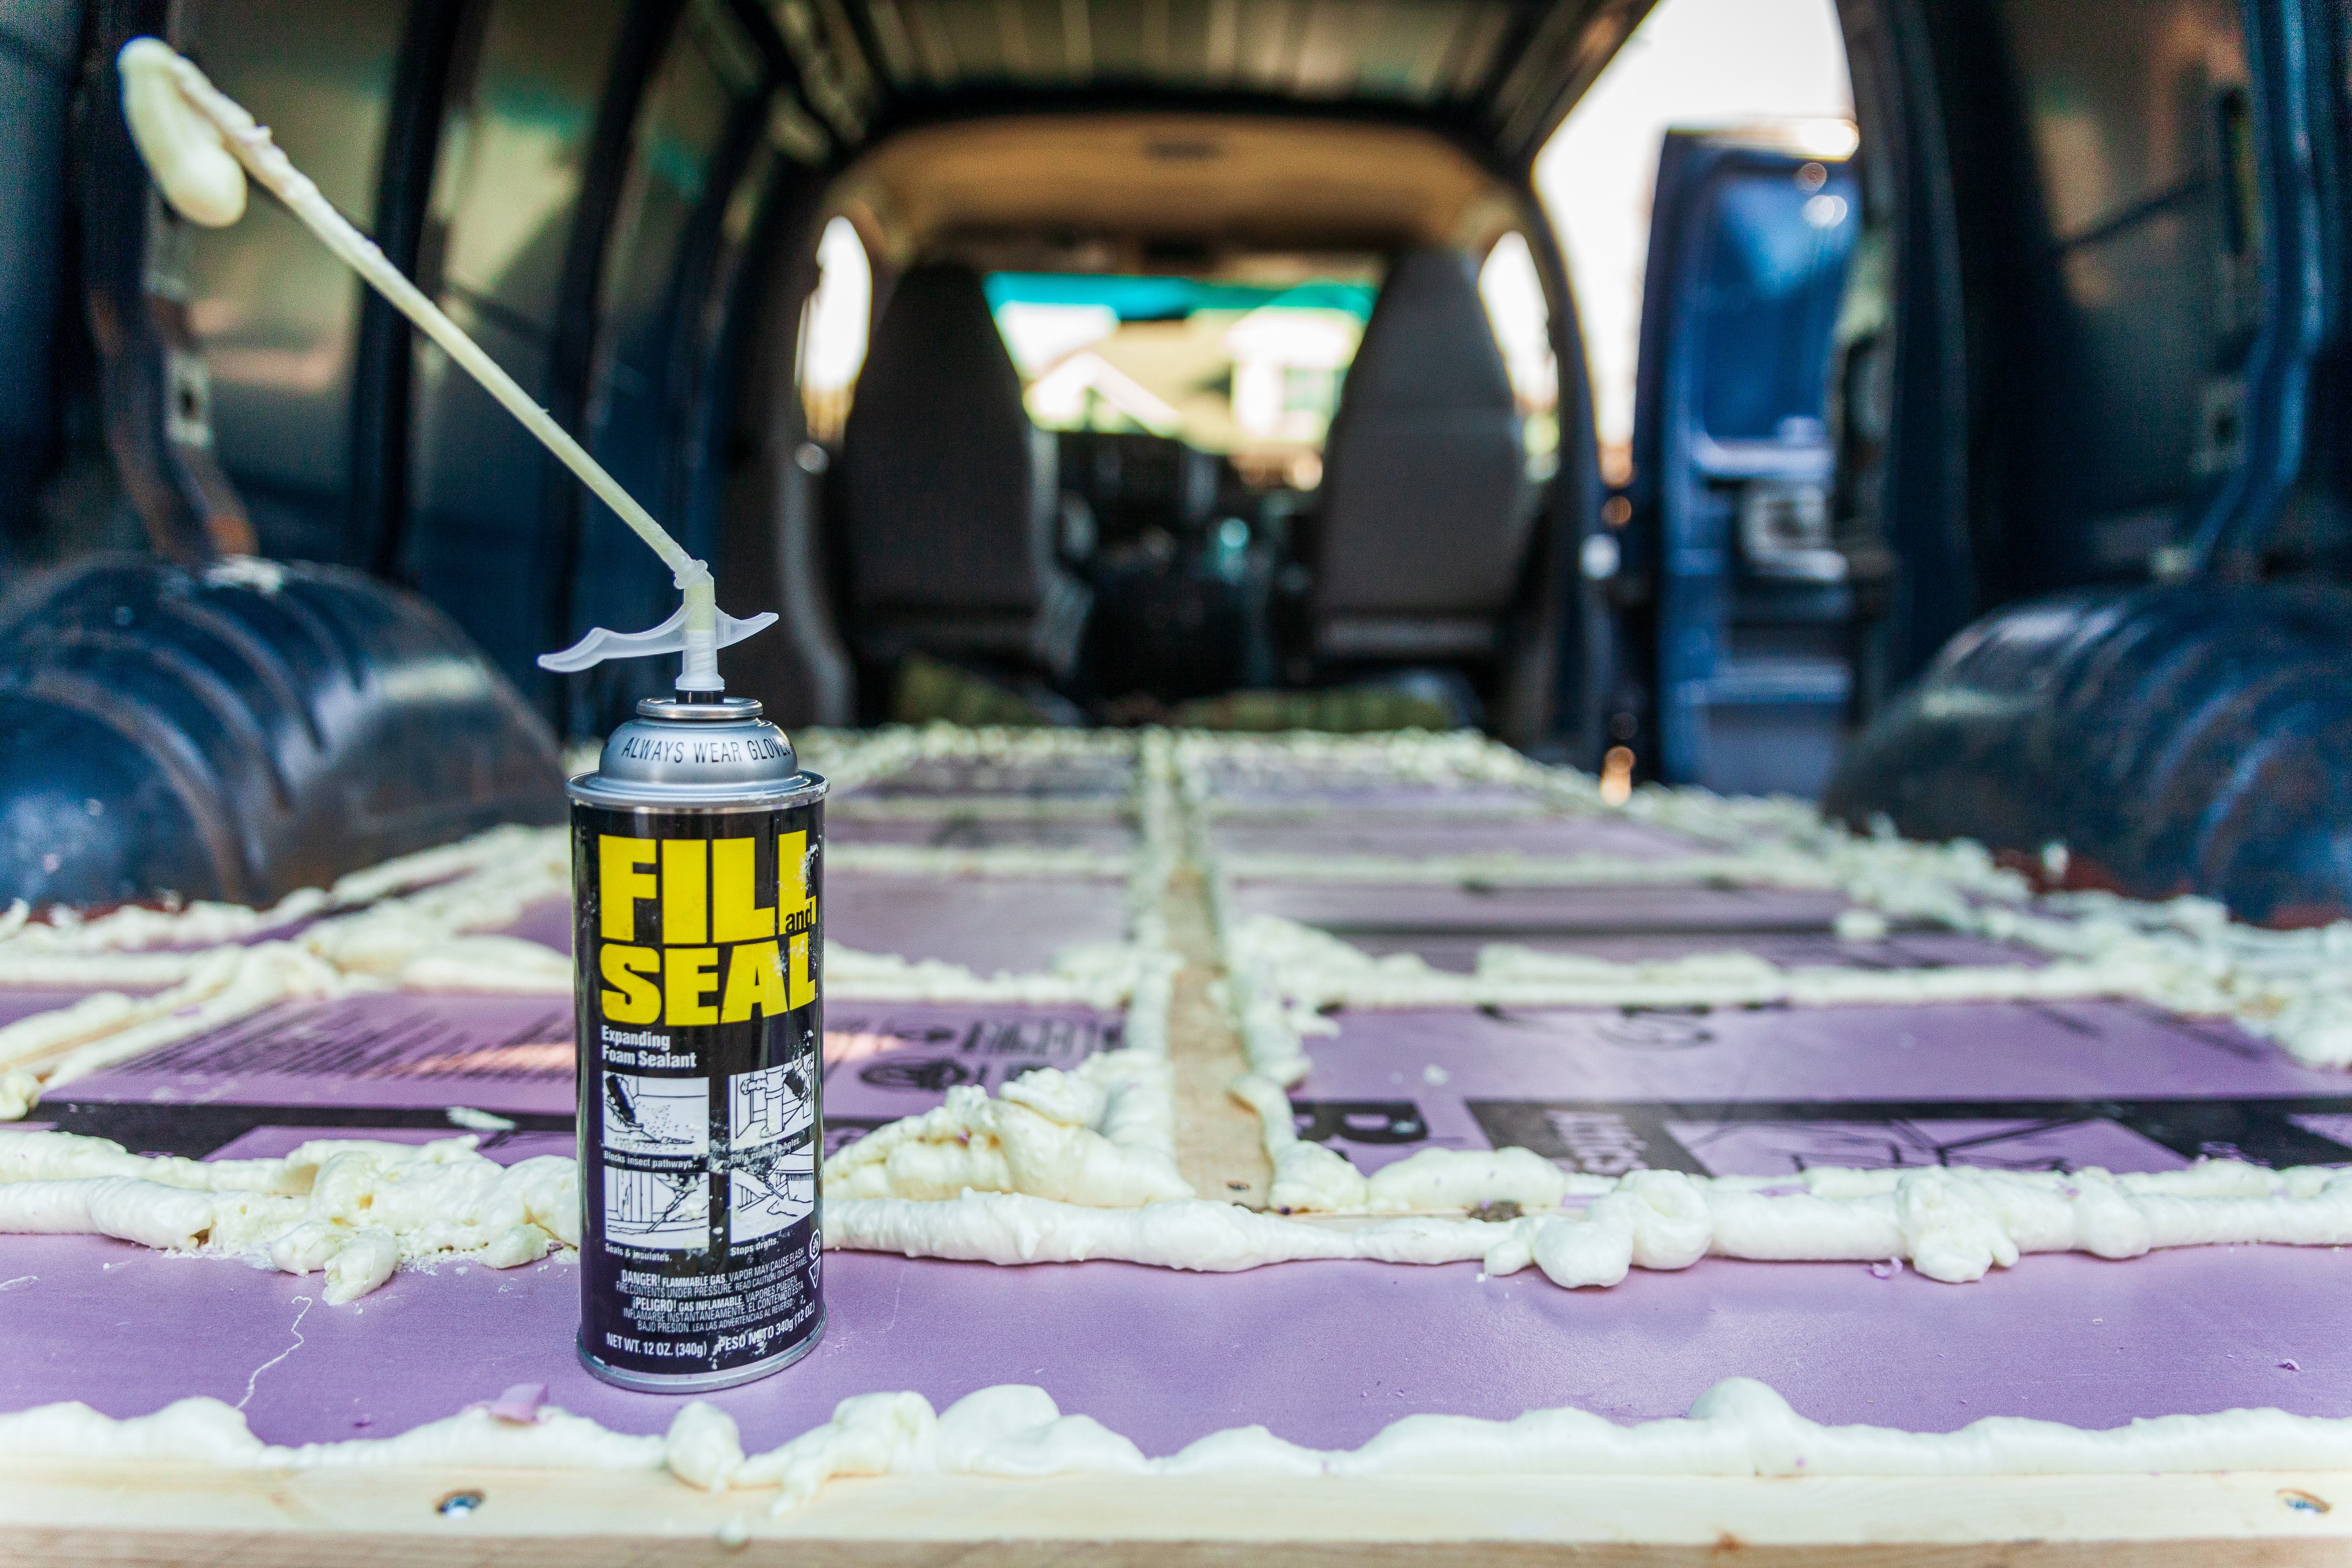
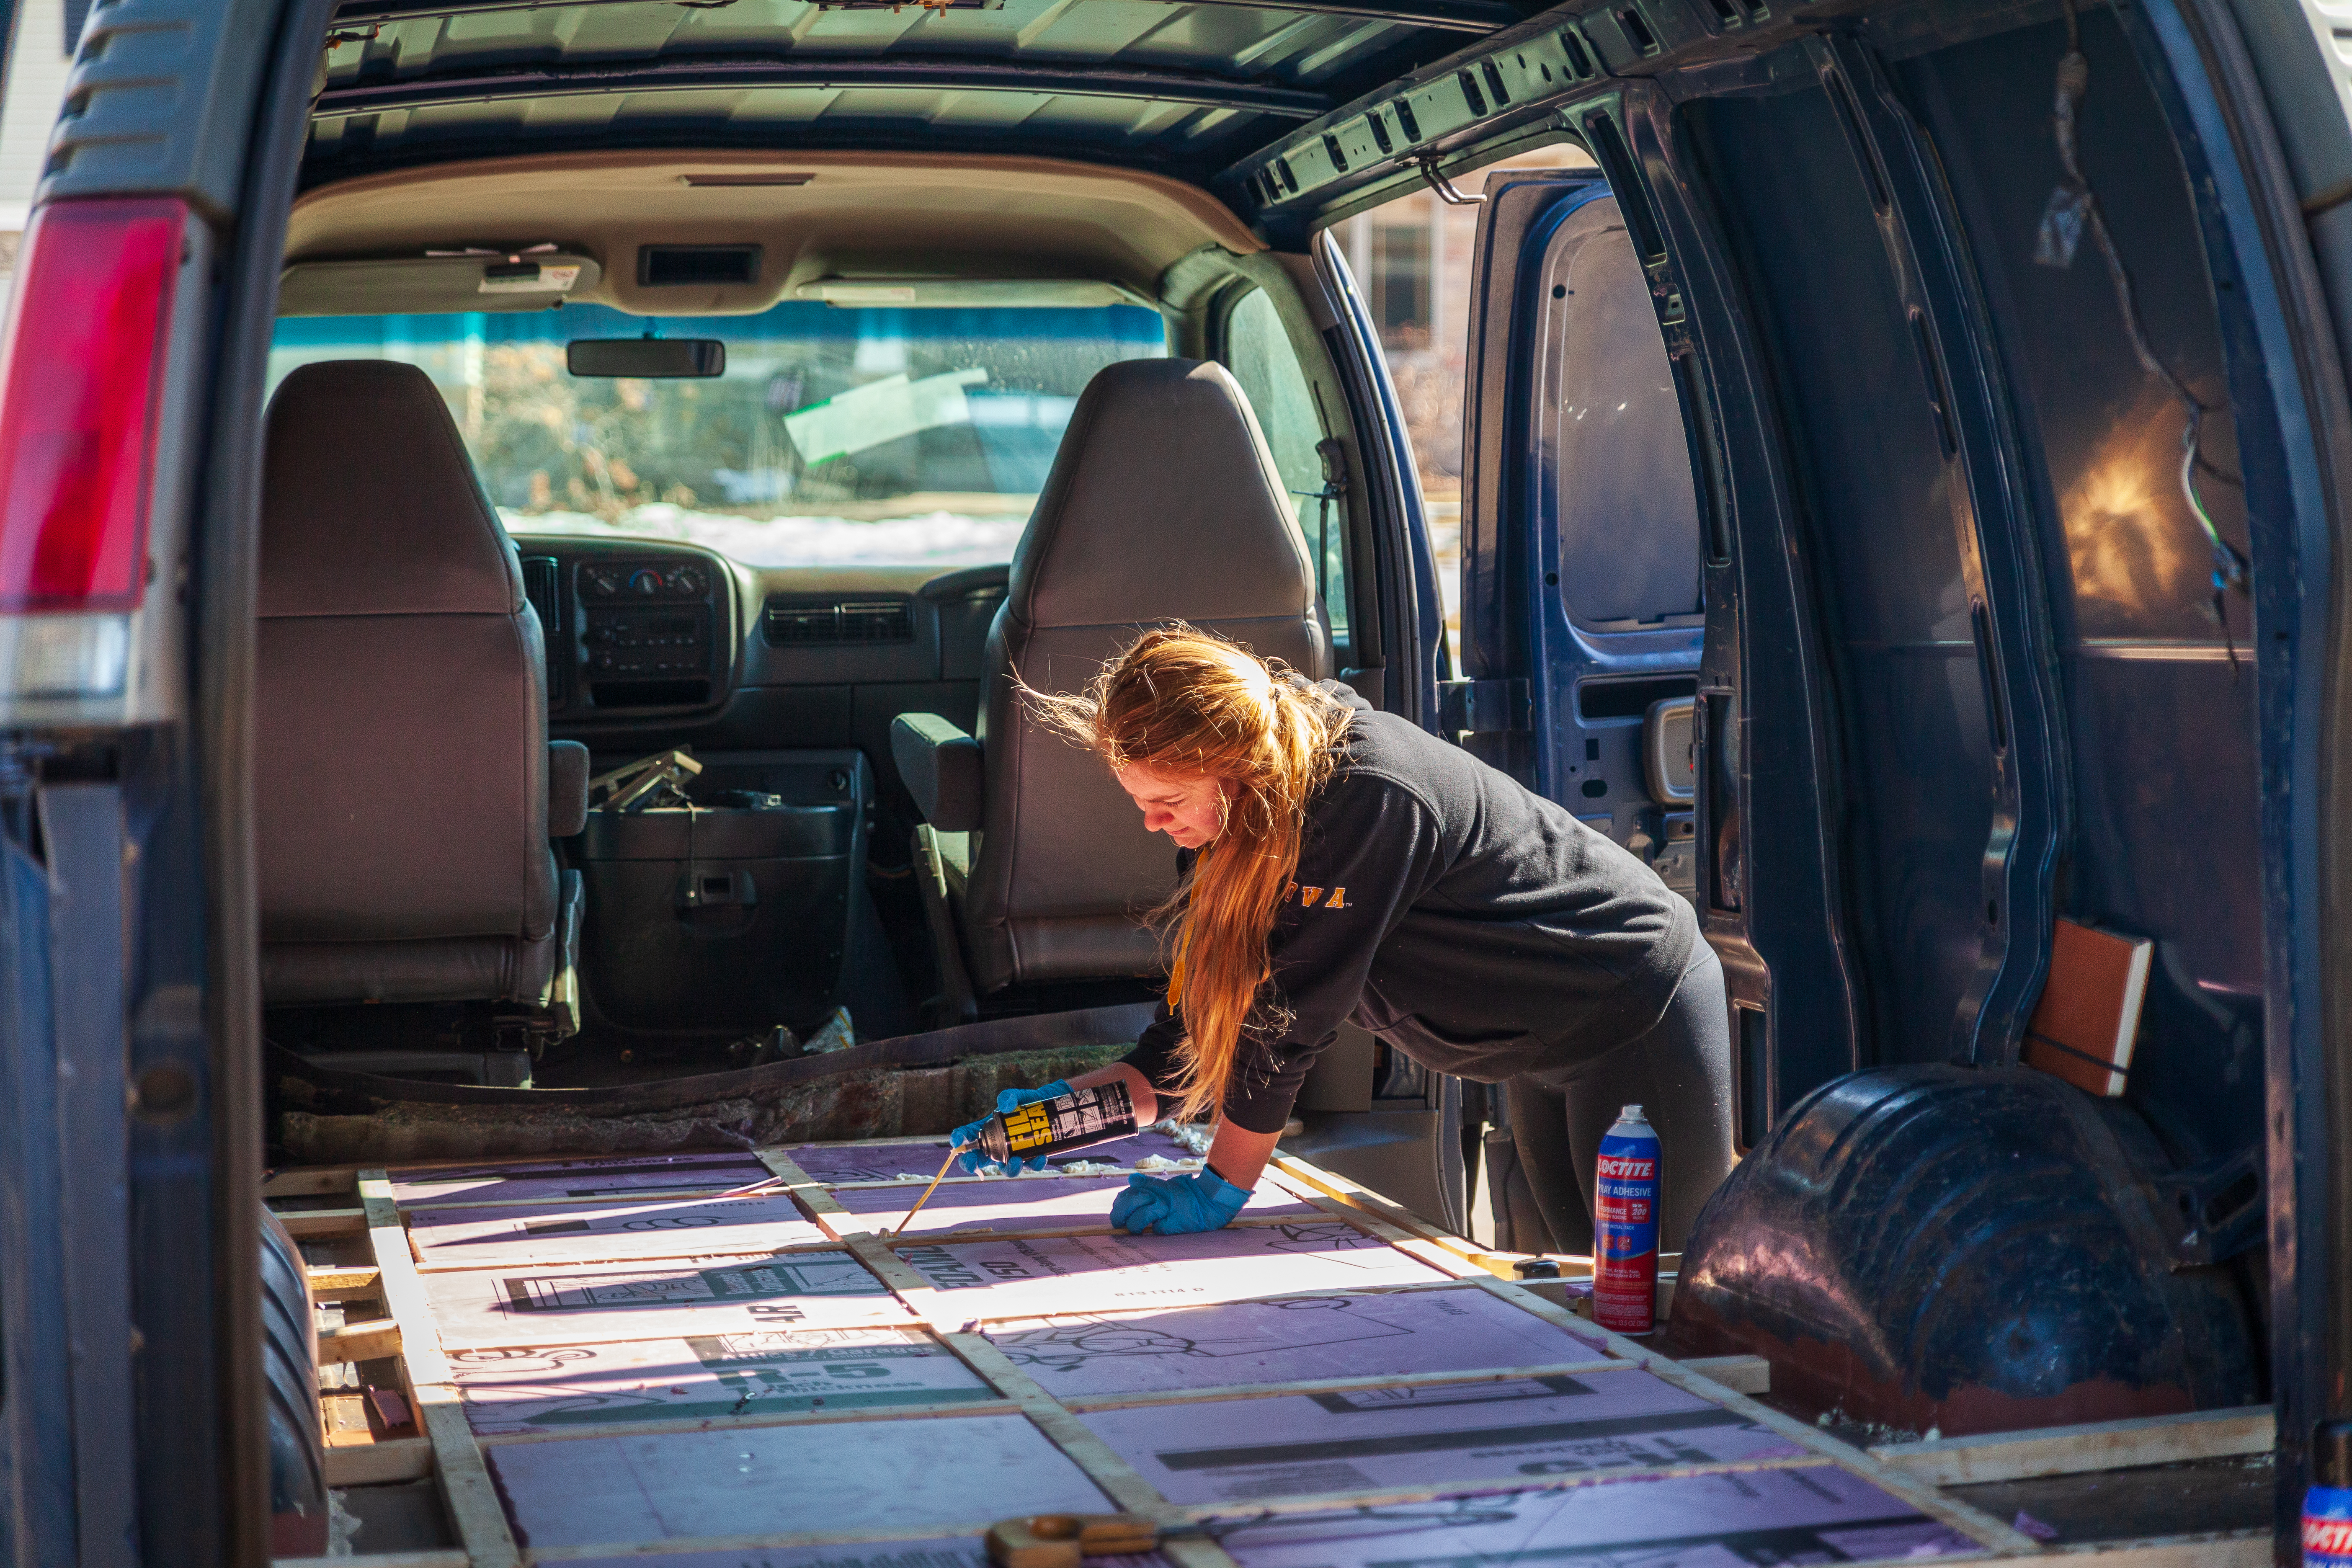
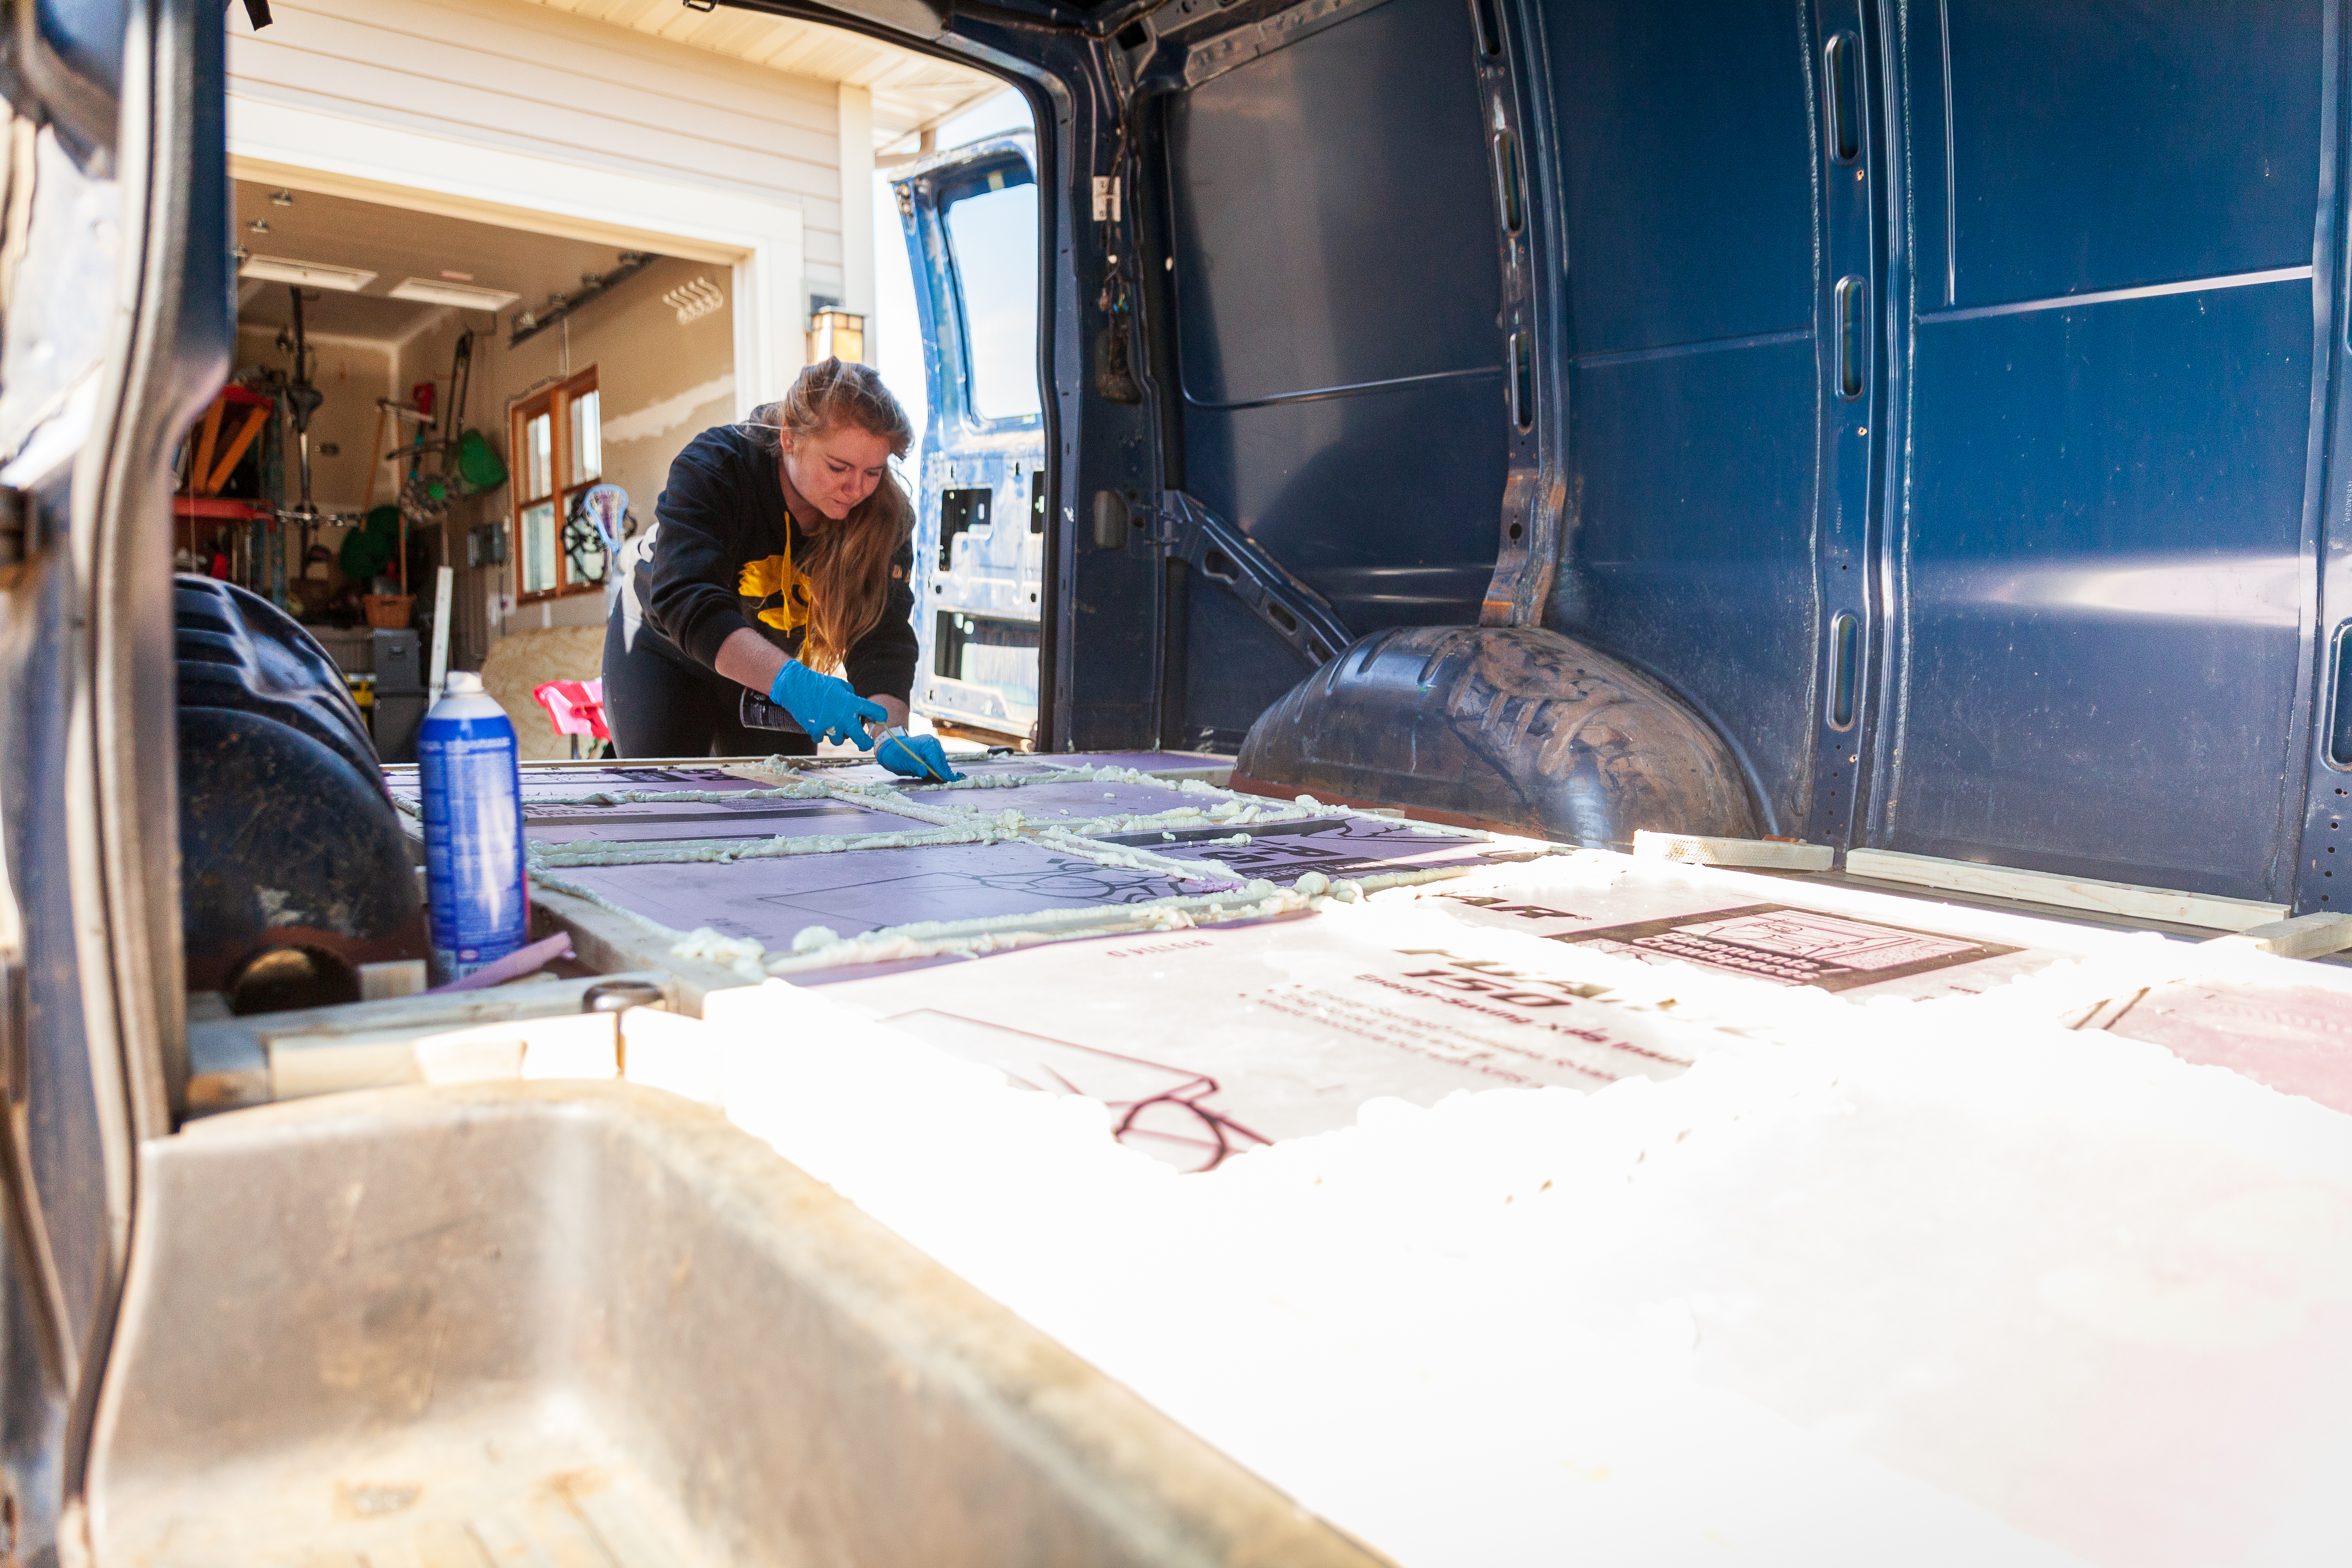
Insulation soon followed. We chose to use 1 inch rigid foam for the floor and walls, as it would provide a bit of support for the sub-floor between the ribs and, with an R-5 rating, would definitely provide a good amount of insulation. It was easy to cut to size with a jigsaw. After filling in the gaps with a good amount of spray foam, the foundation was done!
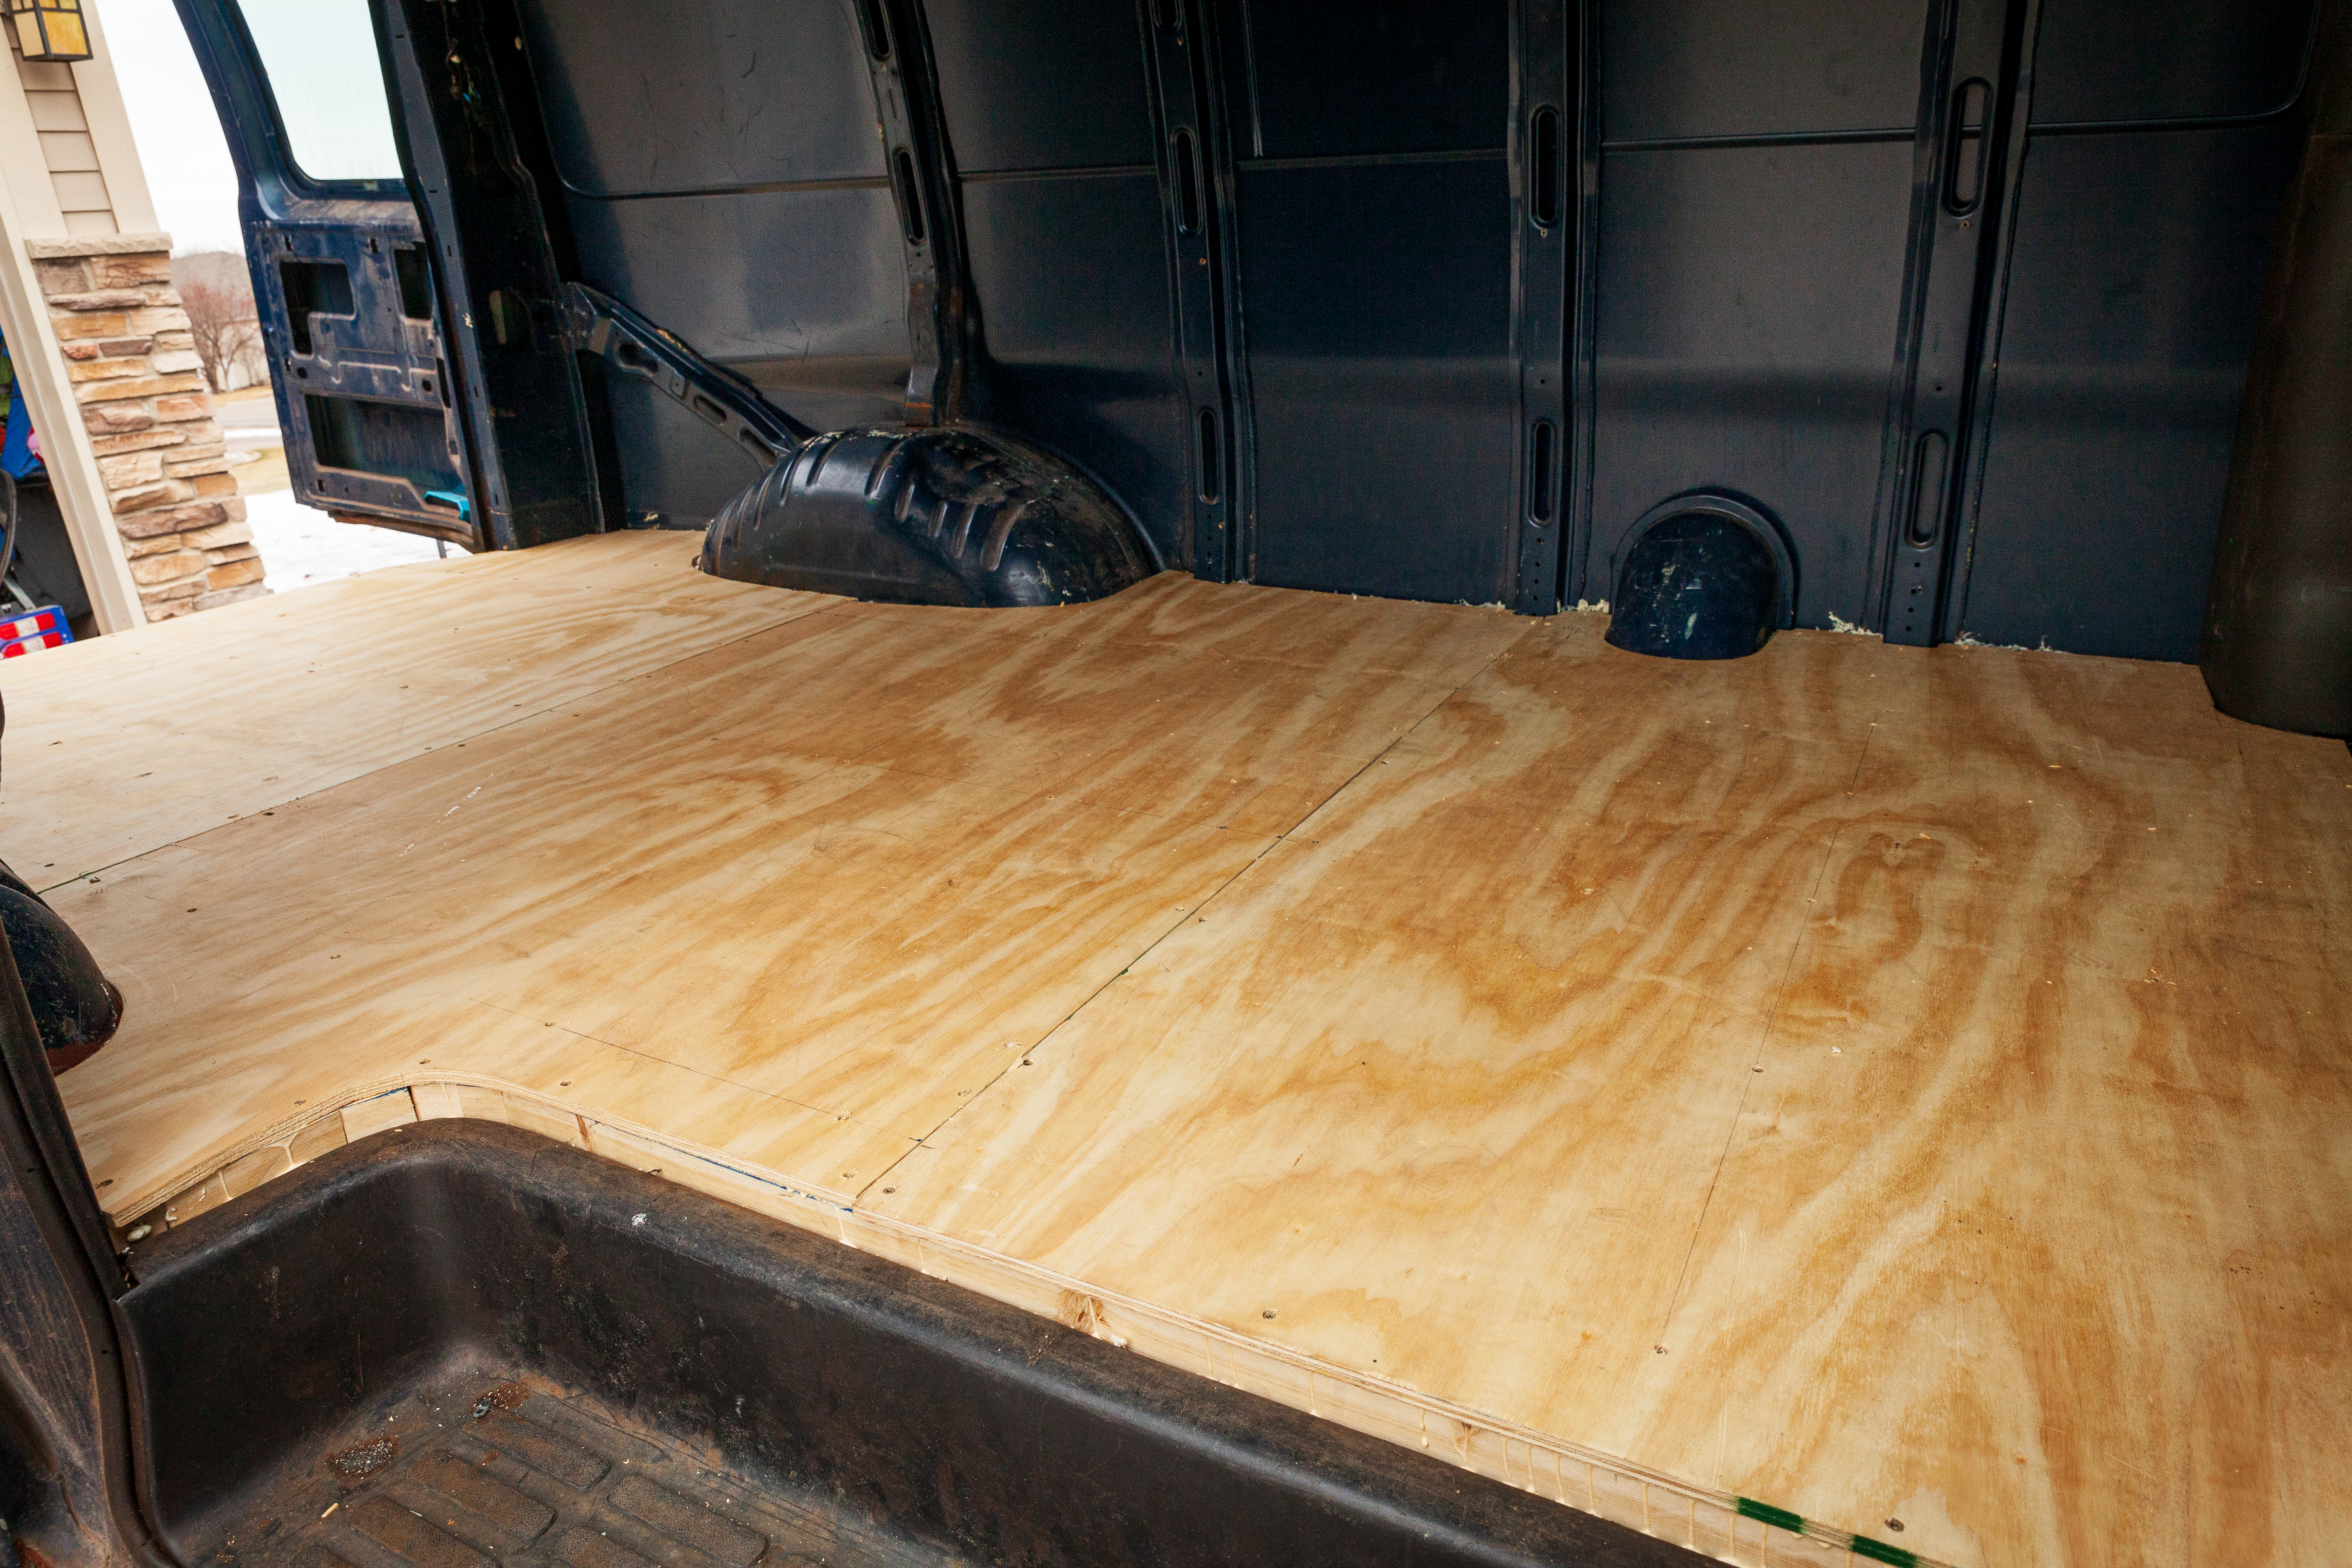
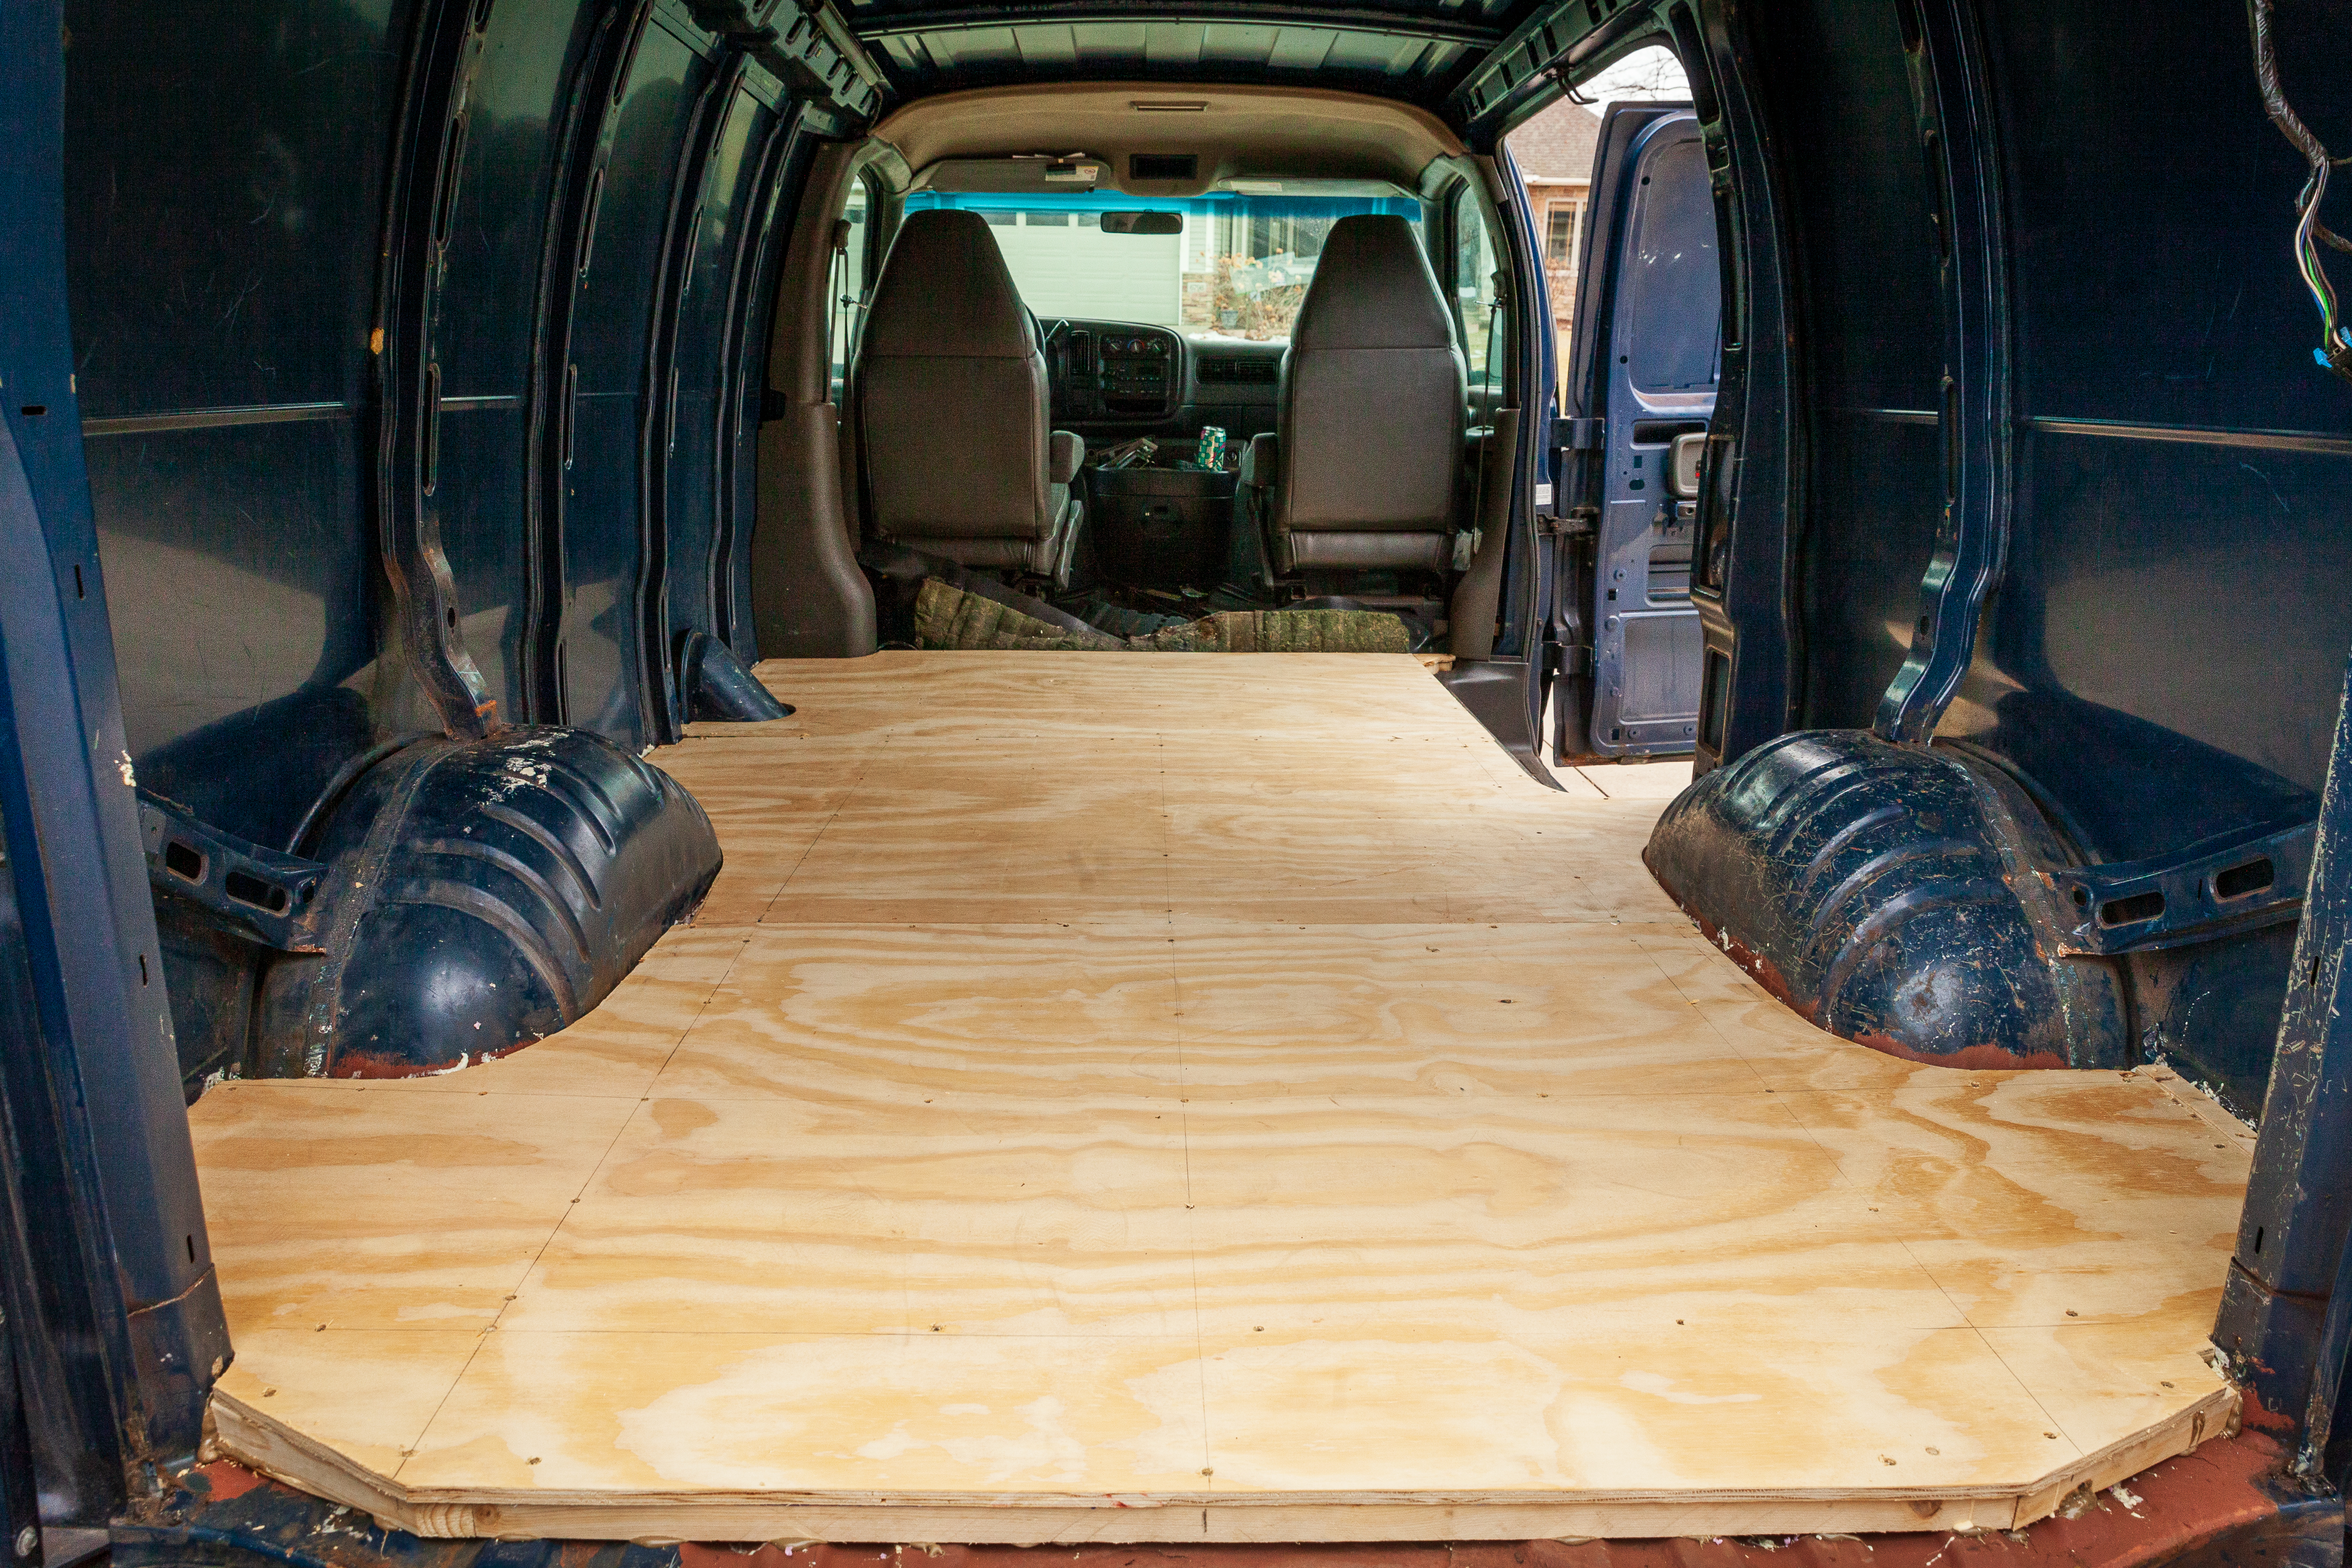
I won’t lie: putting in the plywood floor was a pain in the ass. Taylor’s dad and I spent probably ten hours measuring, cutting, and fitting the plywood. Lots of measurements were wrong, tons of adjustments were made, and eventually, we had a floor! We’re planning on putting down some vinyl flooring on top of this after we put in our bed and counters, but for now, this is it! Stay tuned for when we get to work on the walls. We’re moving along!
