Making Moves!
I’ve been terrible about updating the blog, but Taylor has been killing it on Instagram. I’m going to blame too much hard work for the lack of blog posts. But I’m back!
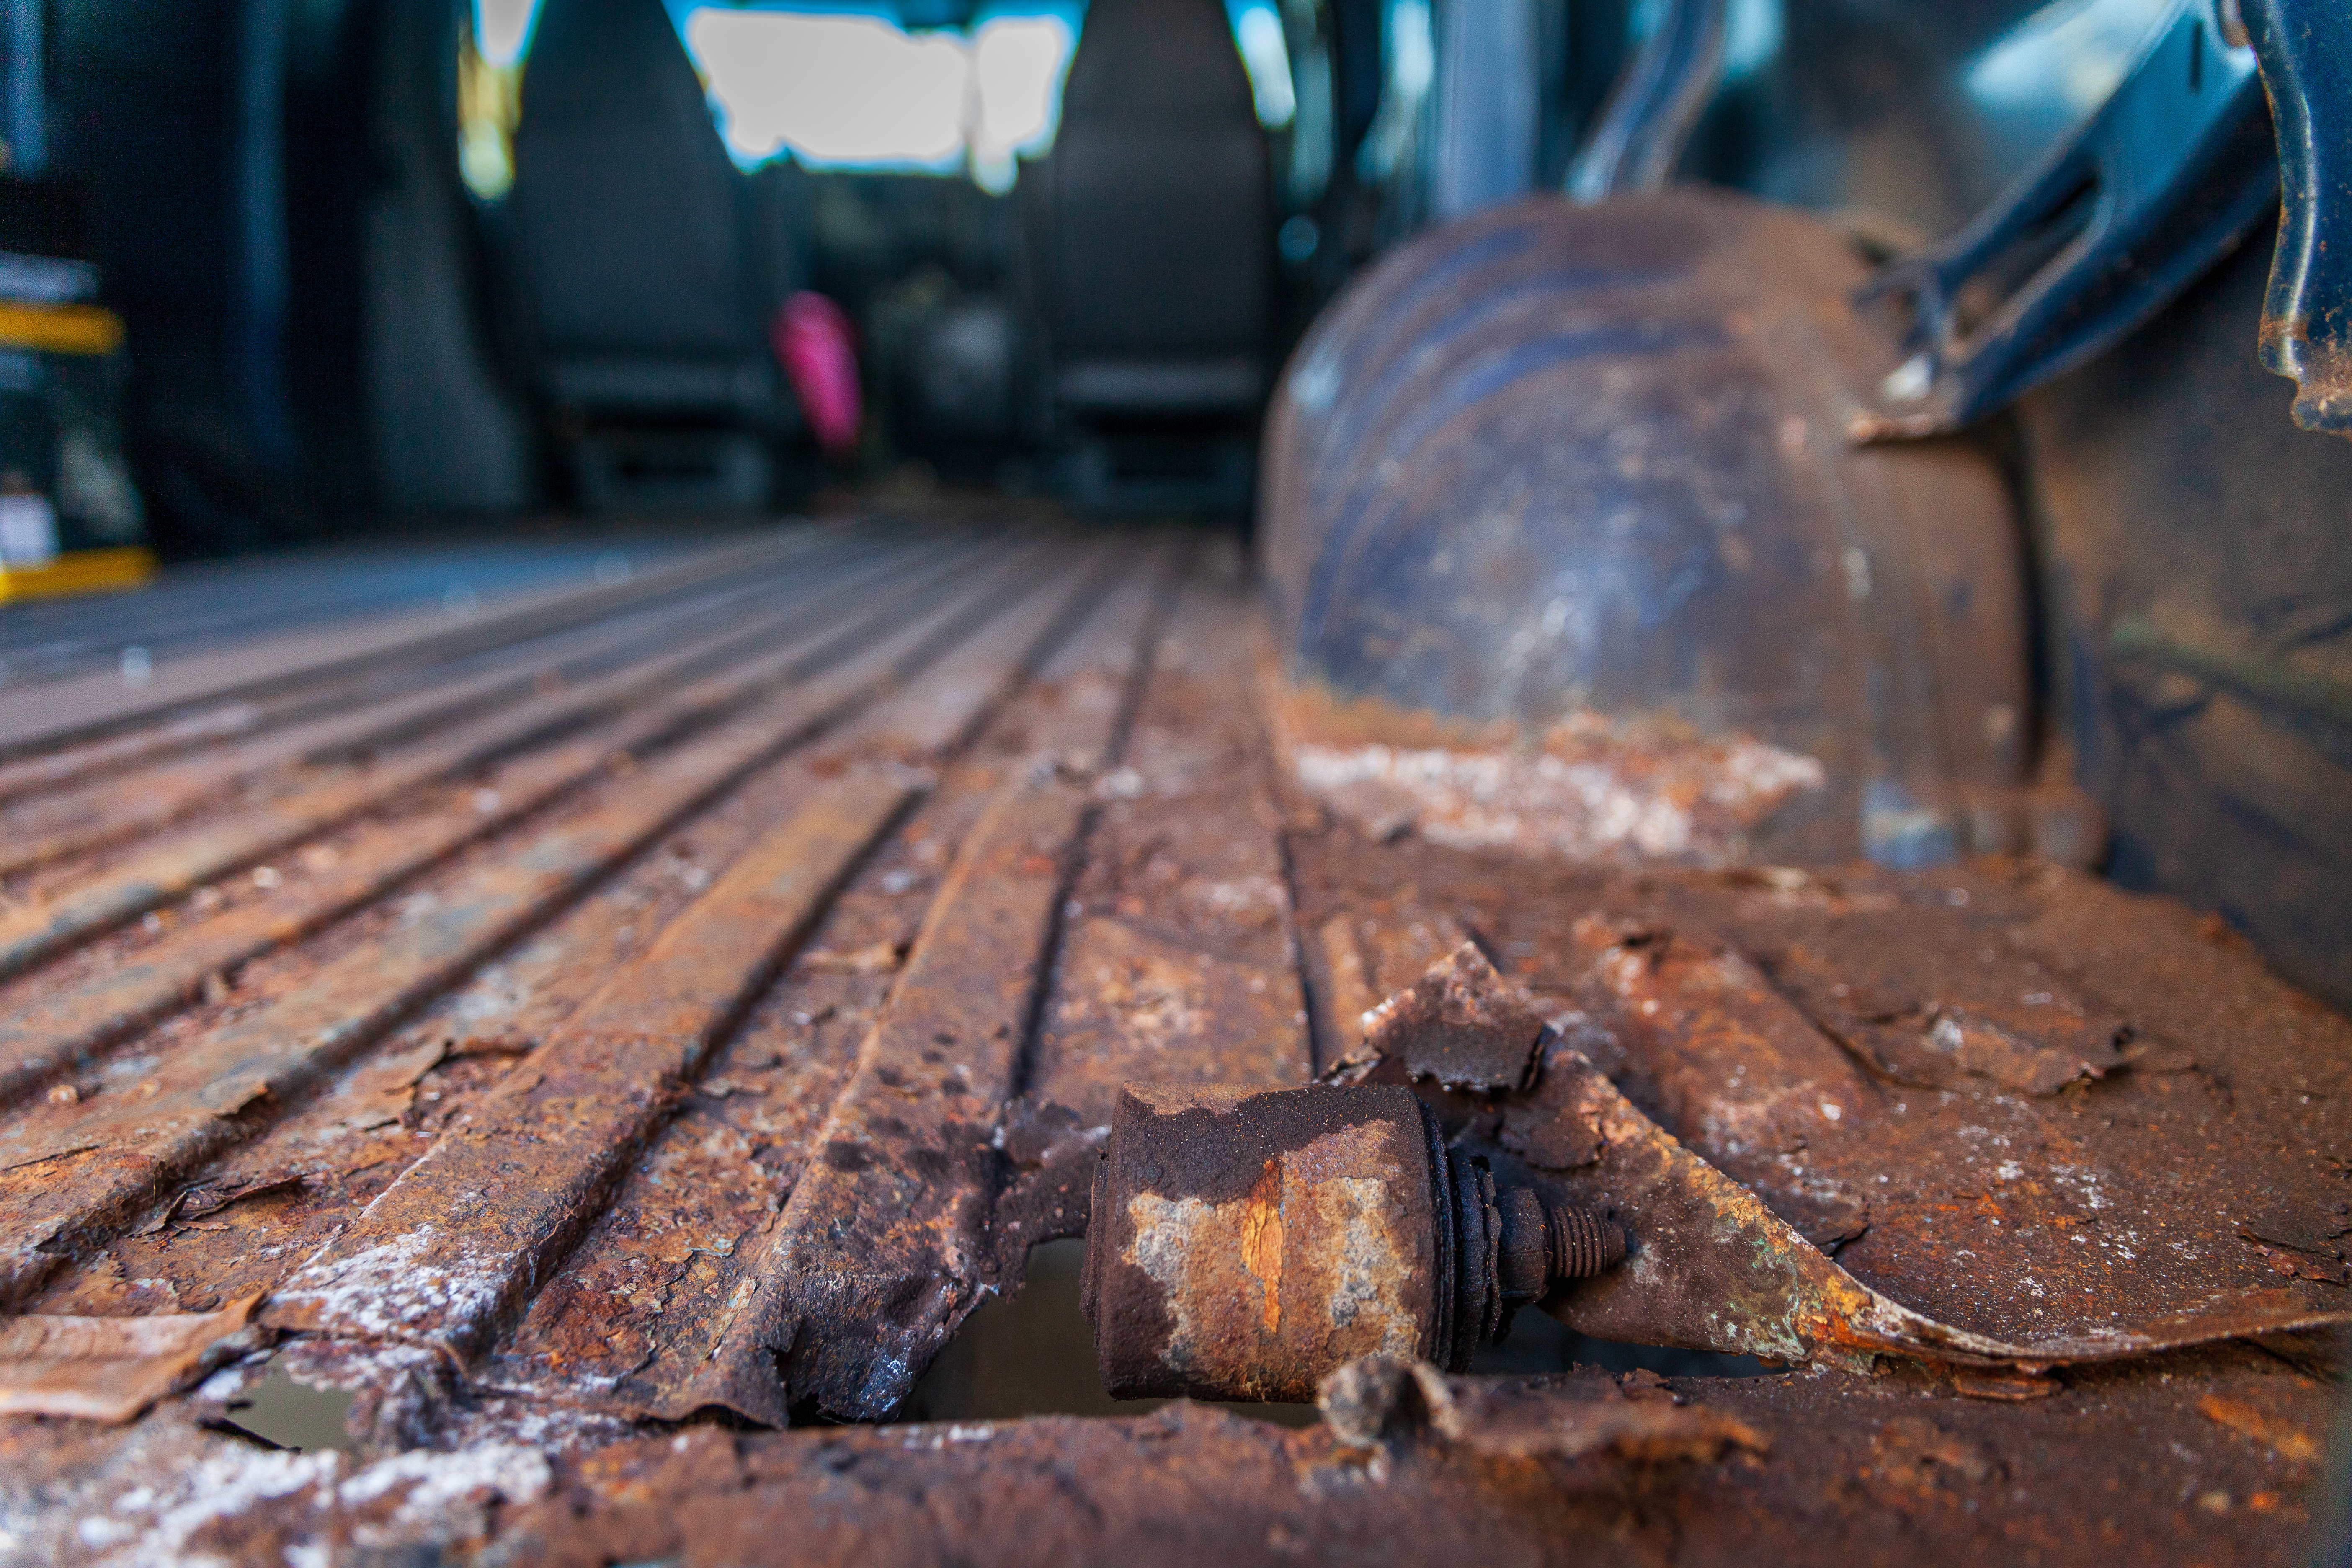
Last we talked, I’d just gotten the floor up and discovered a massive problem: the rear passenger side leaf spring shackle had shattered, leaving me with a bigger hole in the floor where the spring exploded up through it. I’d never replaced this part before, so it was time to learn!
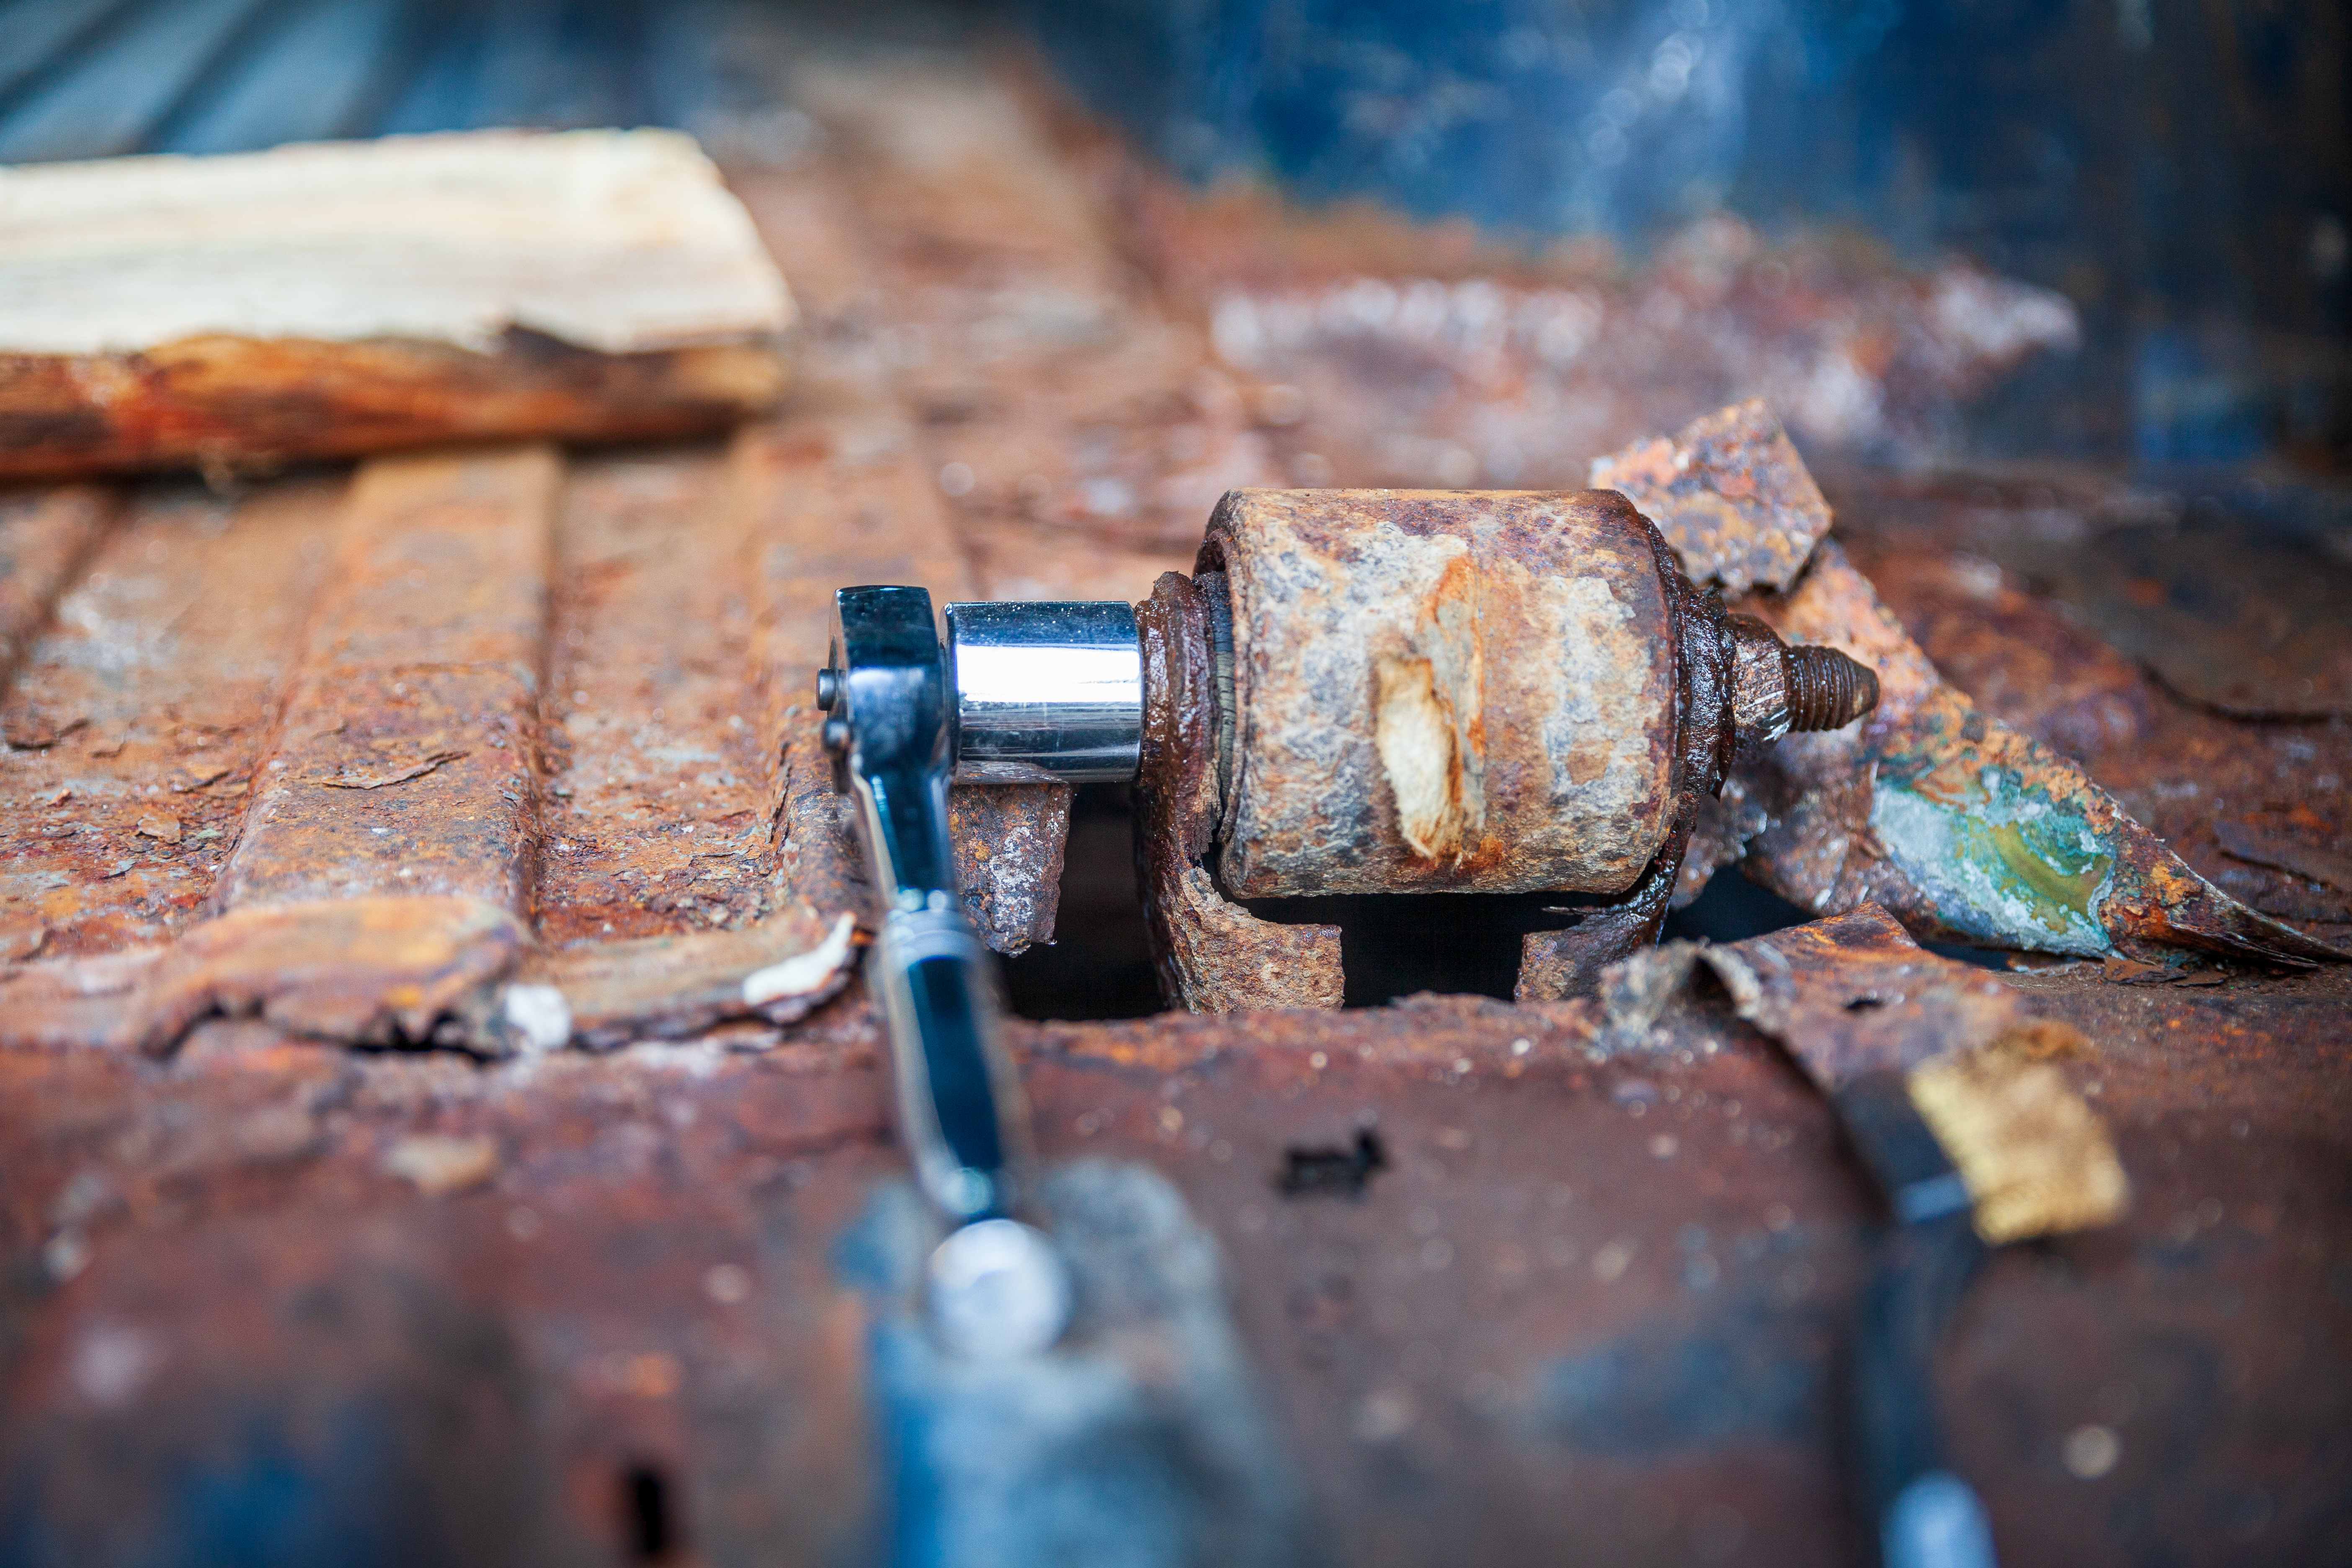
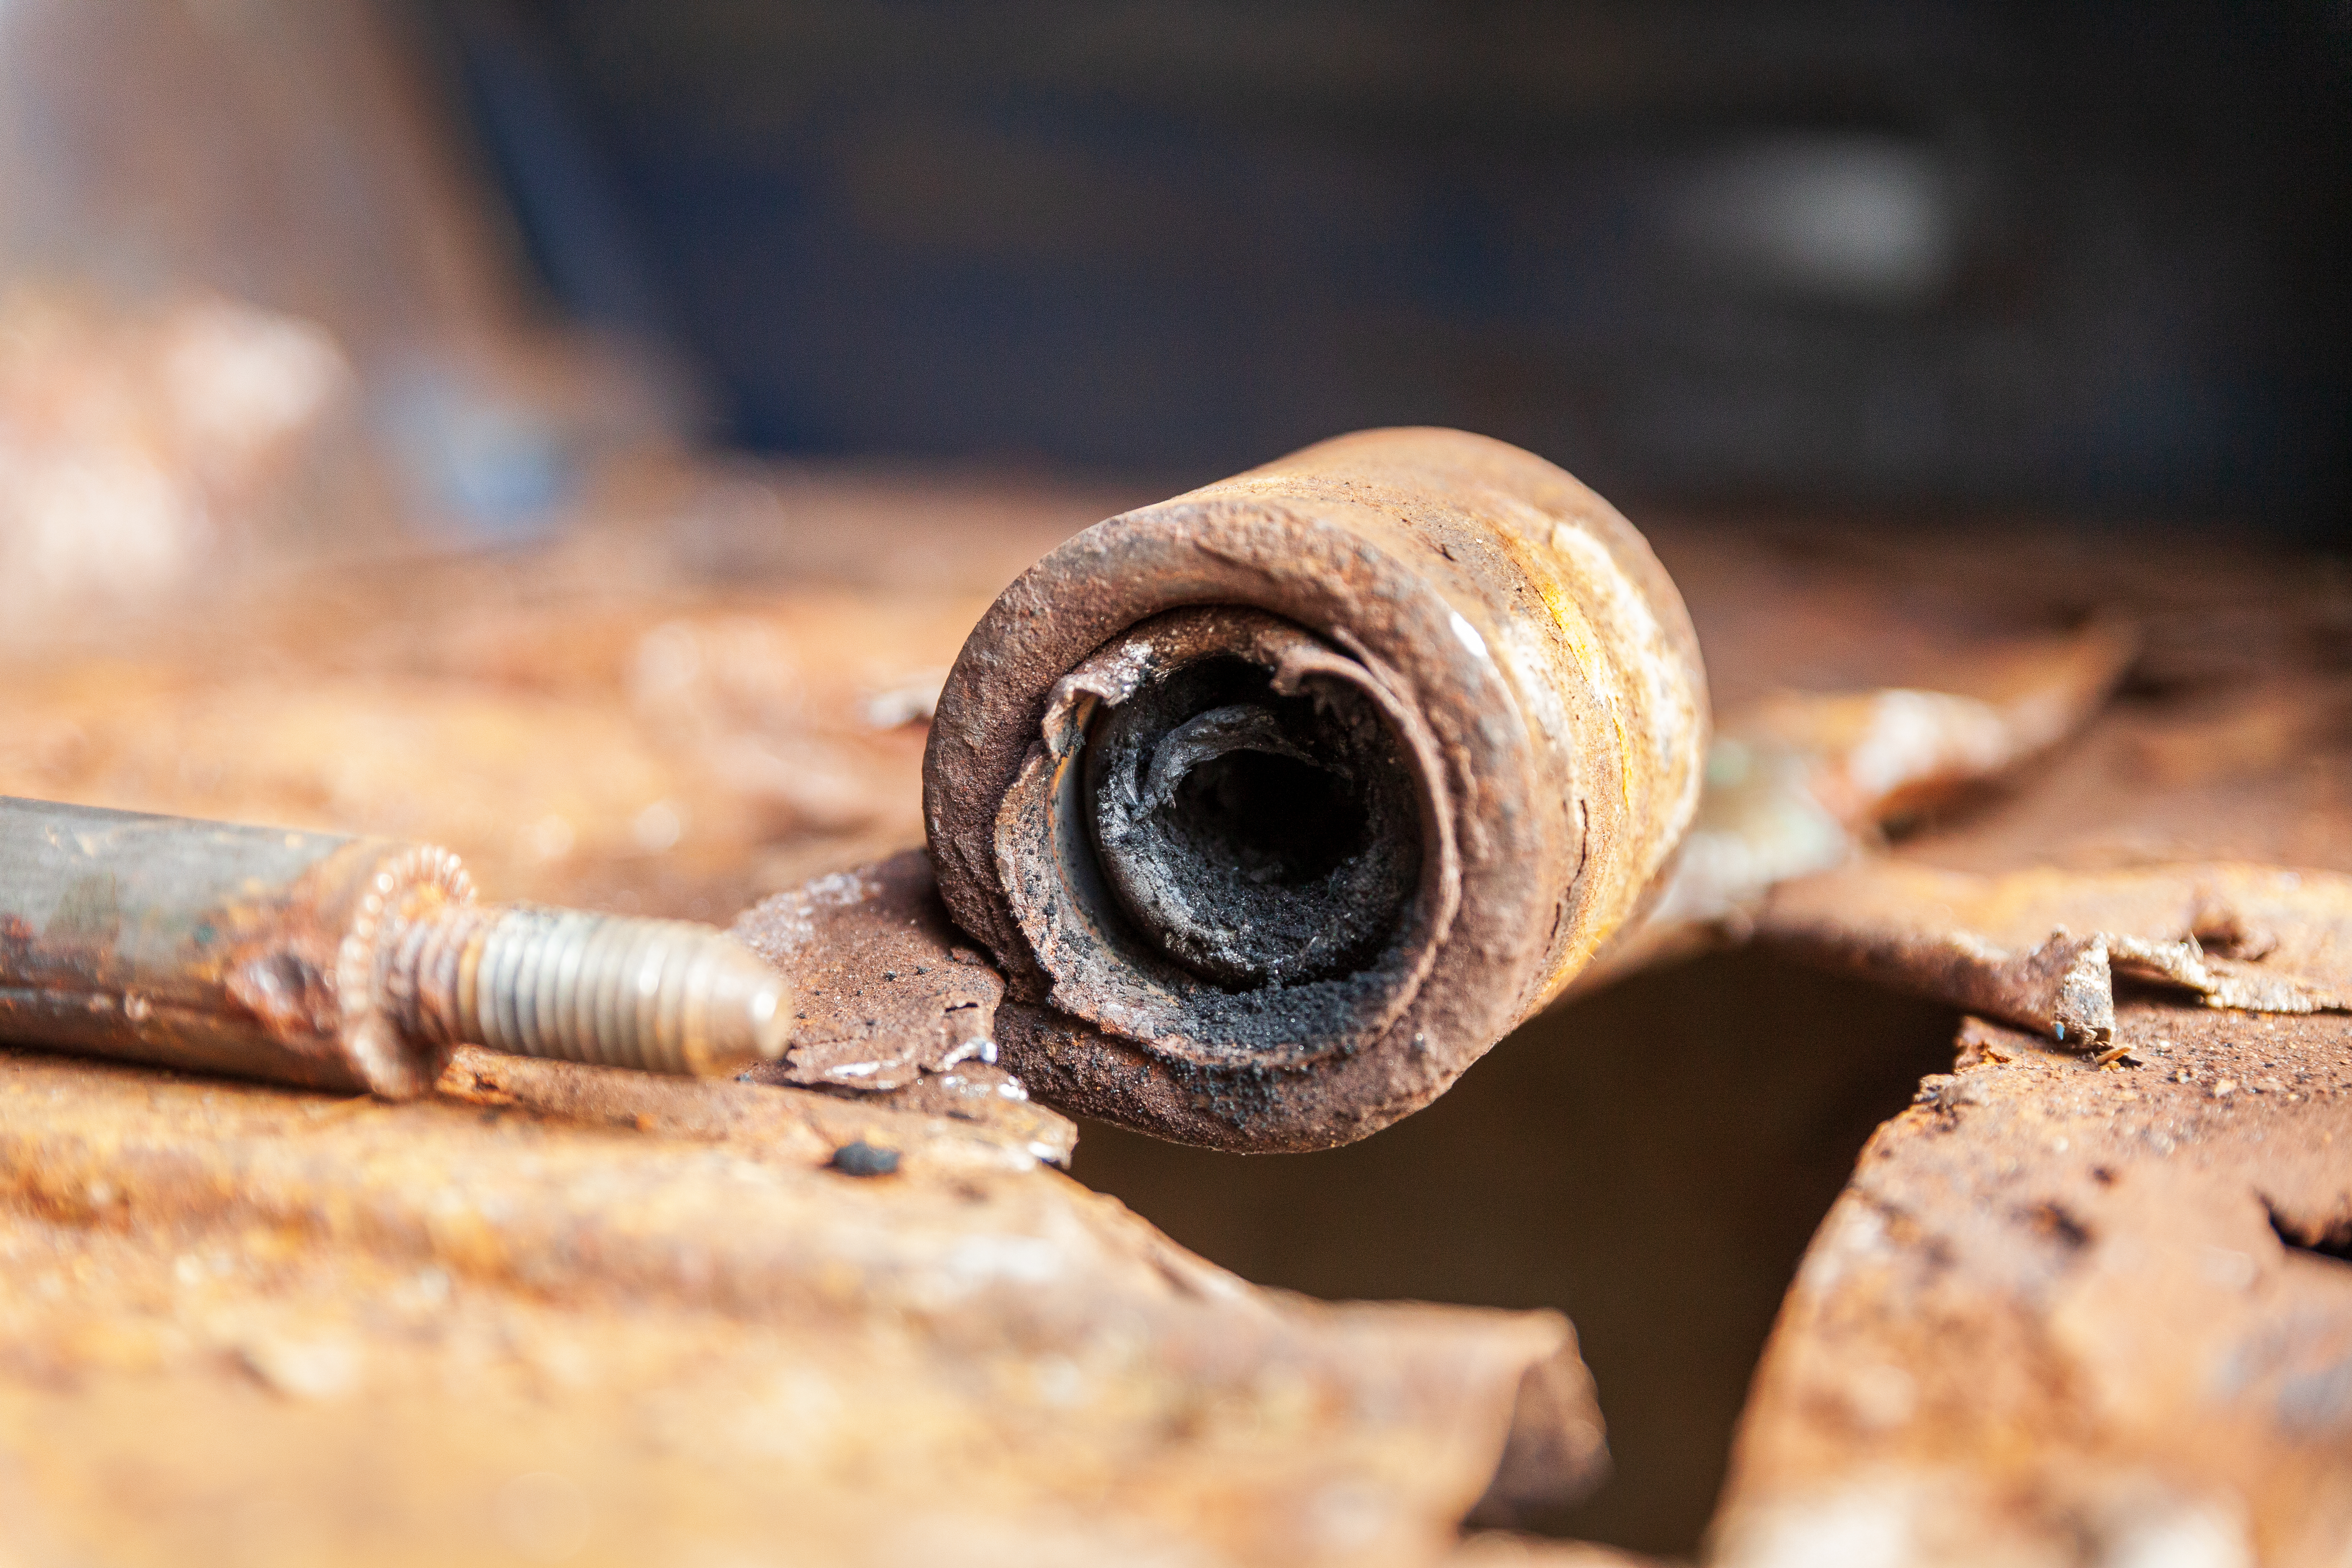
Above, you’ll see what I had to tackle. A bolt that had rusted into one piece with the bushing and sleeve inside the leaf spring was too much to break, even with a lengthy breaker bar. For lack of a better option, I took the angle grinder to one side, in hopes of being able to hammer the center bolt out once it was no longer rusted to the shackle.

Unfortunately, even with one side of the bolt sheared completely off, I couldn’t just use brute force to remove the bolt. As it was designed to do, the rubber bushing absorbed the force of every blow, leaving me exhausted with no progress to show for it. I eventually accepted defeat and headed over to the closest NAPA auto parts to see if they had a tool that would help me out.
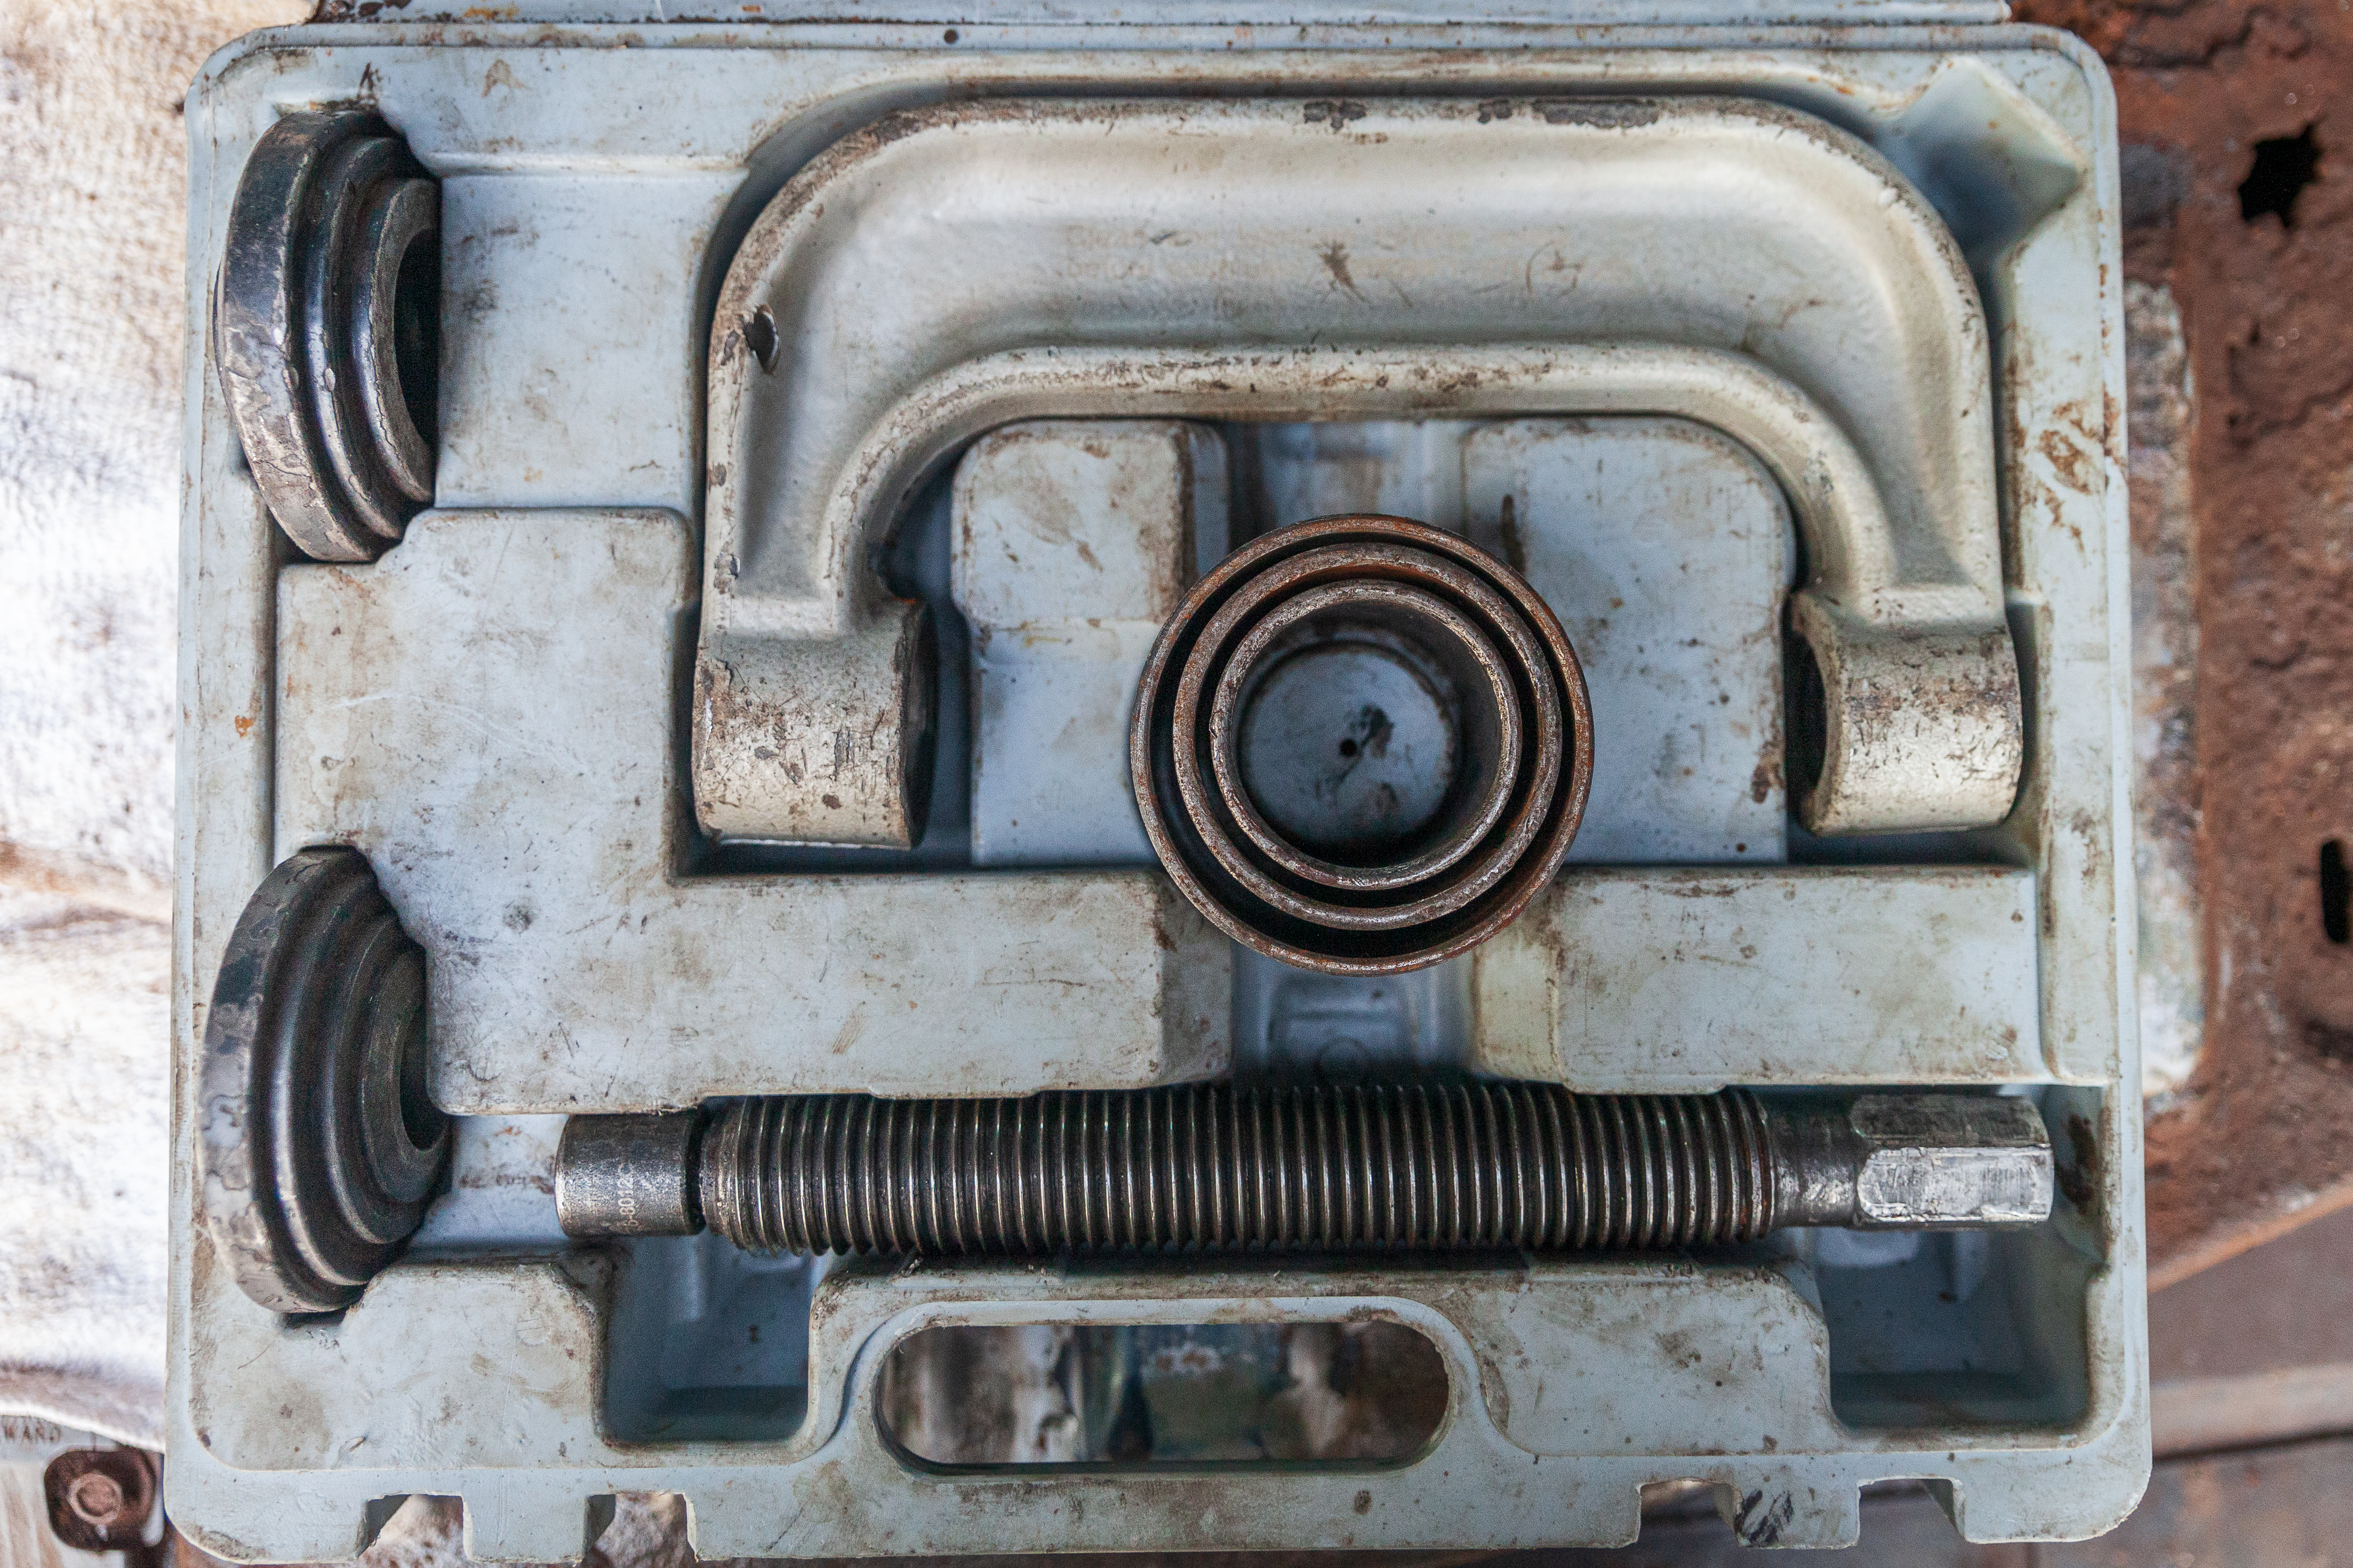
My first attempt, a 2-ton puller, was a complete failure. The claws of the puller couldn’t fit around the leaf spring, so I was quick to return it. Returning home that evening, I sat down to do some research and found a number of videos of people using ball joint presses (essentially giant, socket-cranked C-clamps) to press out the bolt and the surrounding bushing, so I nabbed one of those early the next morning. For a nearly two hundred dollar deposit, I finally had the right tool for the job. I didn’t have a socket large enough to crank it at first, and wasted quite a bit of time using a vice grip, but I eventually capitulated and bout a set of large deep sockets from Menard’s, and I’ve used them a ton since.
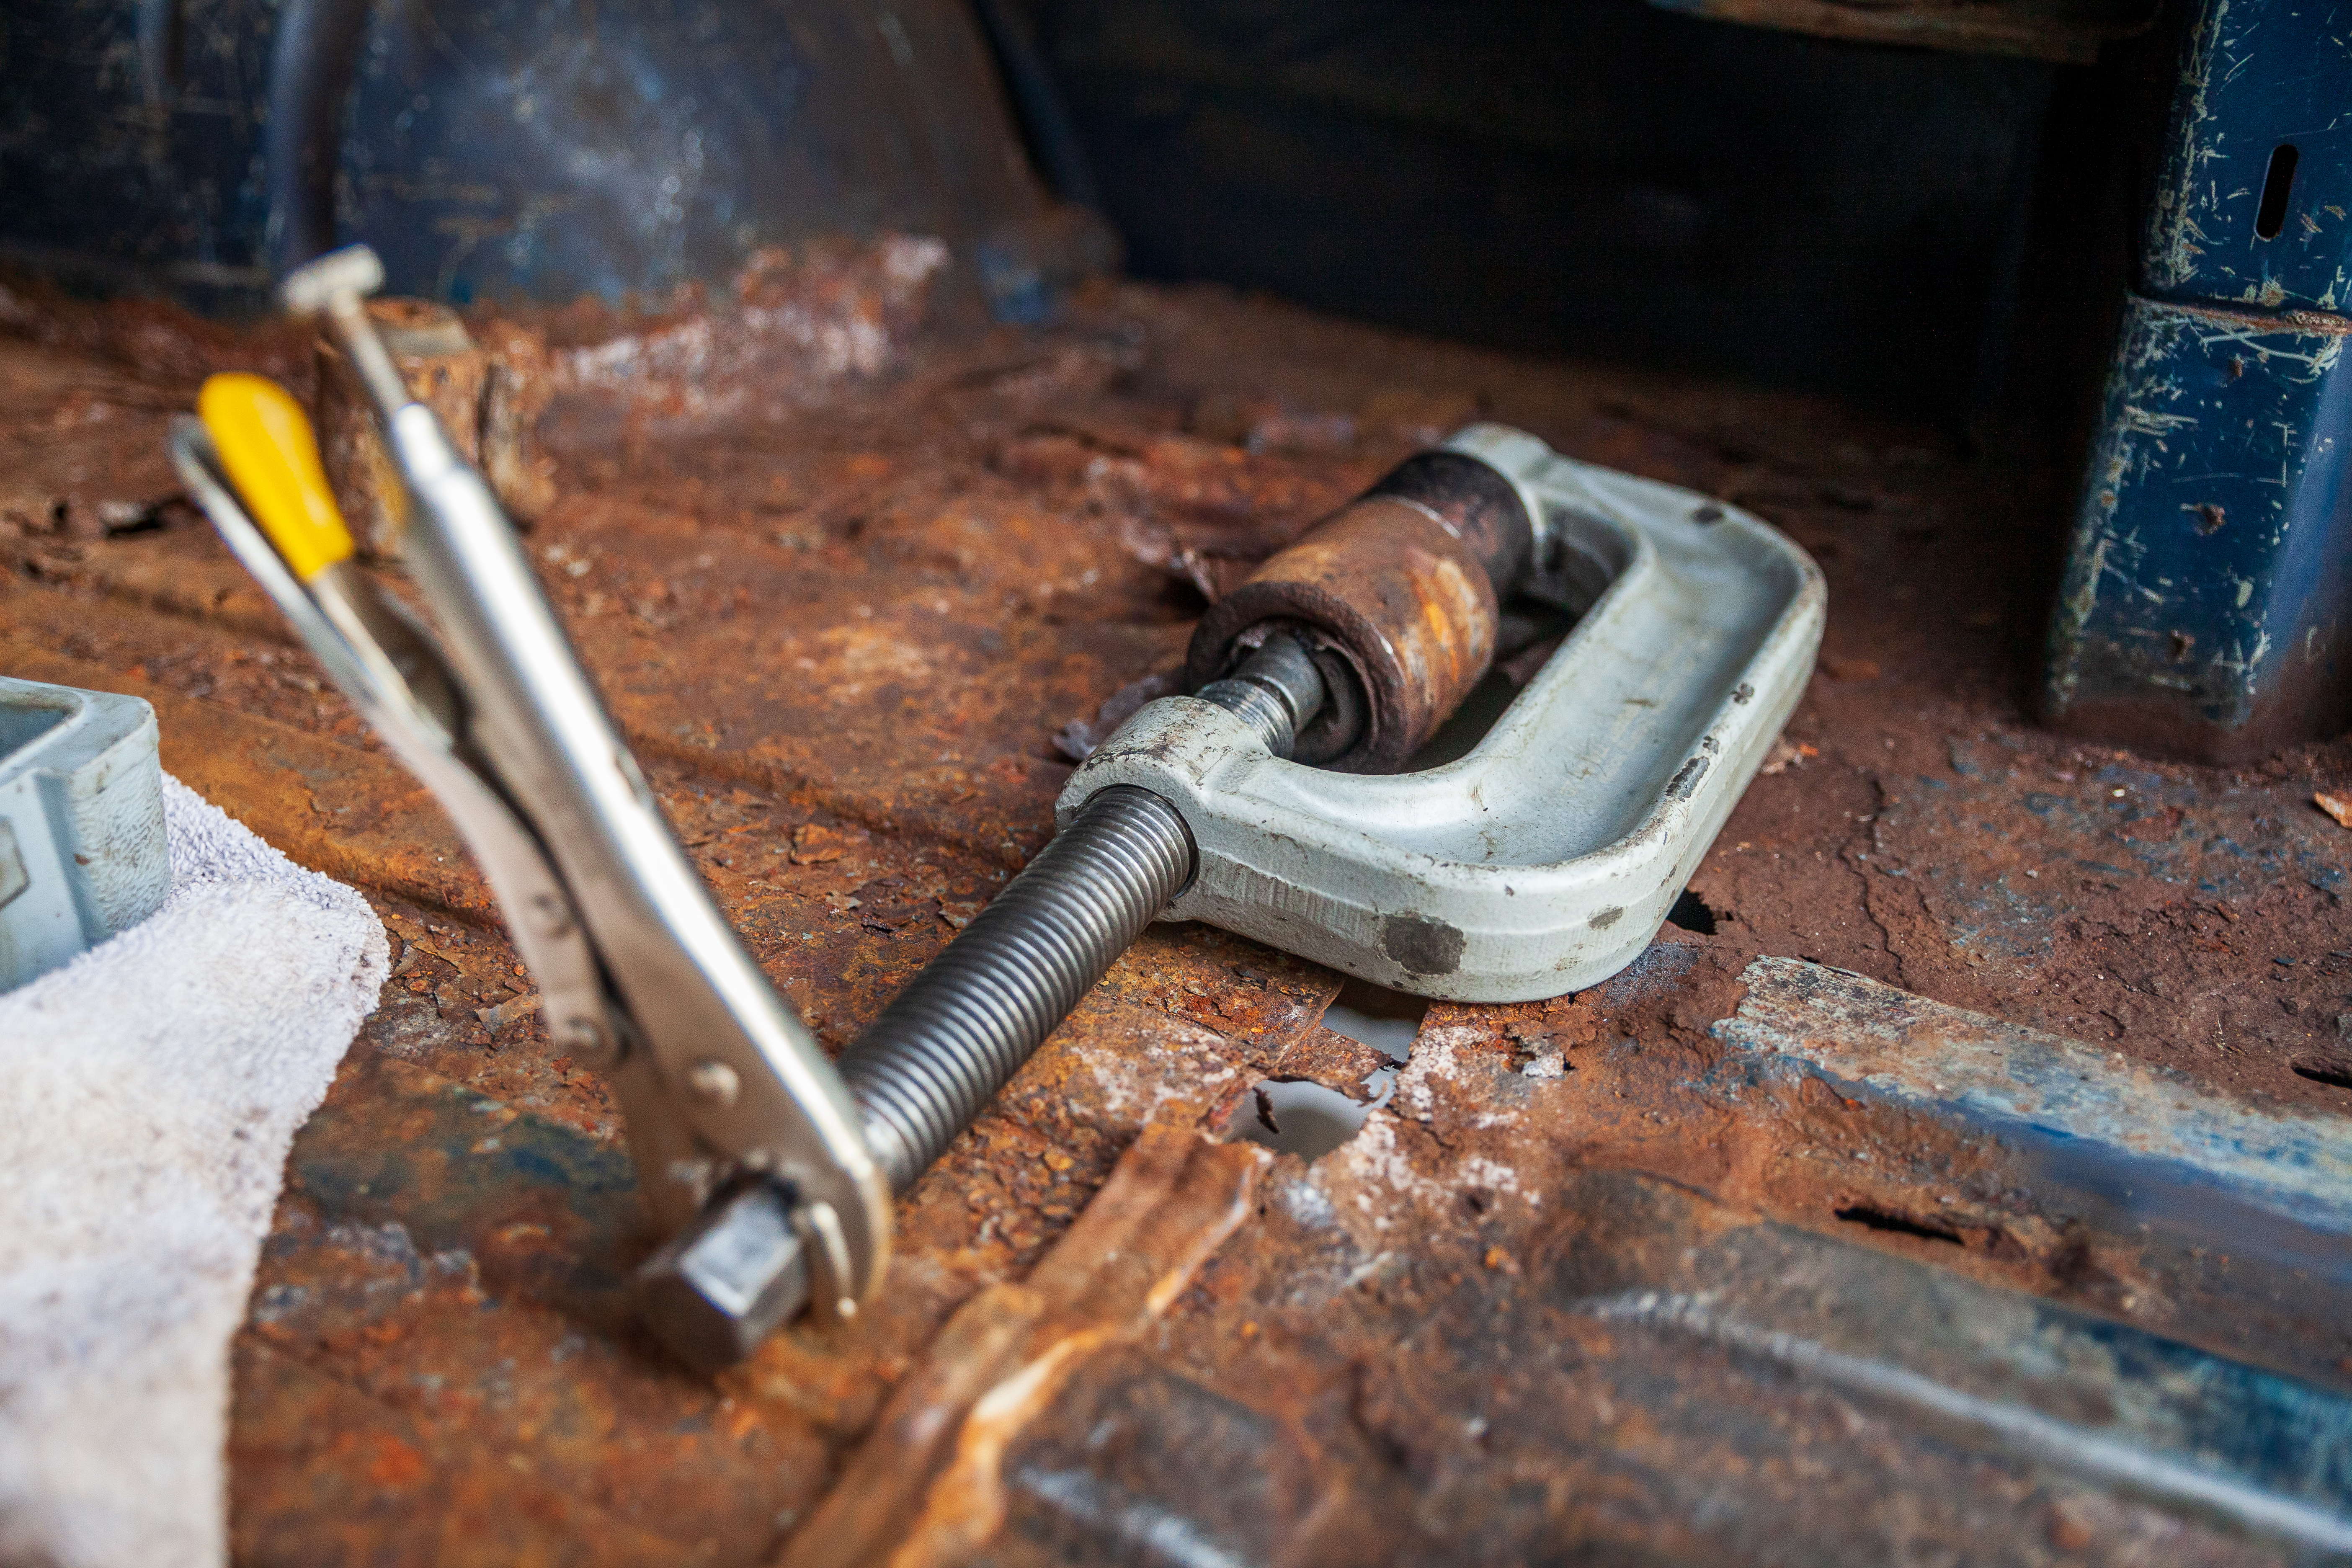
Moderate success!
The ball joint press made light work of the center bolt, as a cold chisel and hammer did for the bushing and outer sleeve. (unfortunately, I forgot to take photos of it, as I was so excited to finally be done.) I used the same press to insert the new bushing and sleeve, threaded the new bolts, and was finally done with the shackle! It took me nearly a week to replace the one rusted out part, and I was definitely ready to get started building, rather than fixing.
