Big Moves
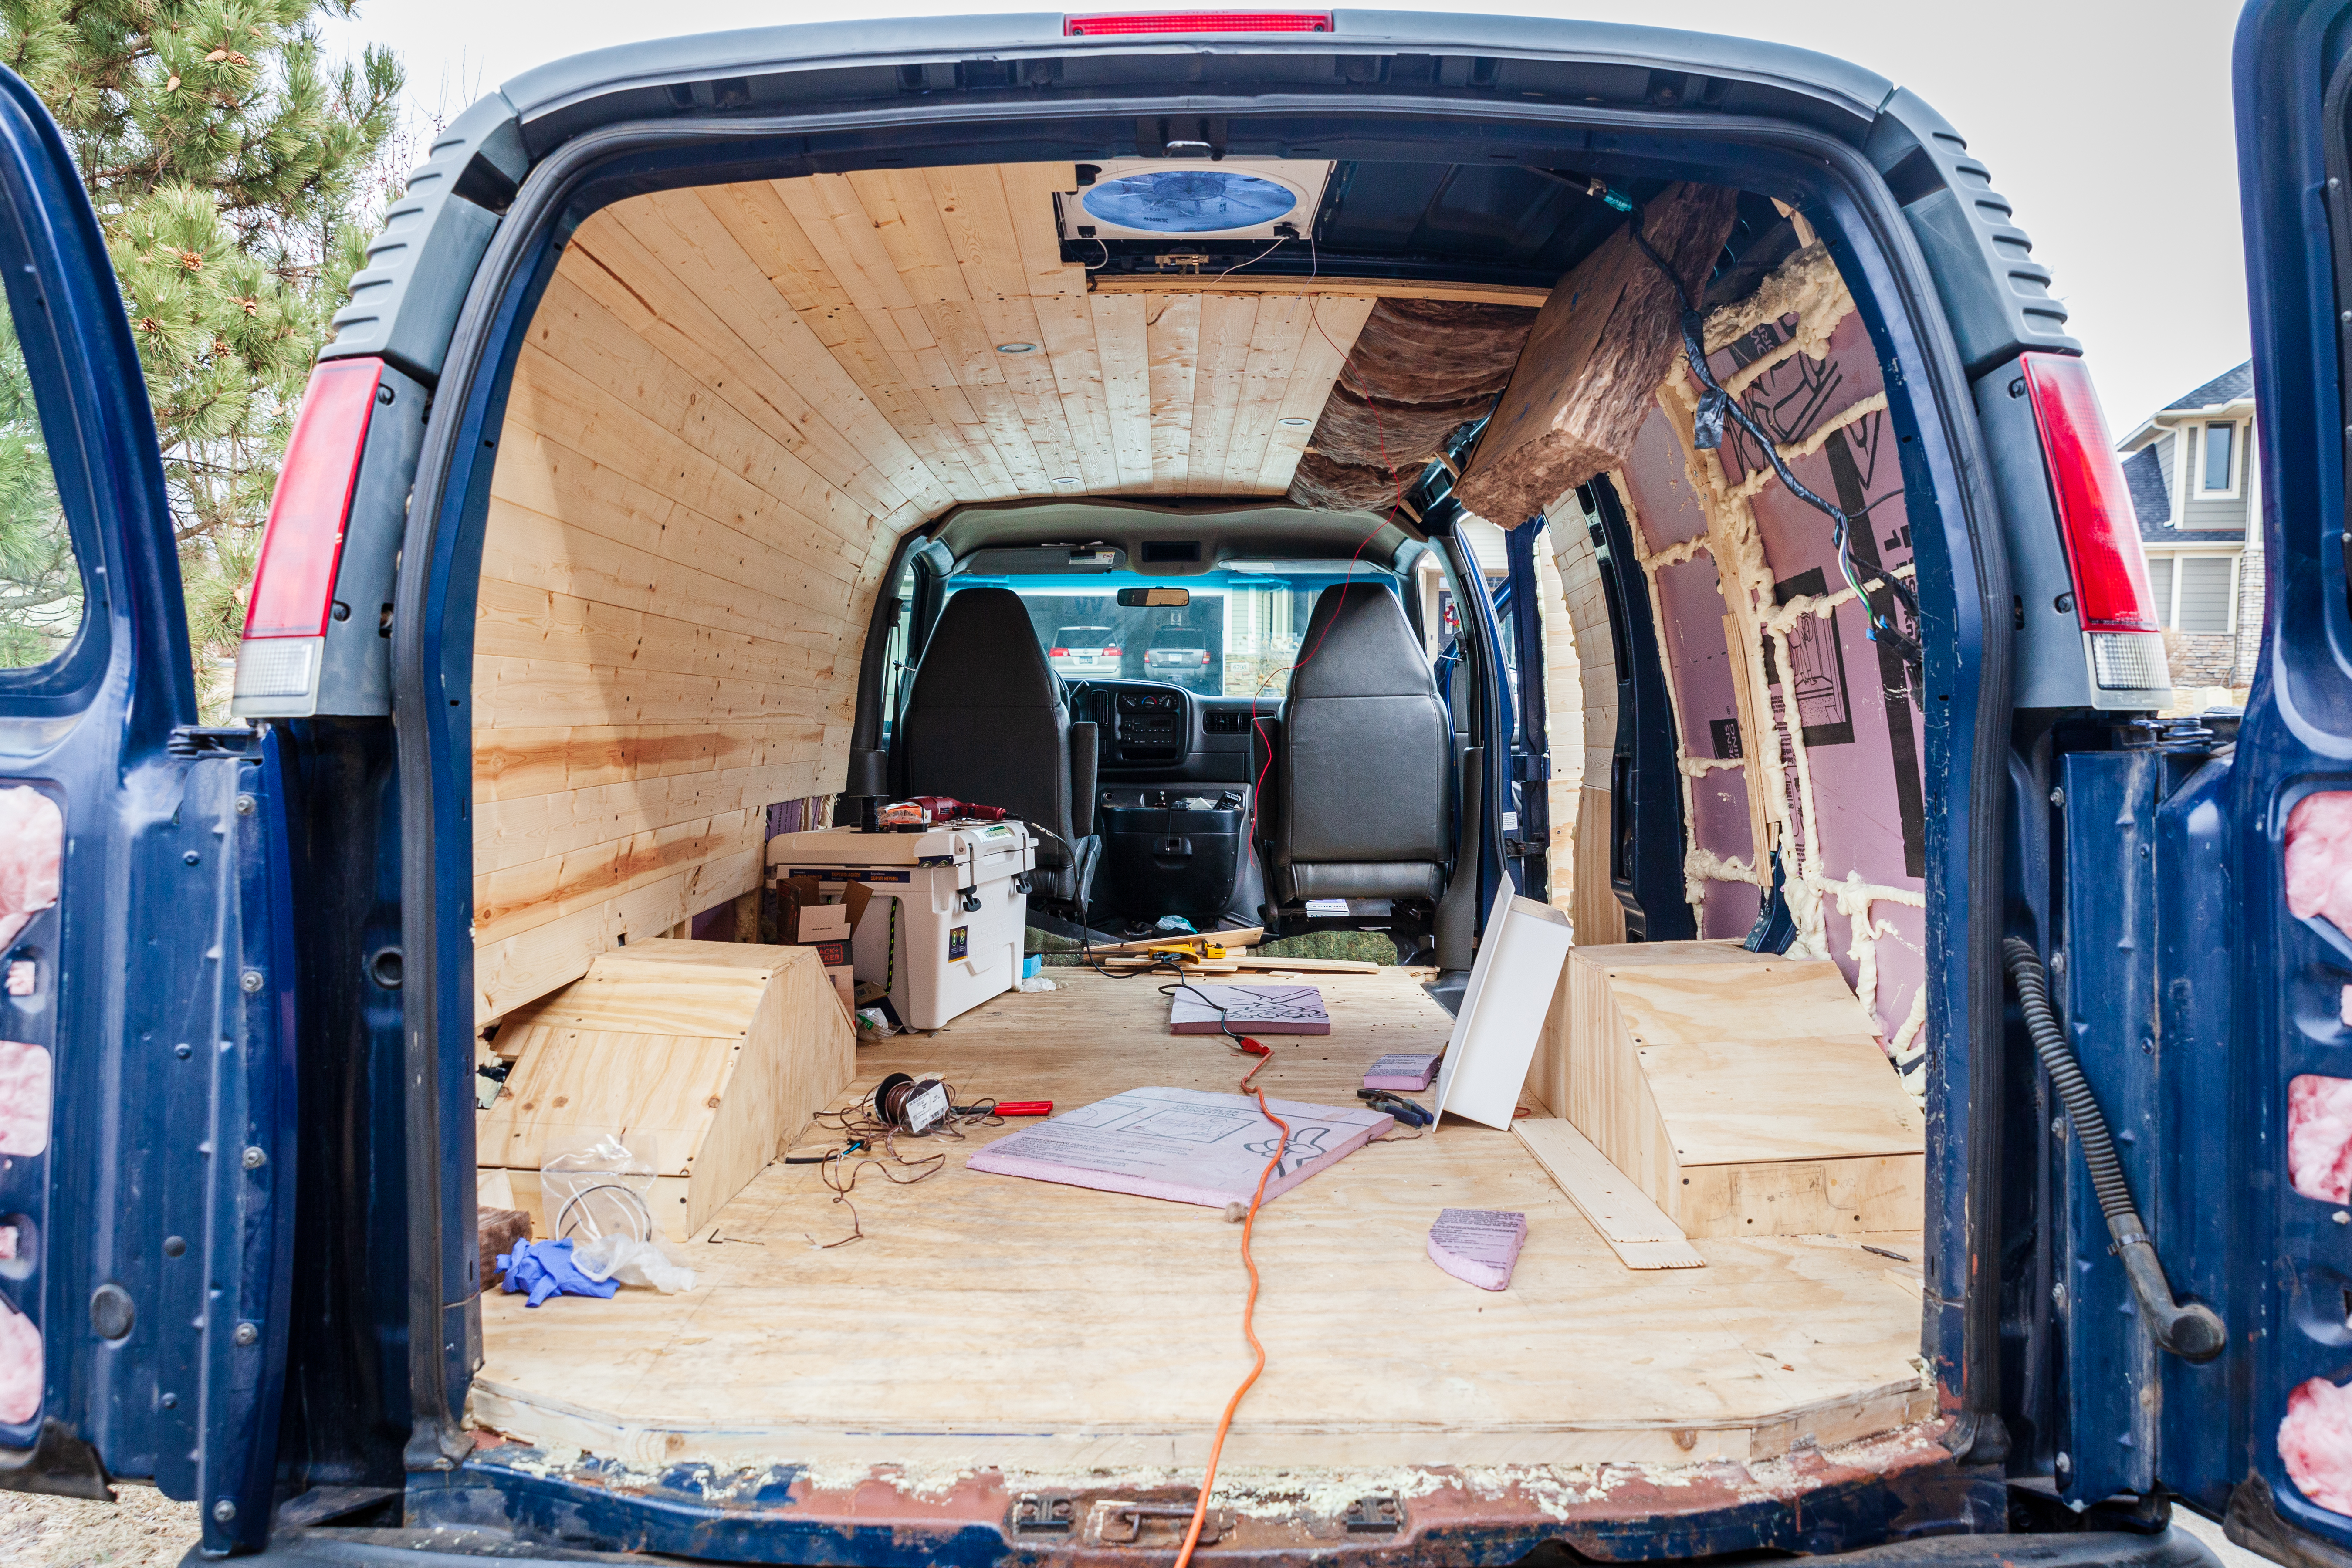
A quick reminder of where we left off: Most of a ceiling, all the electrical wiring and insulation done, and itching to get to work on the furniture.
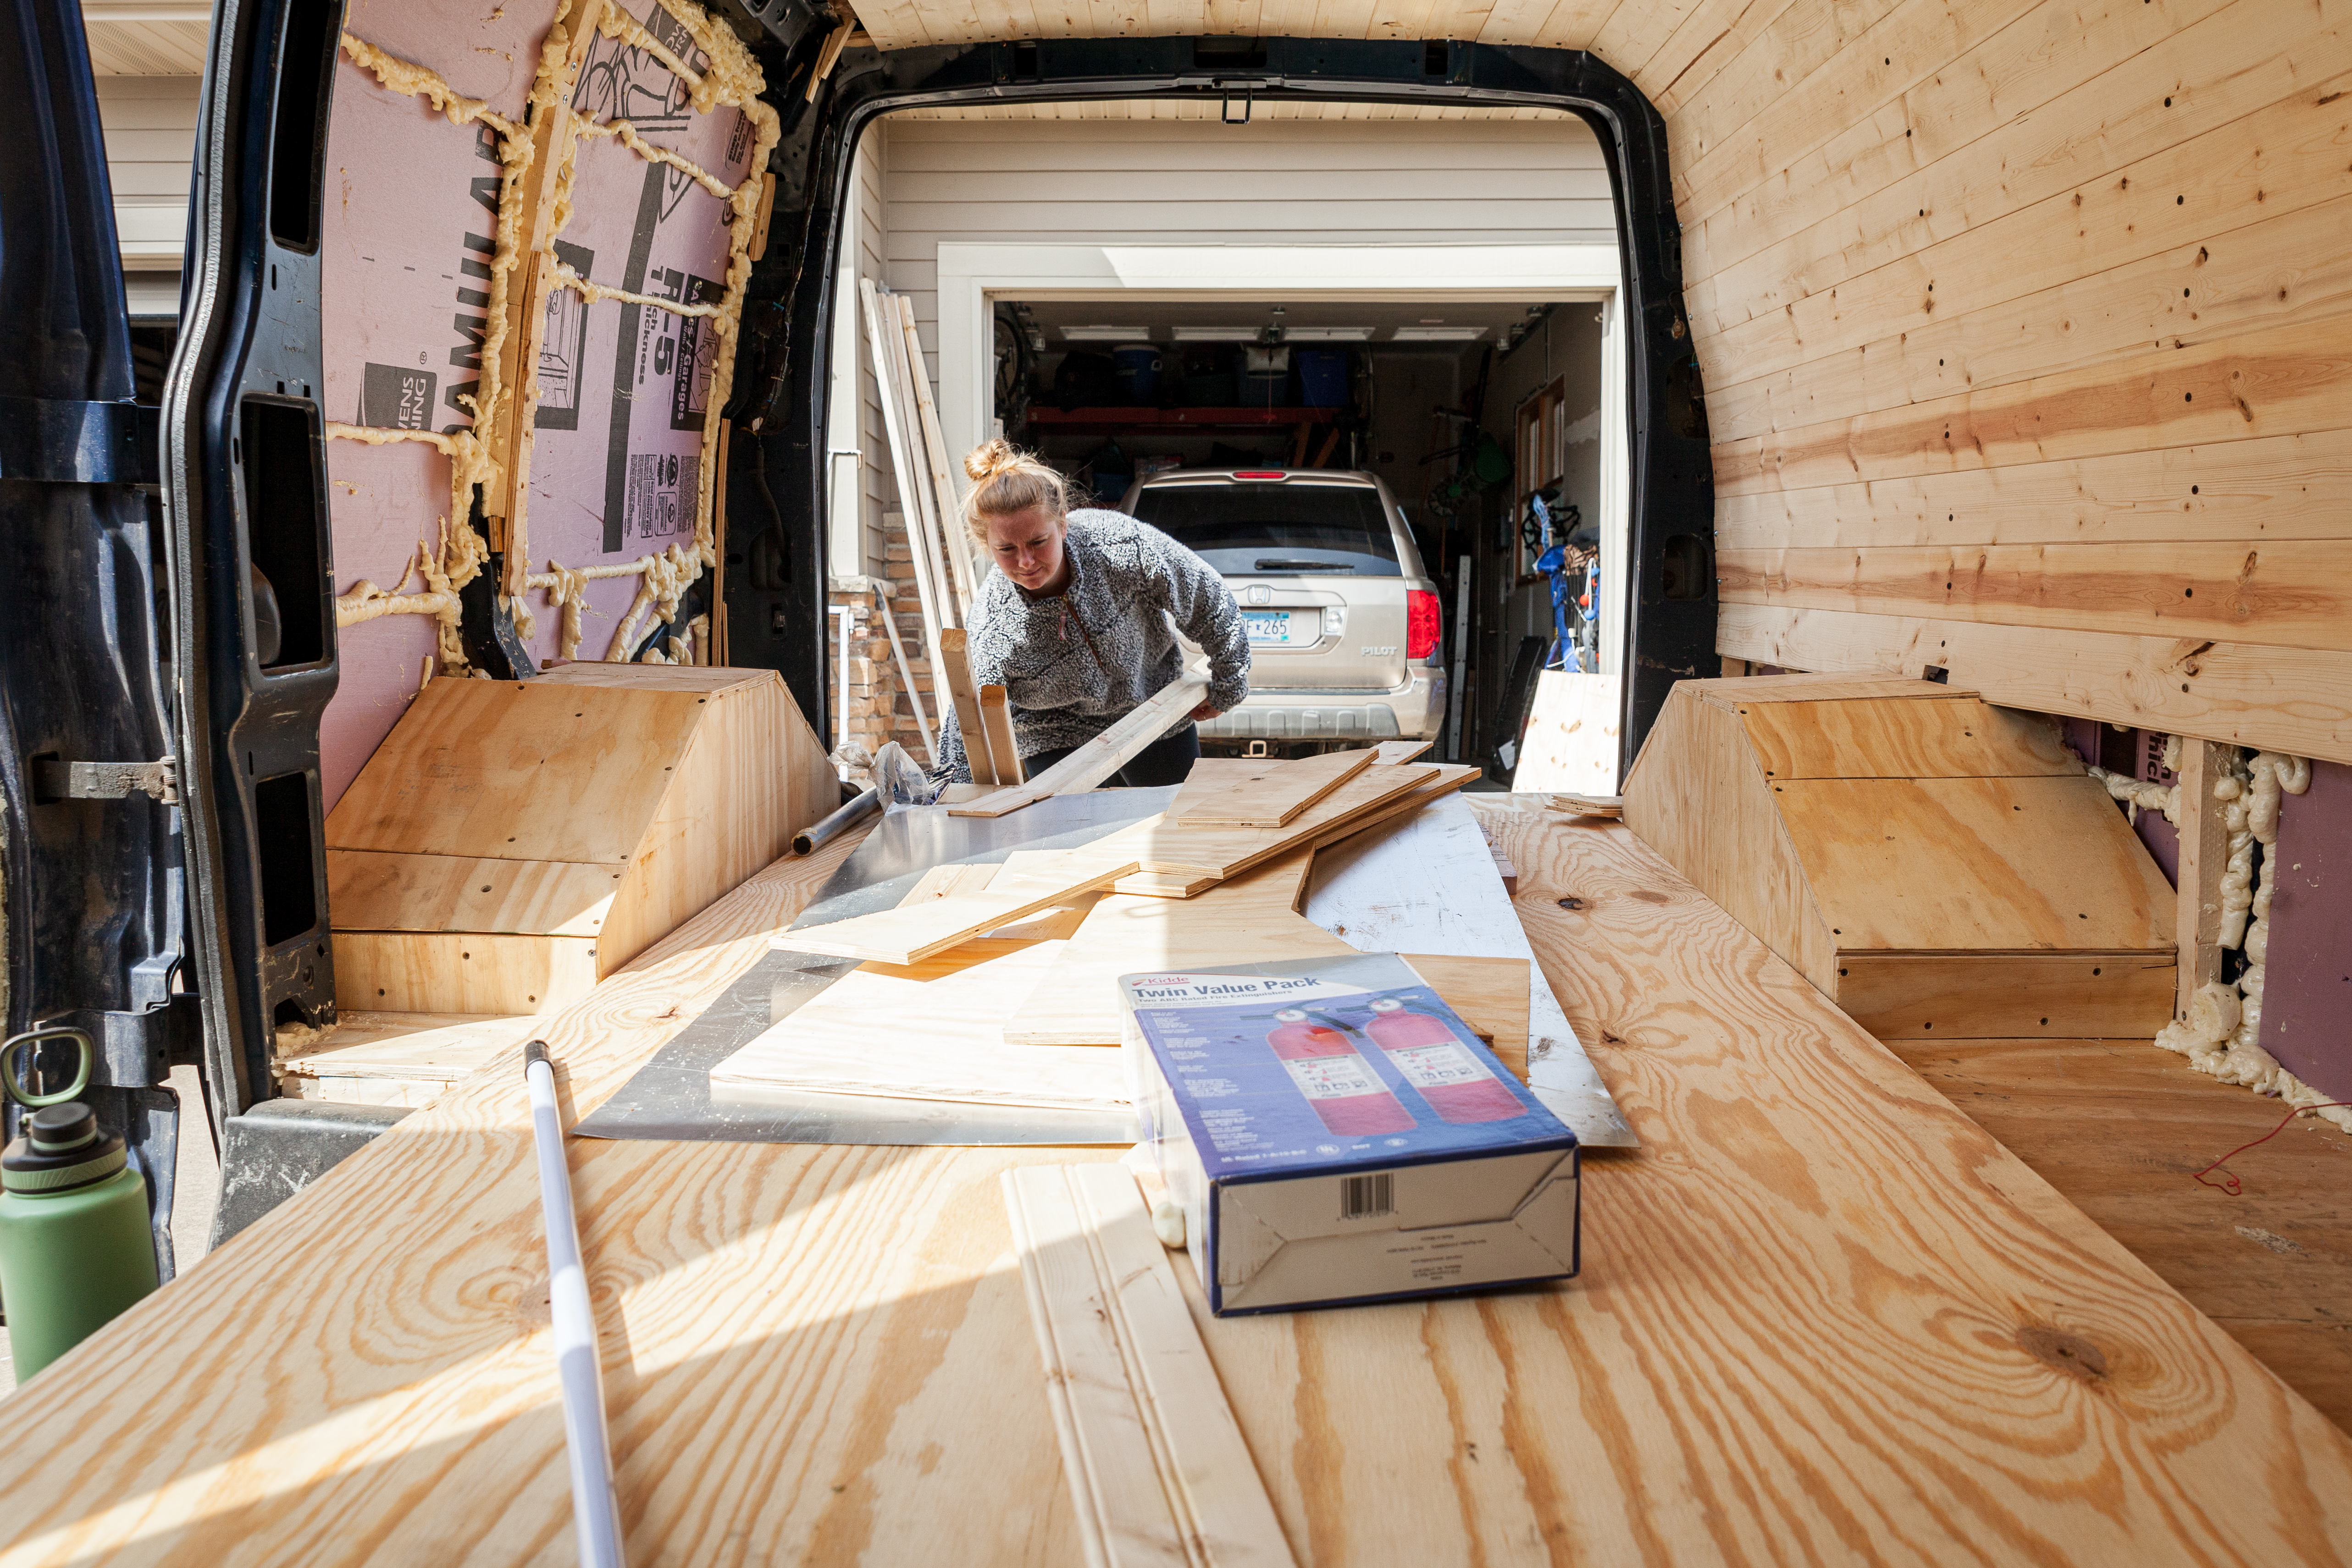
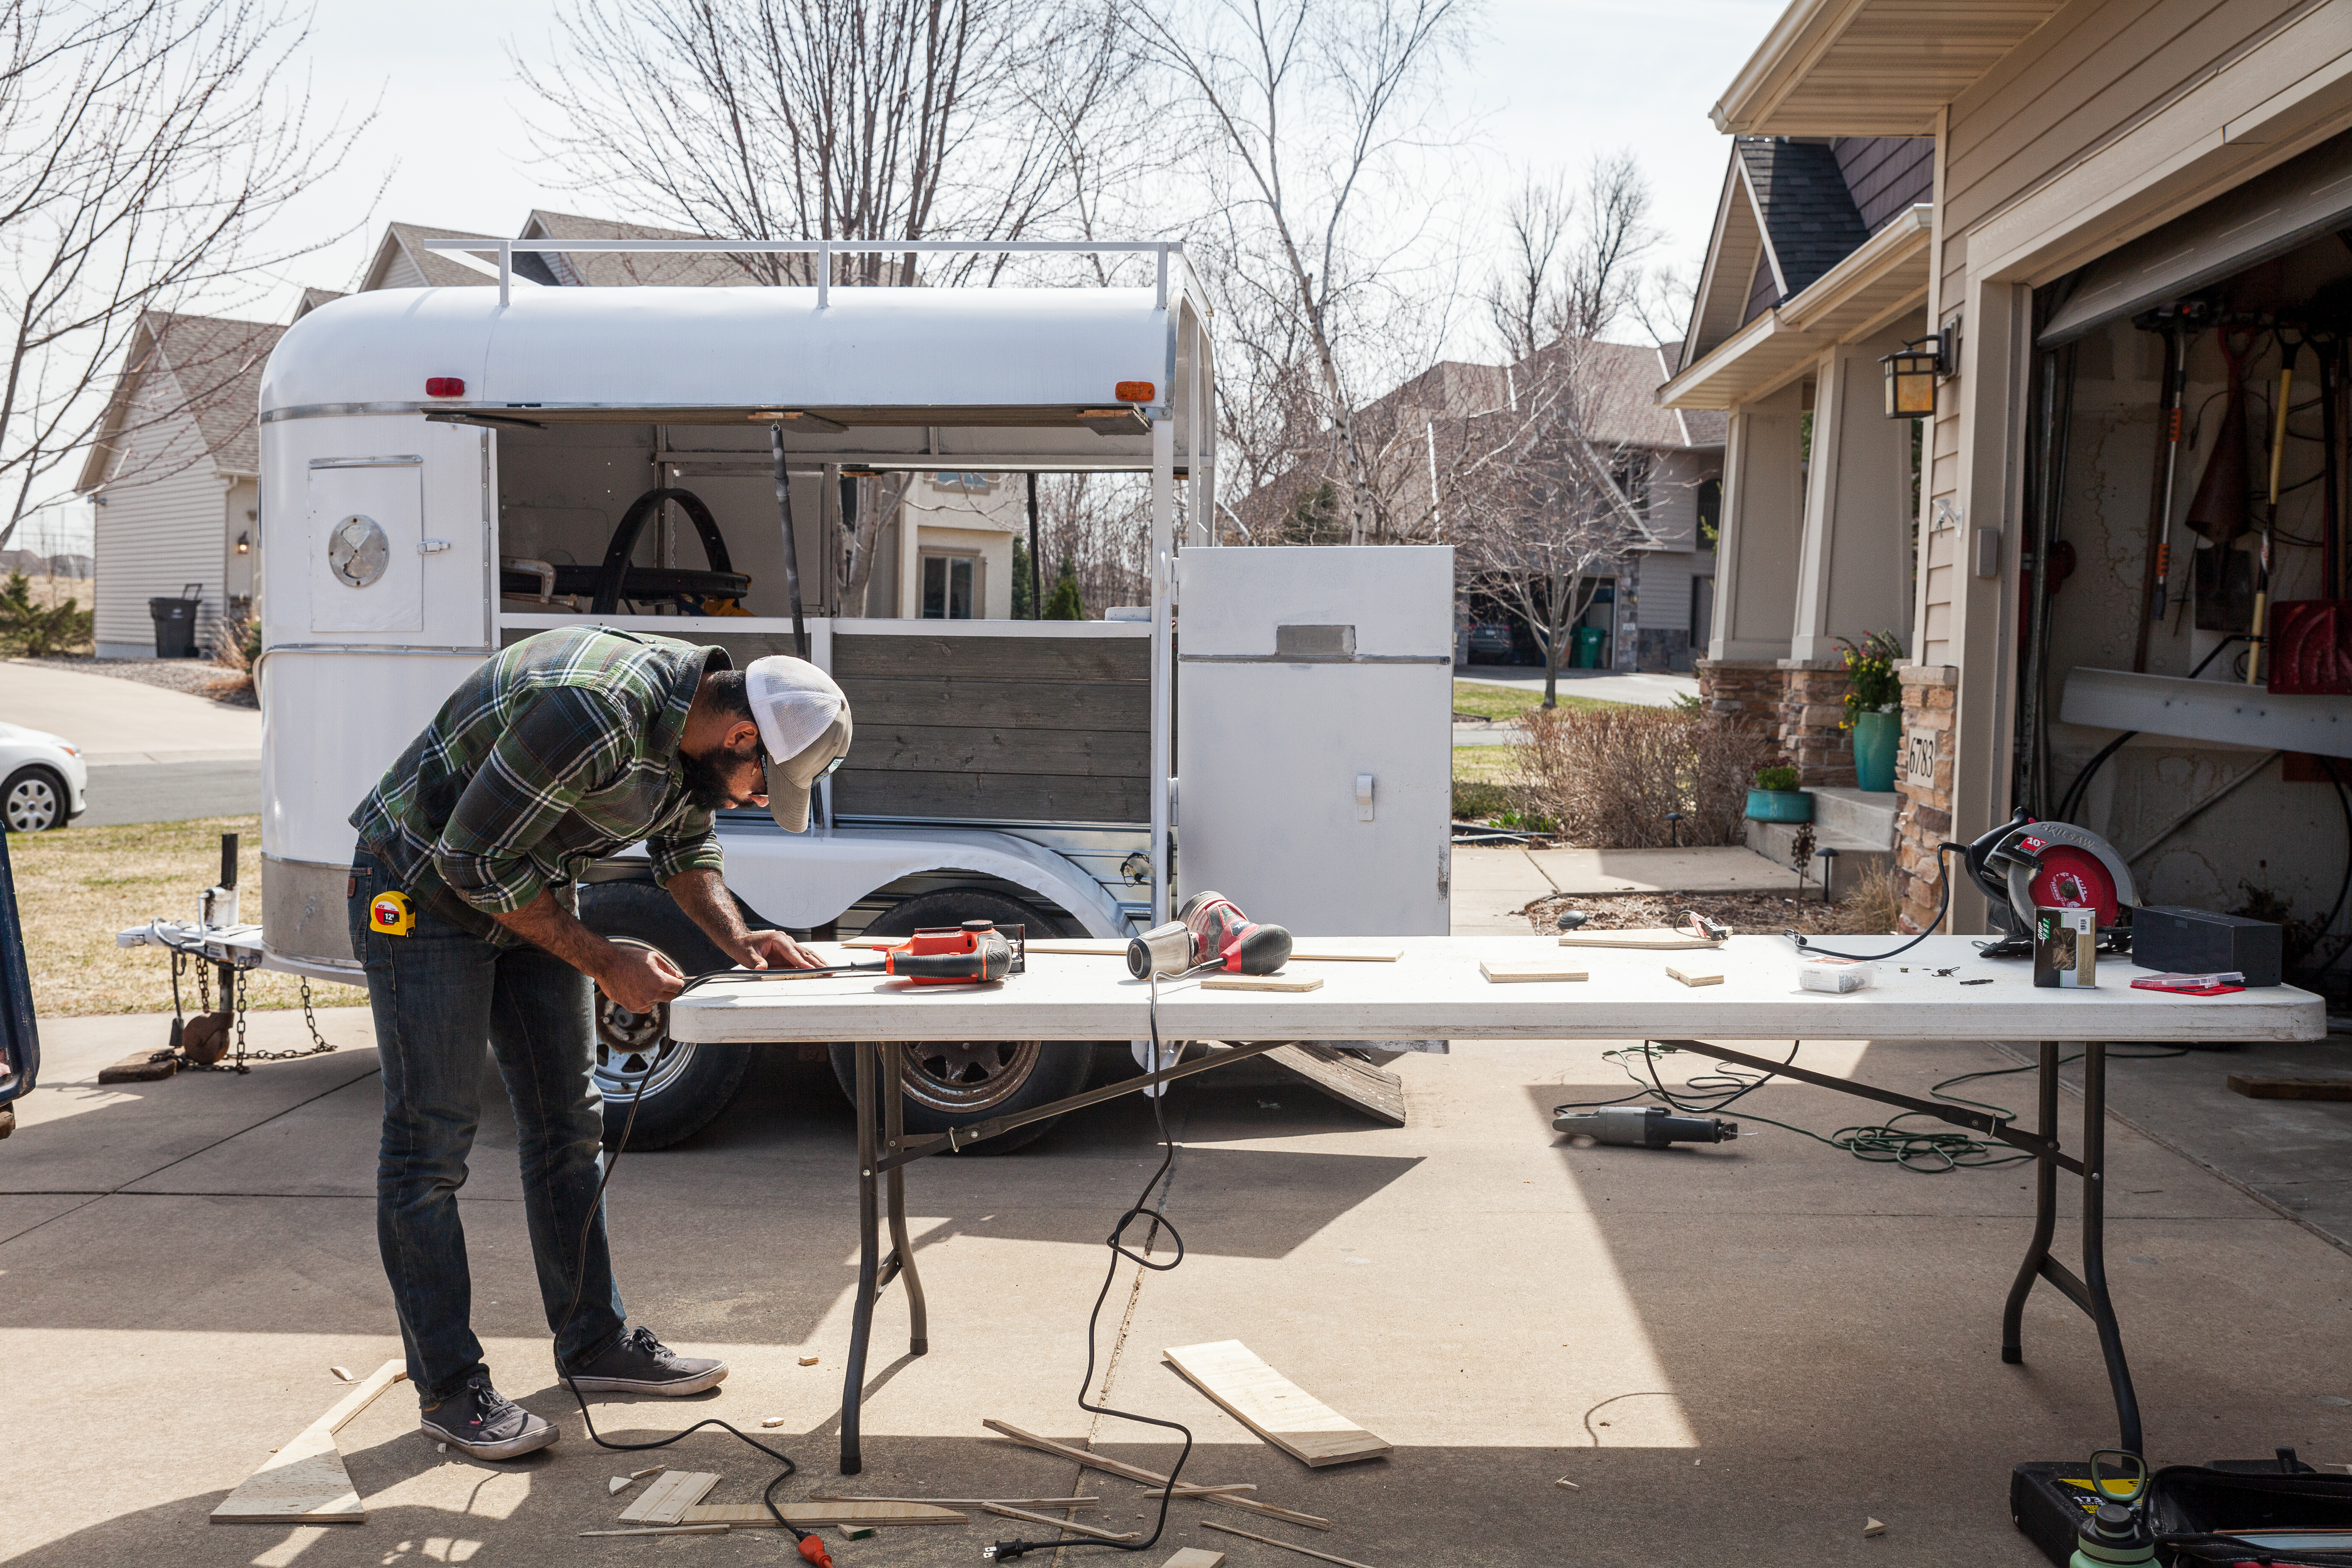
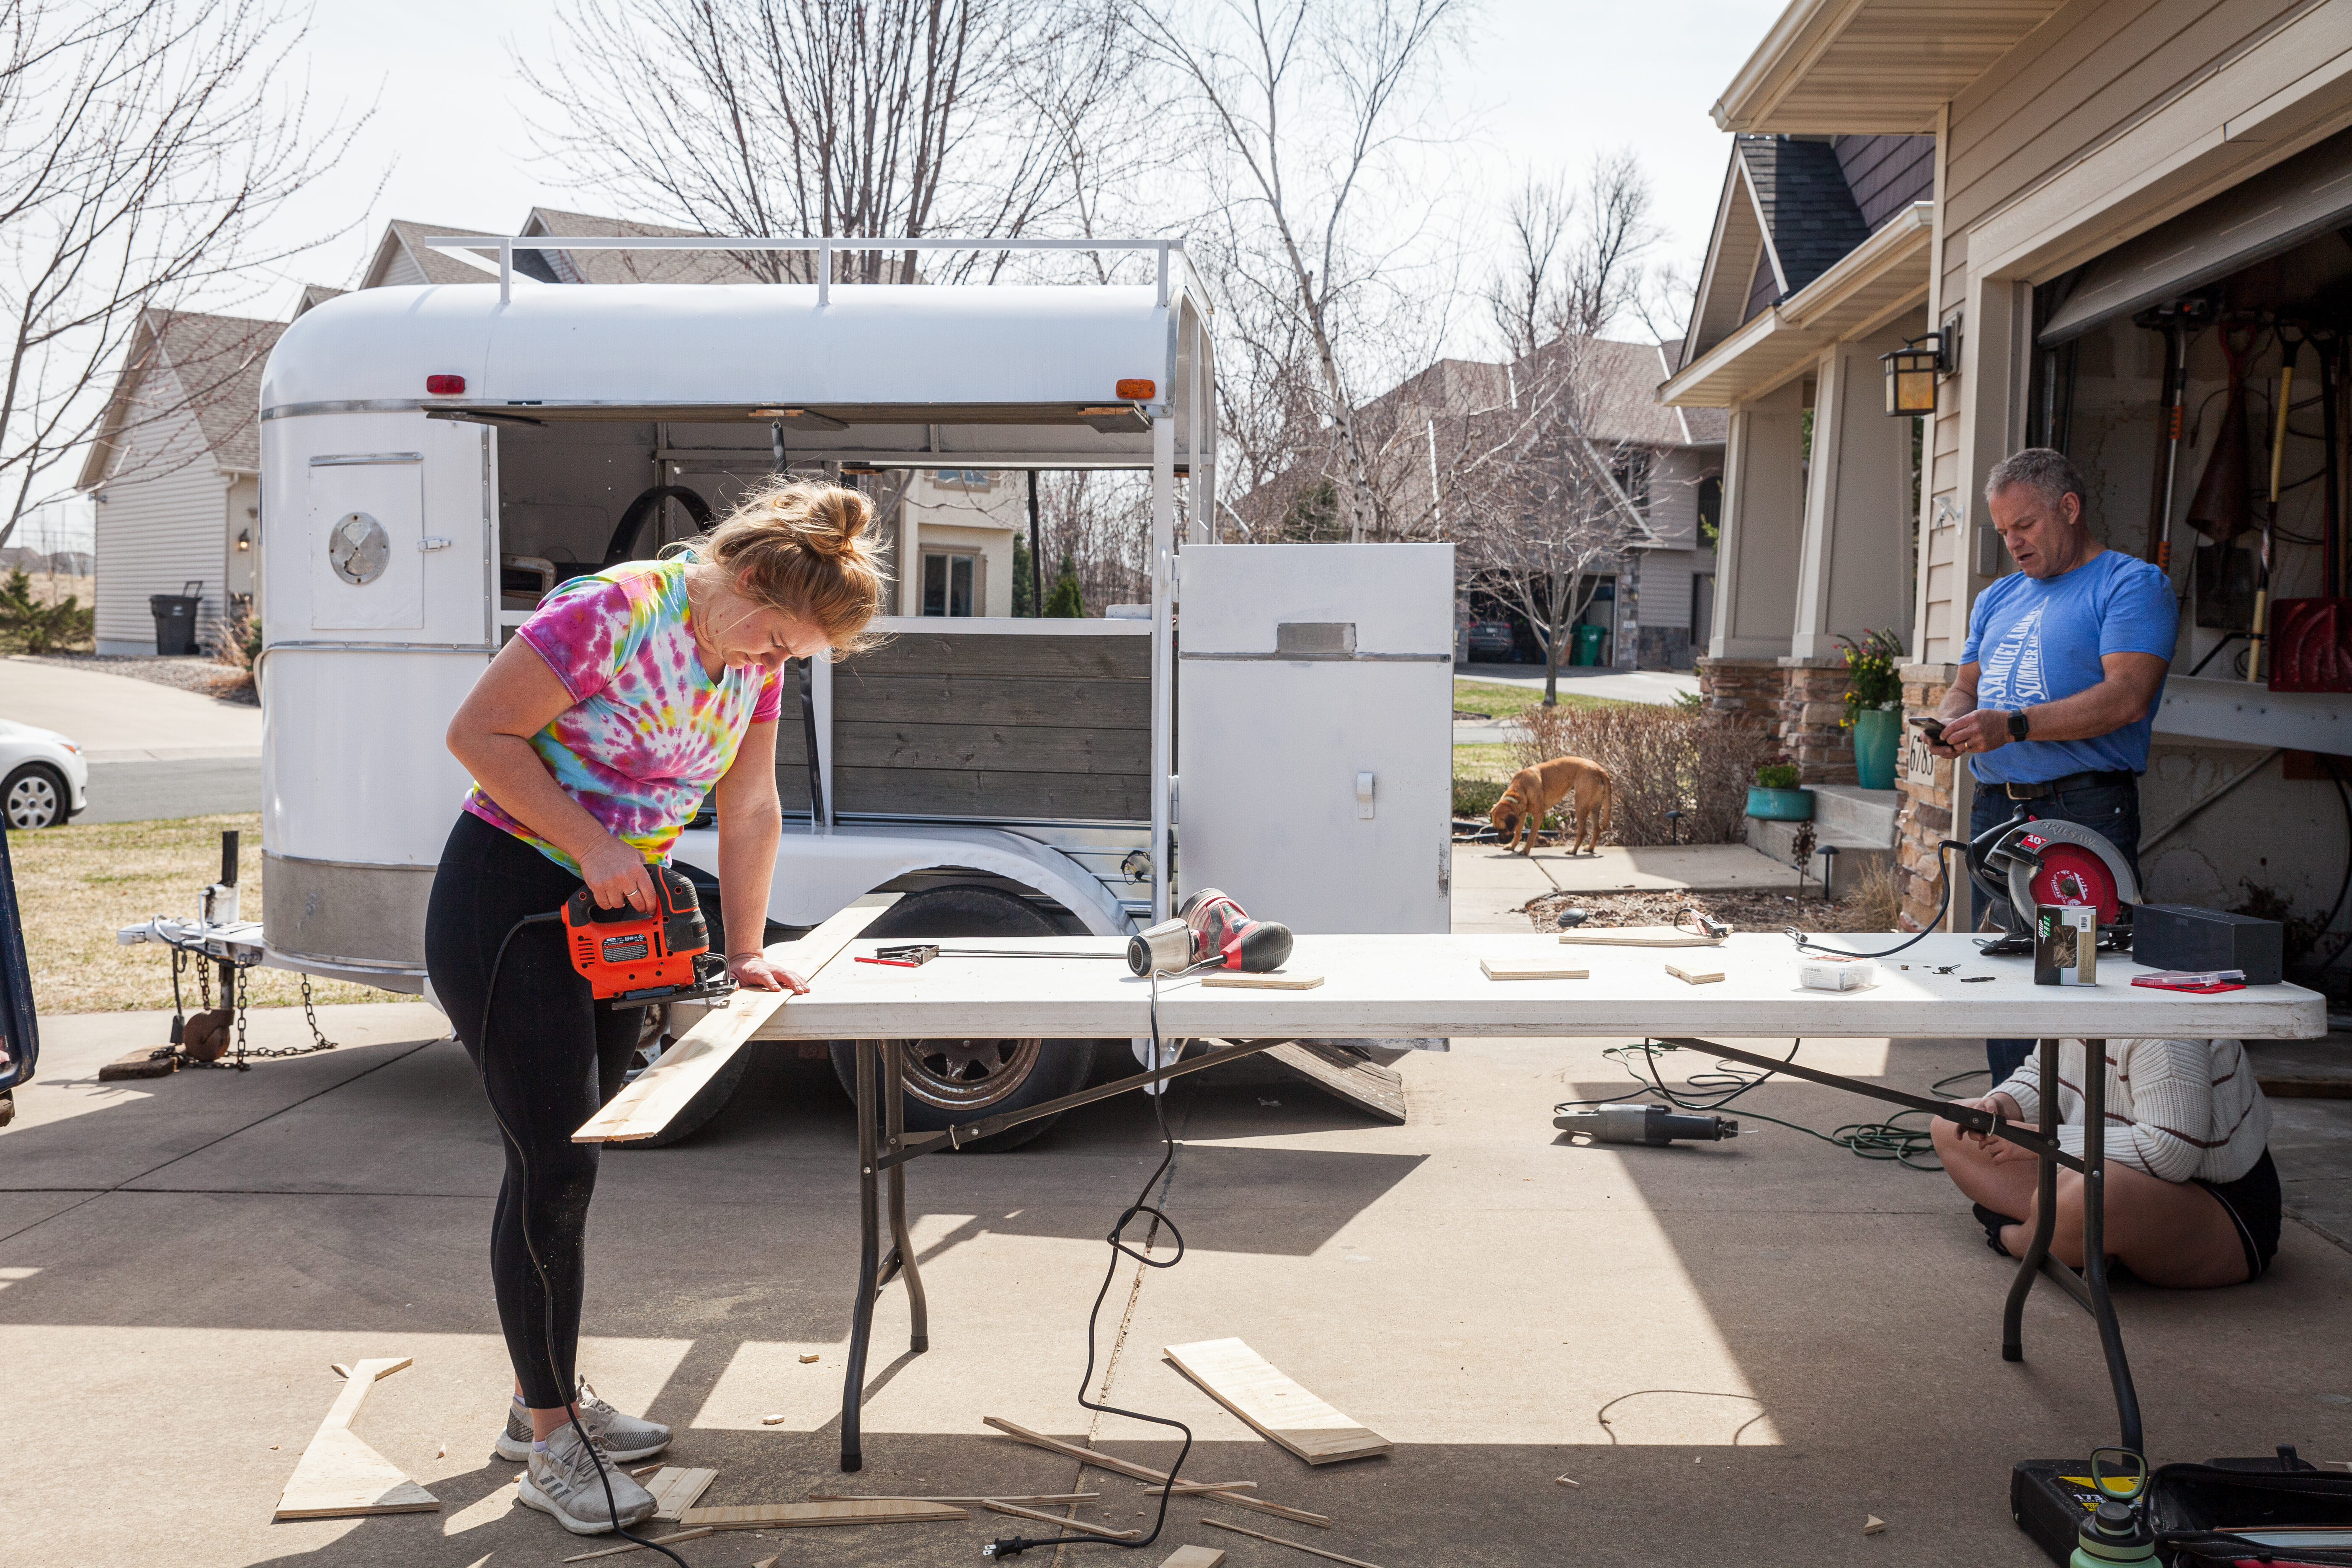
We only had one day of good ‘working’ weather, so we set the reasonable goal of knocking out the final wall and putting the door panels on. The wall was just more of slapping more pine planking up, but due to the irregular shape of the van, it was a pain in the ass (like most of what we’ve done so far.) We definitely weren’t nearly intentional enough with ensuring that everything we built was squared off, so we were dealing with a ton of funky shapes. Unlike building things in a house, where you can just follow the already square and straight line that are there, we had to transform the curved and wonky shape of the van into something fairly straight and uniform. I’d say we did a good job for first-timers, but we’ll plan a little better if we ever do it again.
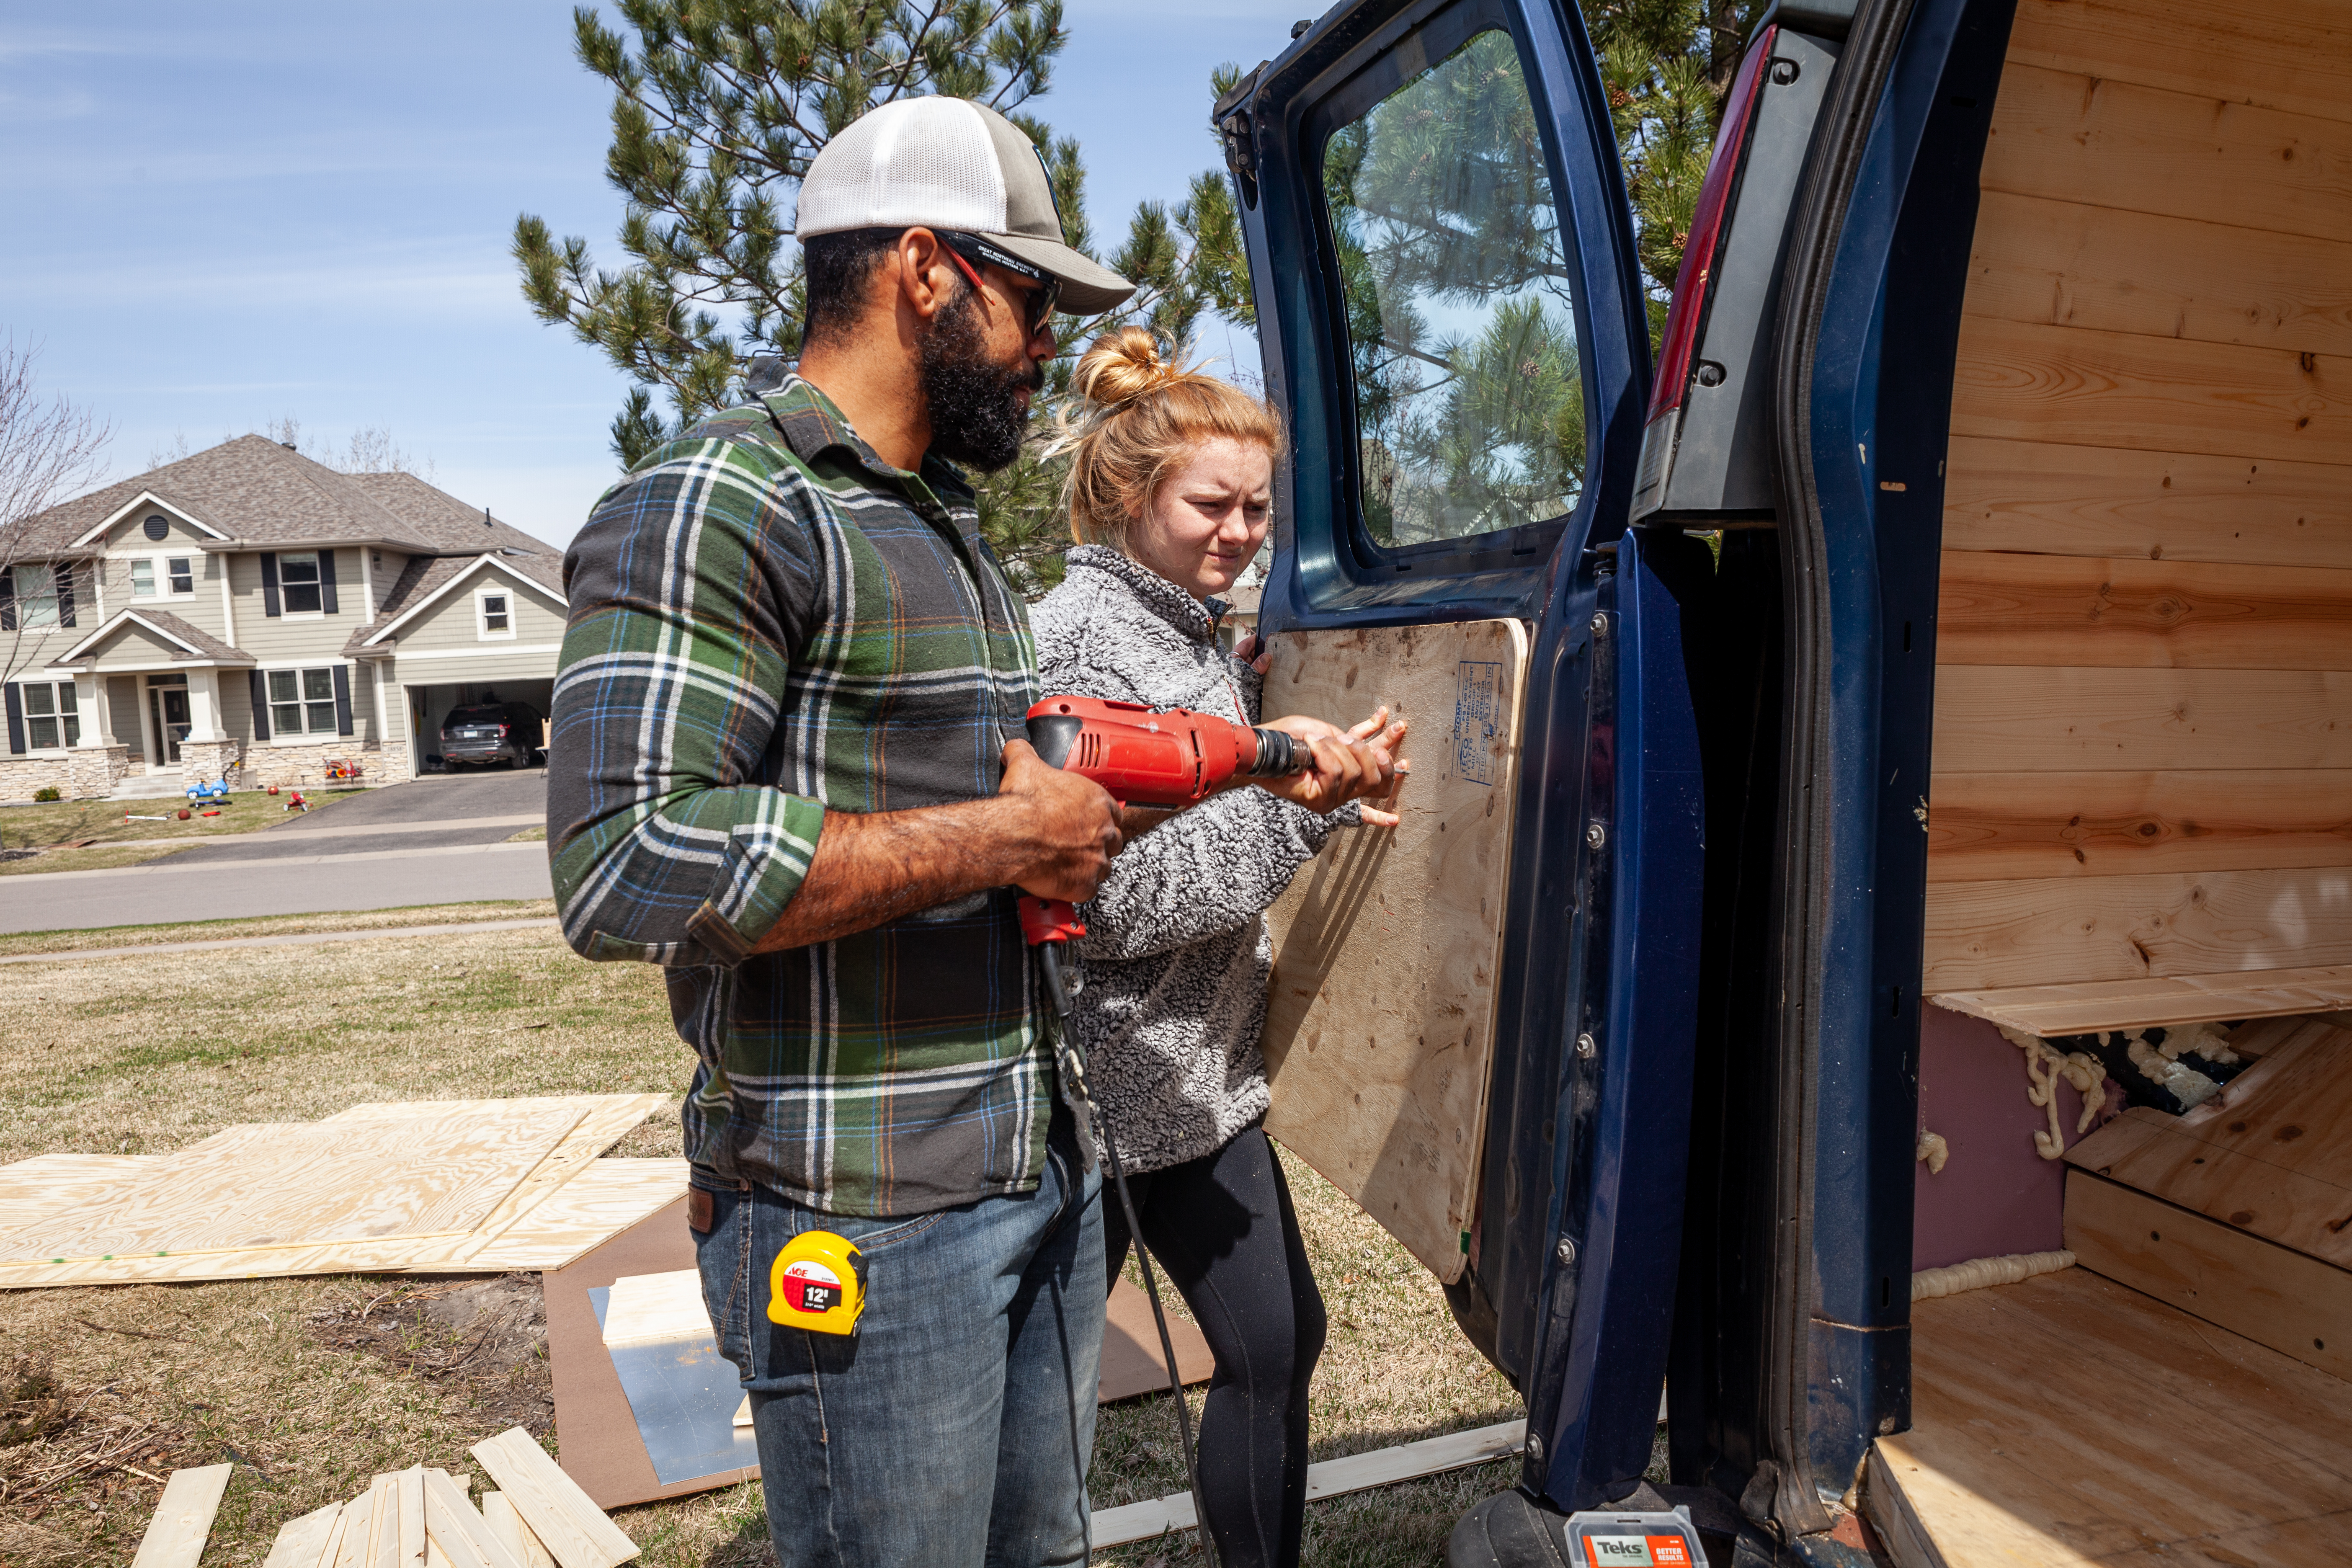
To put up the final wall, I used some fancy (and expensive) wood-metal screws to join some plywood pieces to the rib of the van.
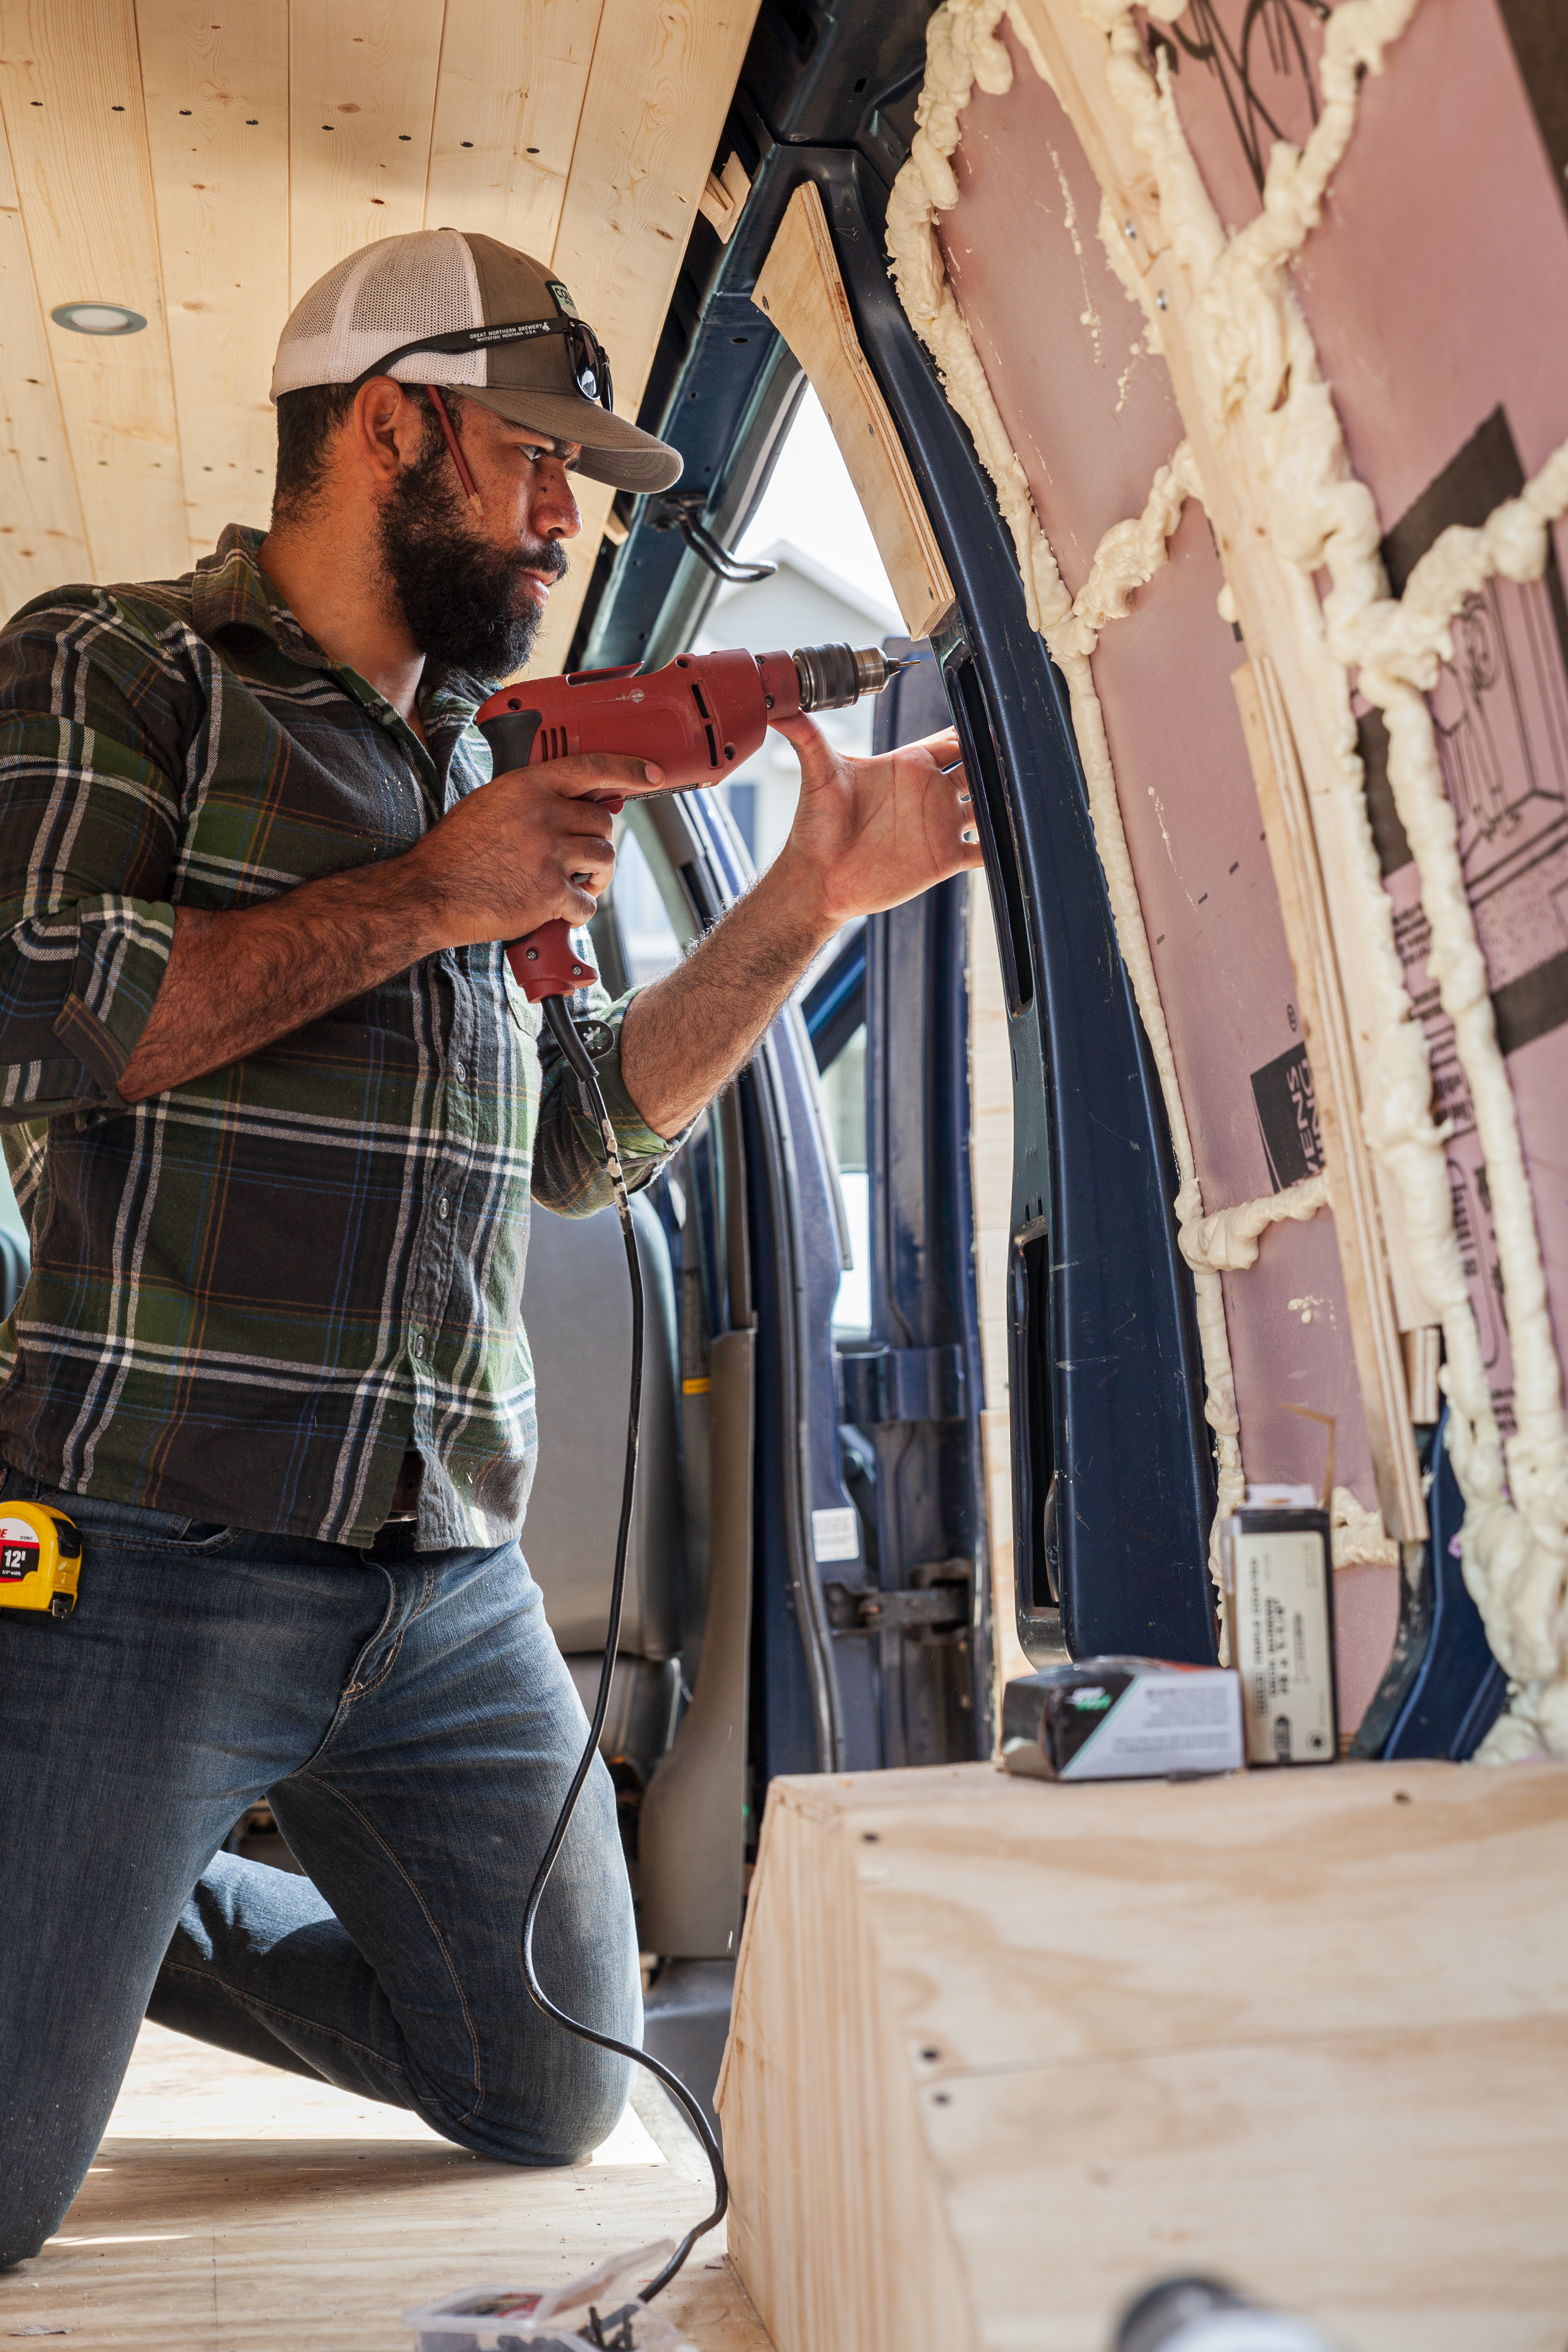
This project has taught me (the hard way) that they make special screws for a reason; you can’t just use deck screws for everything and hope it works out! A simple lesson, but one I’d refused to learn for quite some time.
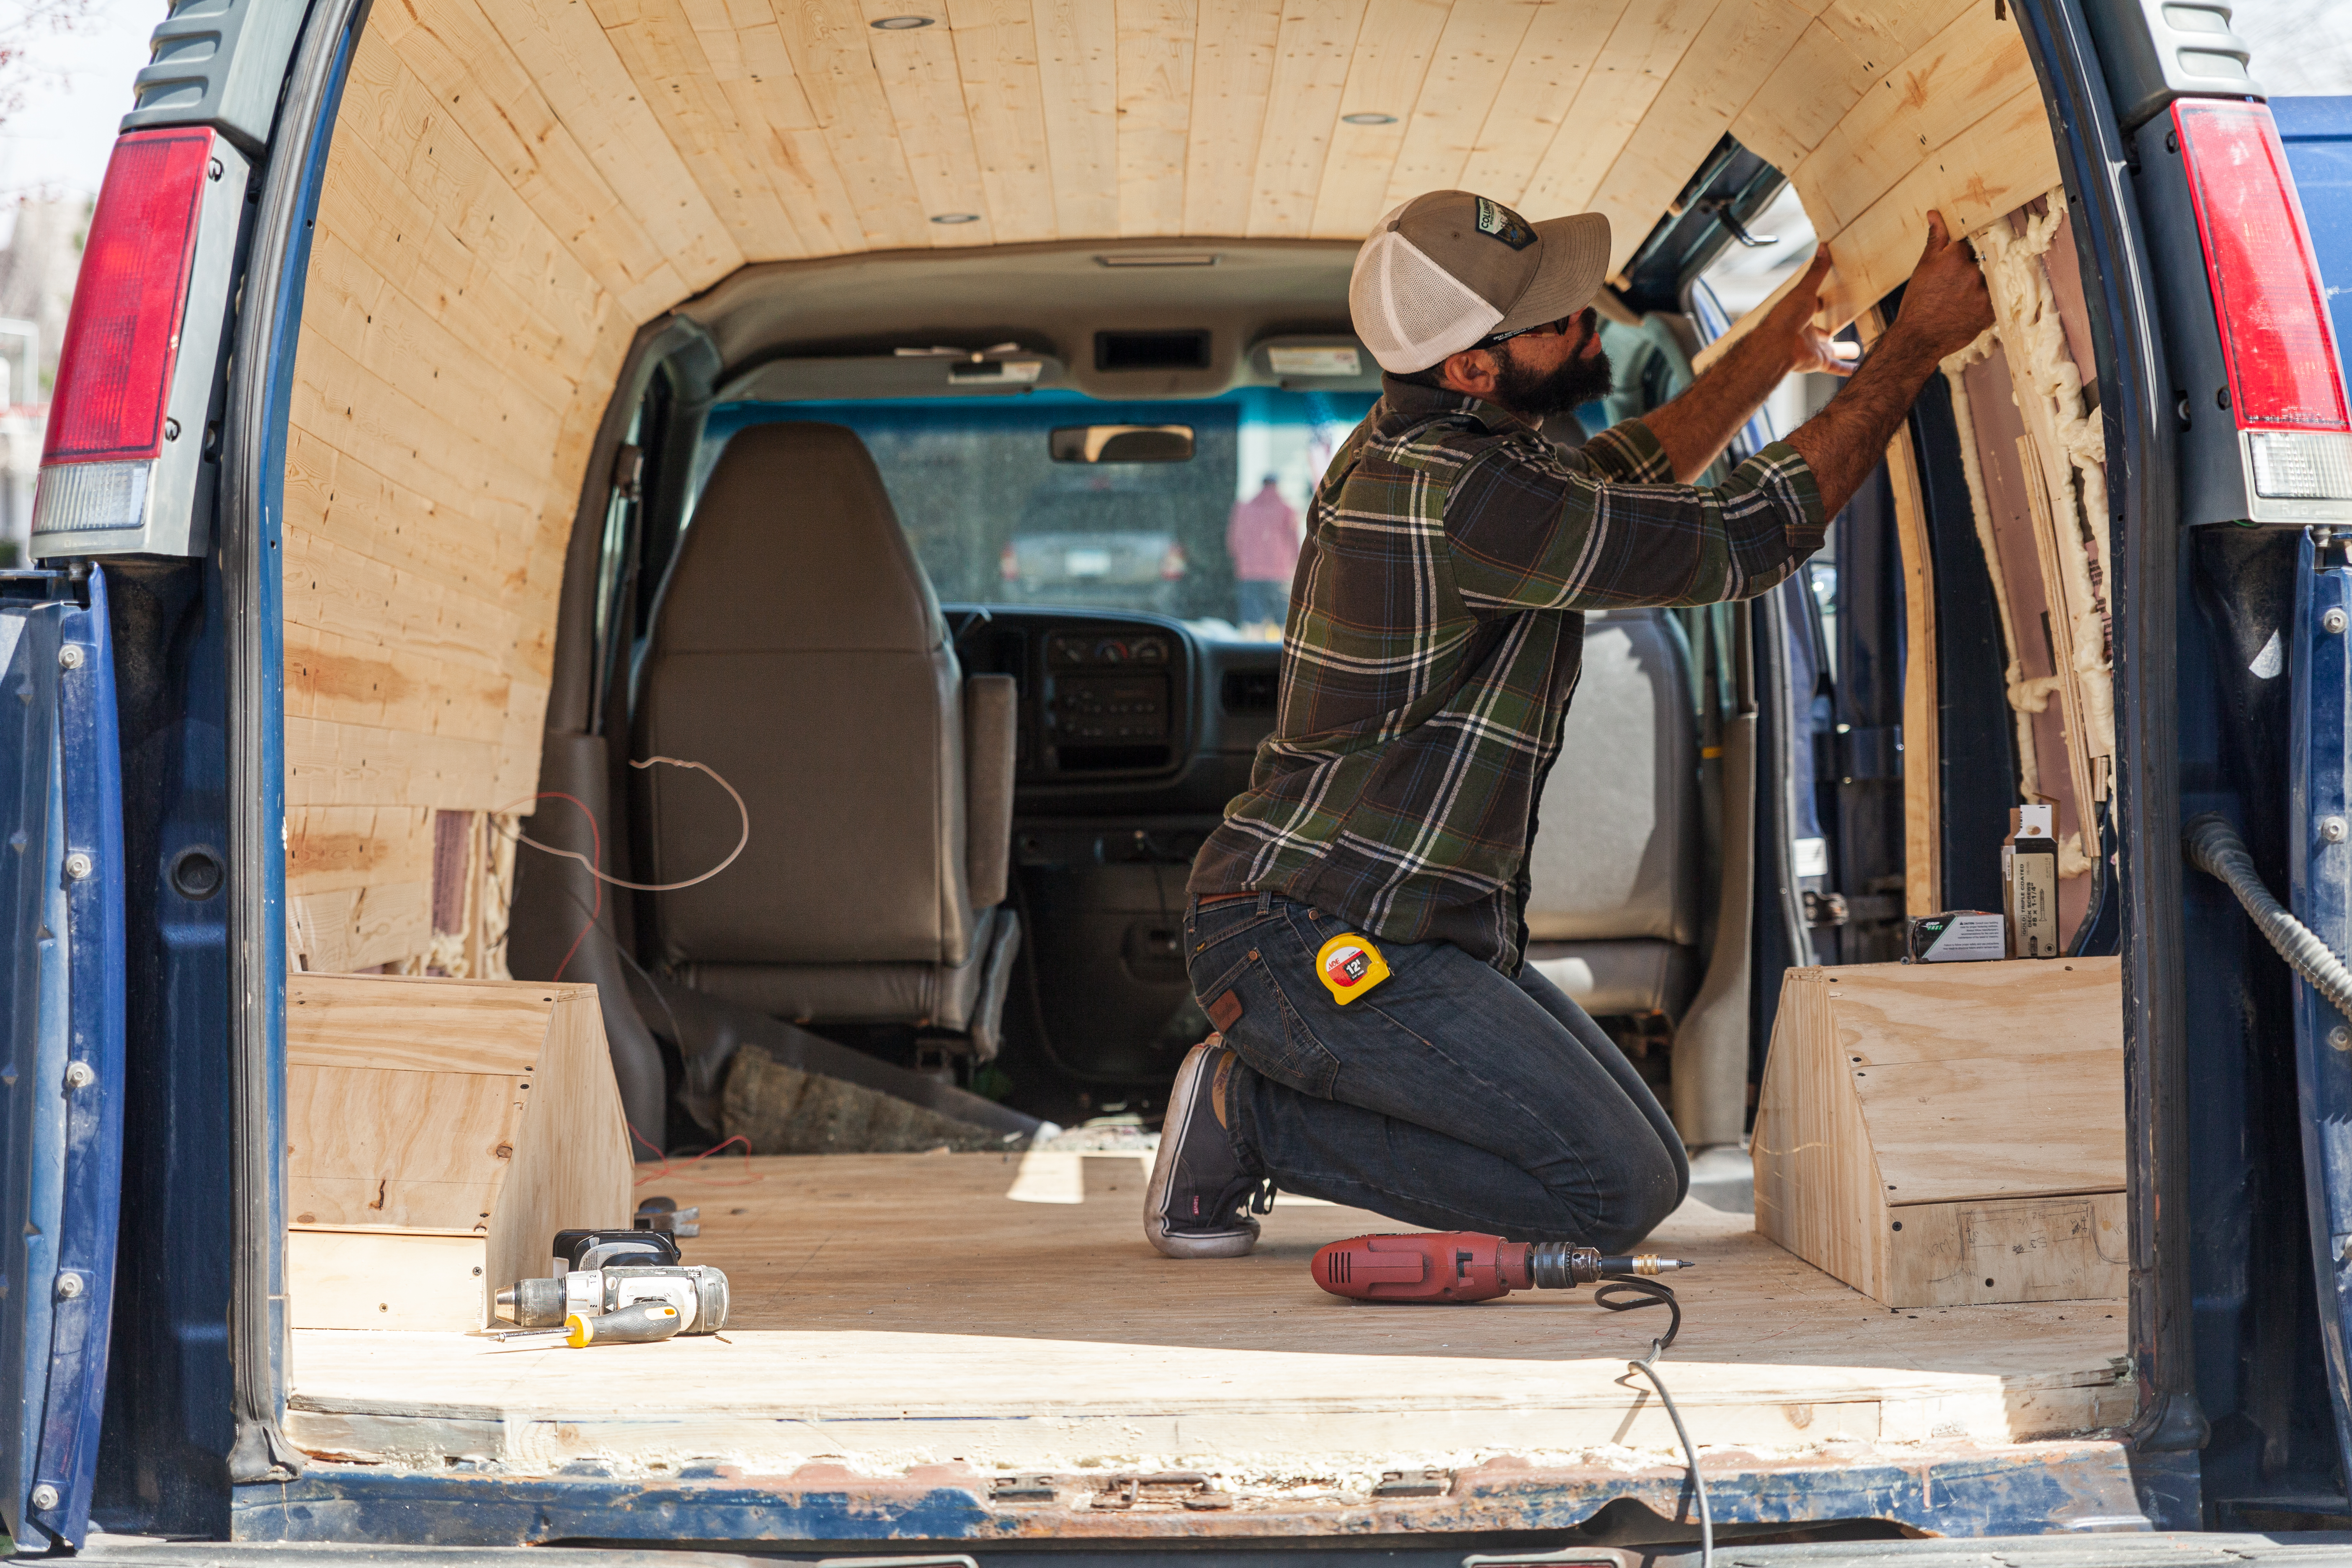
We threw up a couple more pine planks, a task we’ve become fairly adept at, and called it good for the final wall. Even though it brought the side of the van in a few inches, it felt way more open once the walls and ceiling were complete!

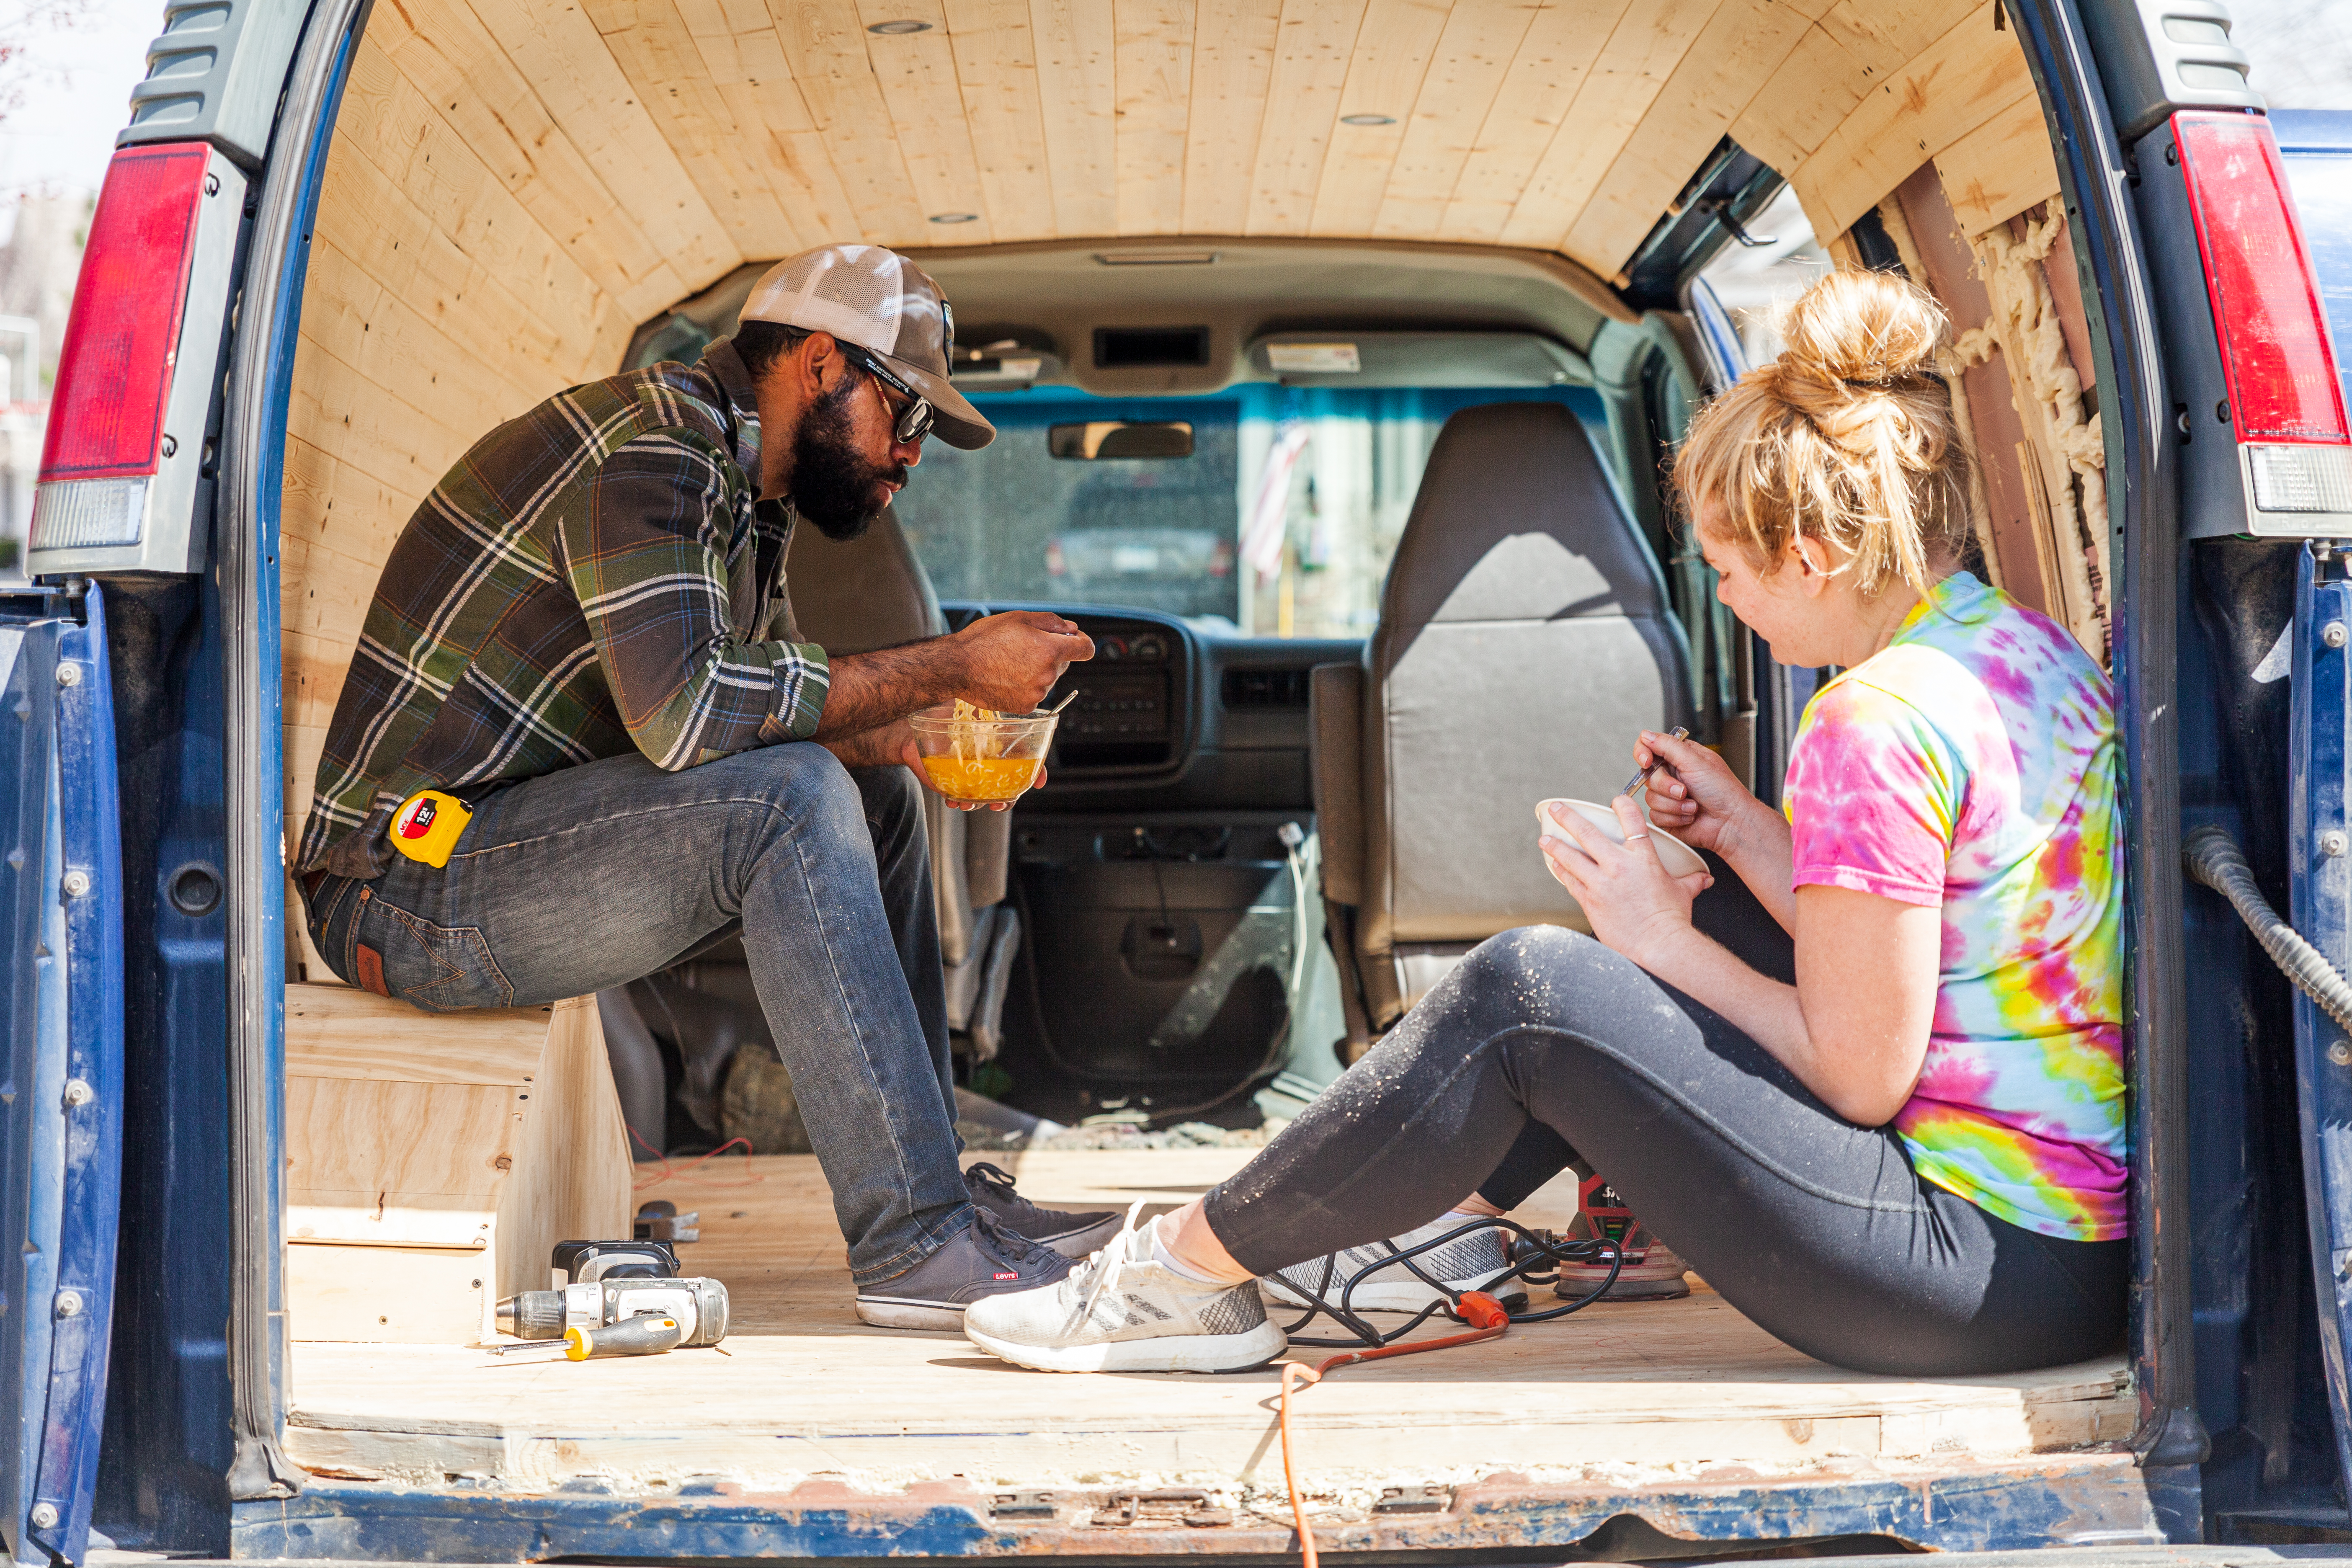
A quick break for some chicken ramen.
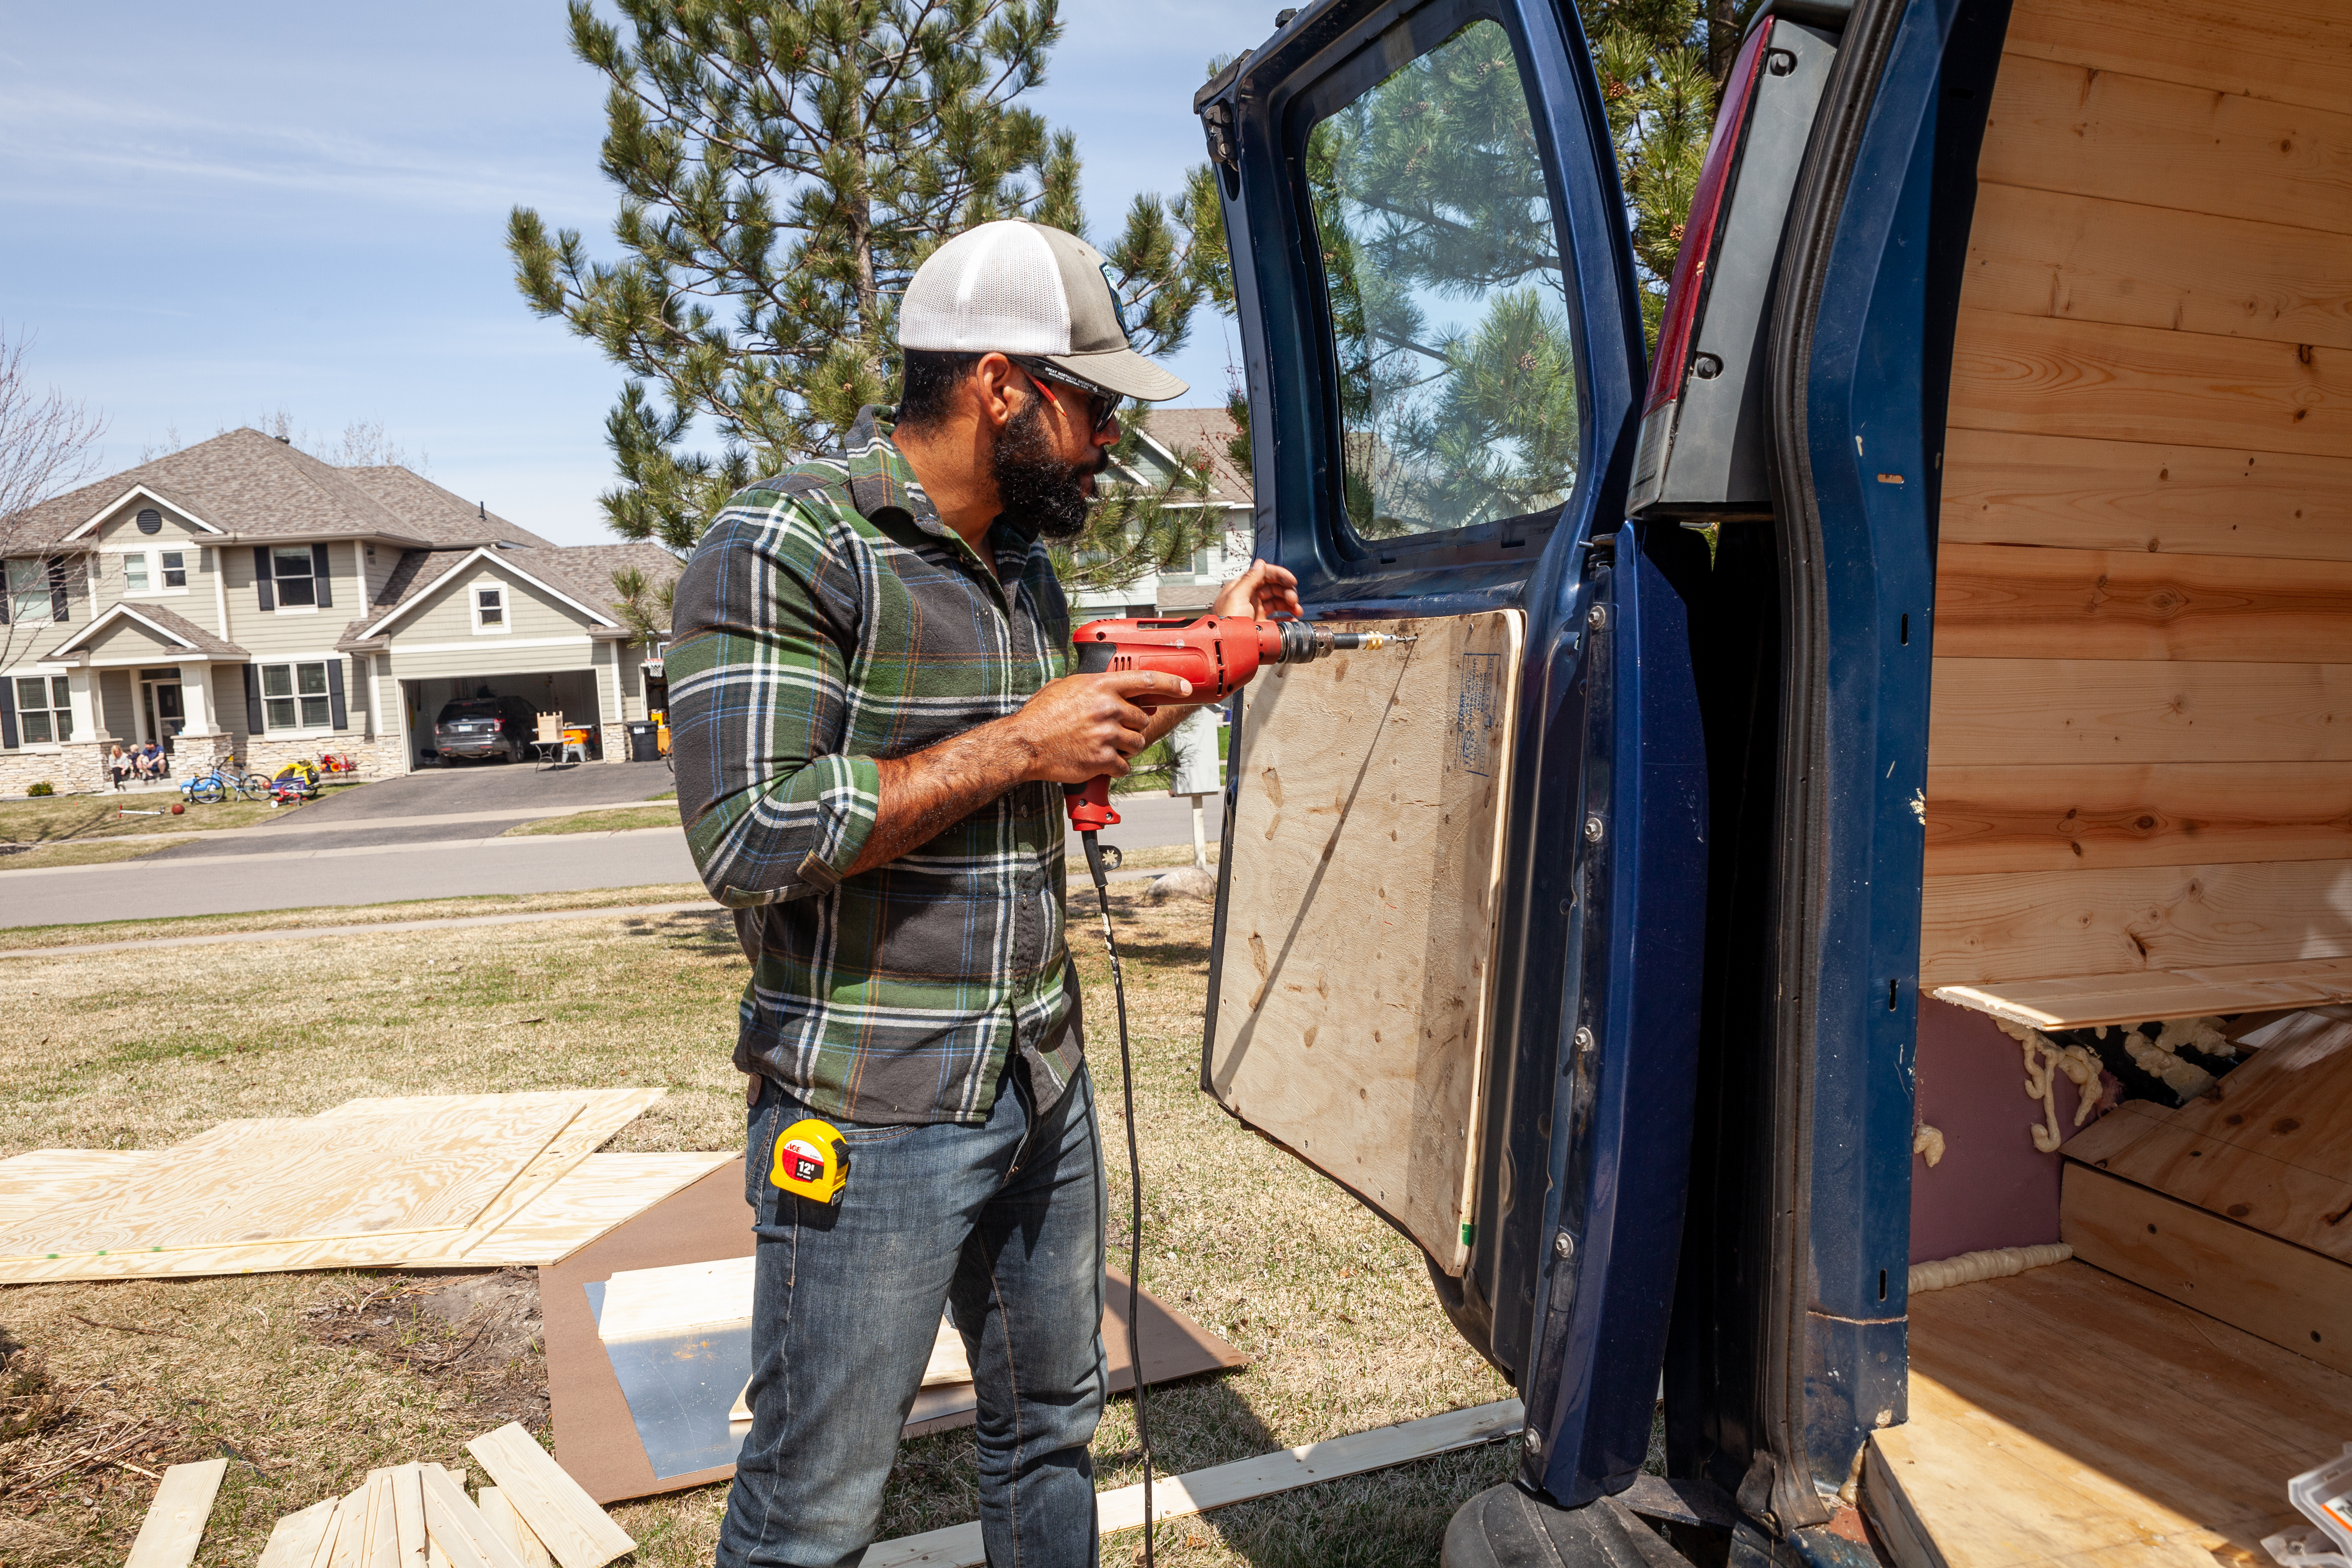
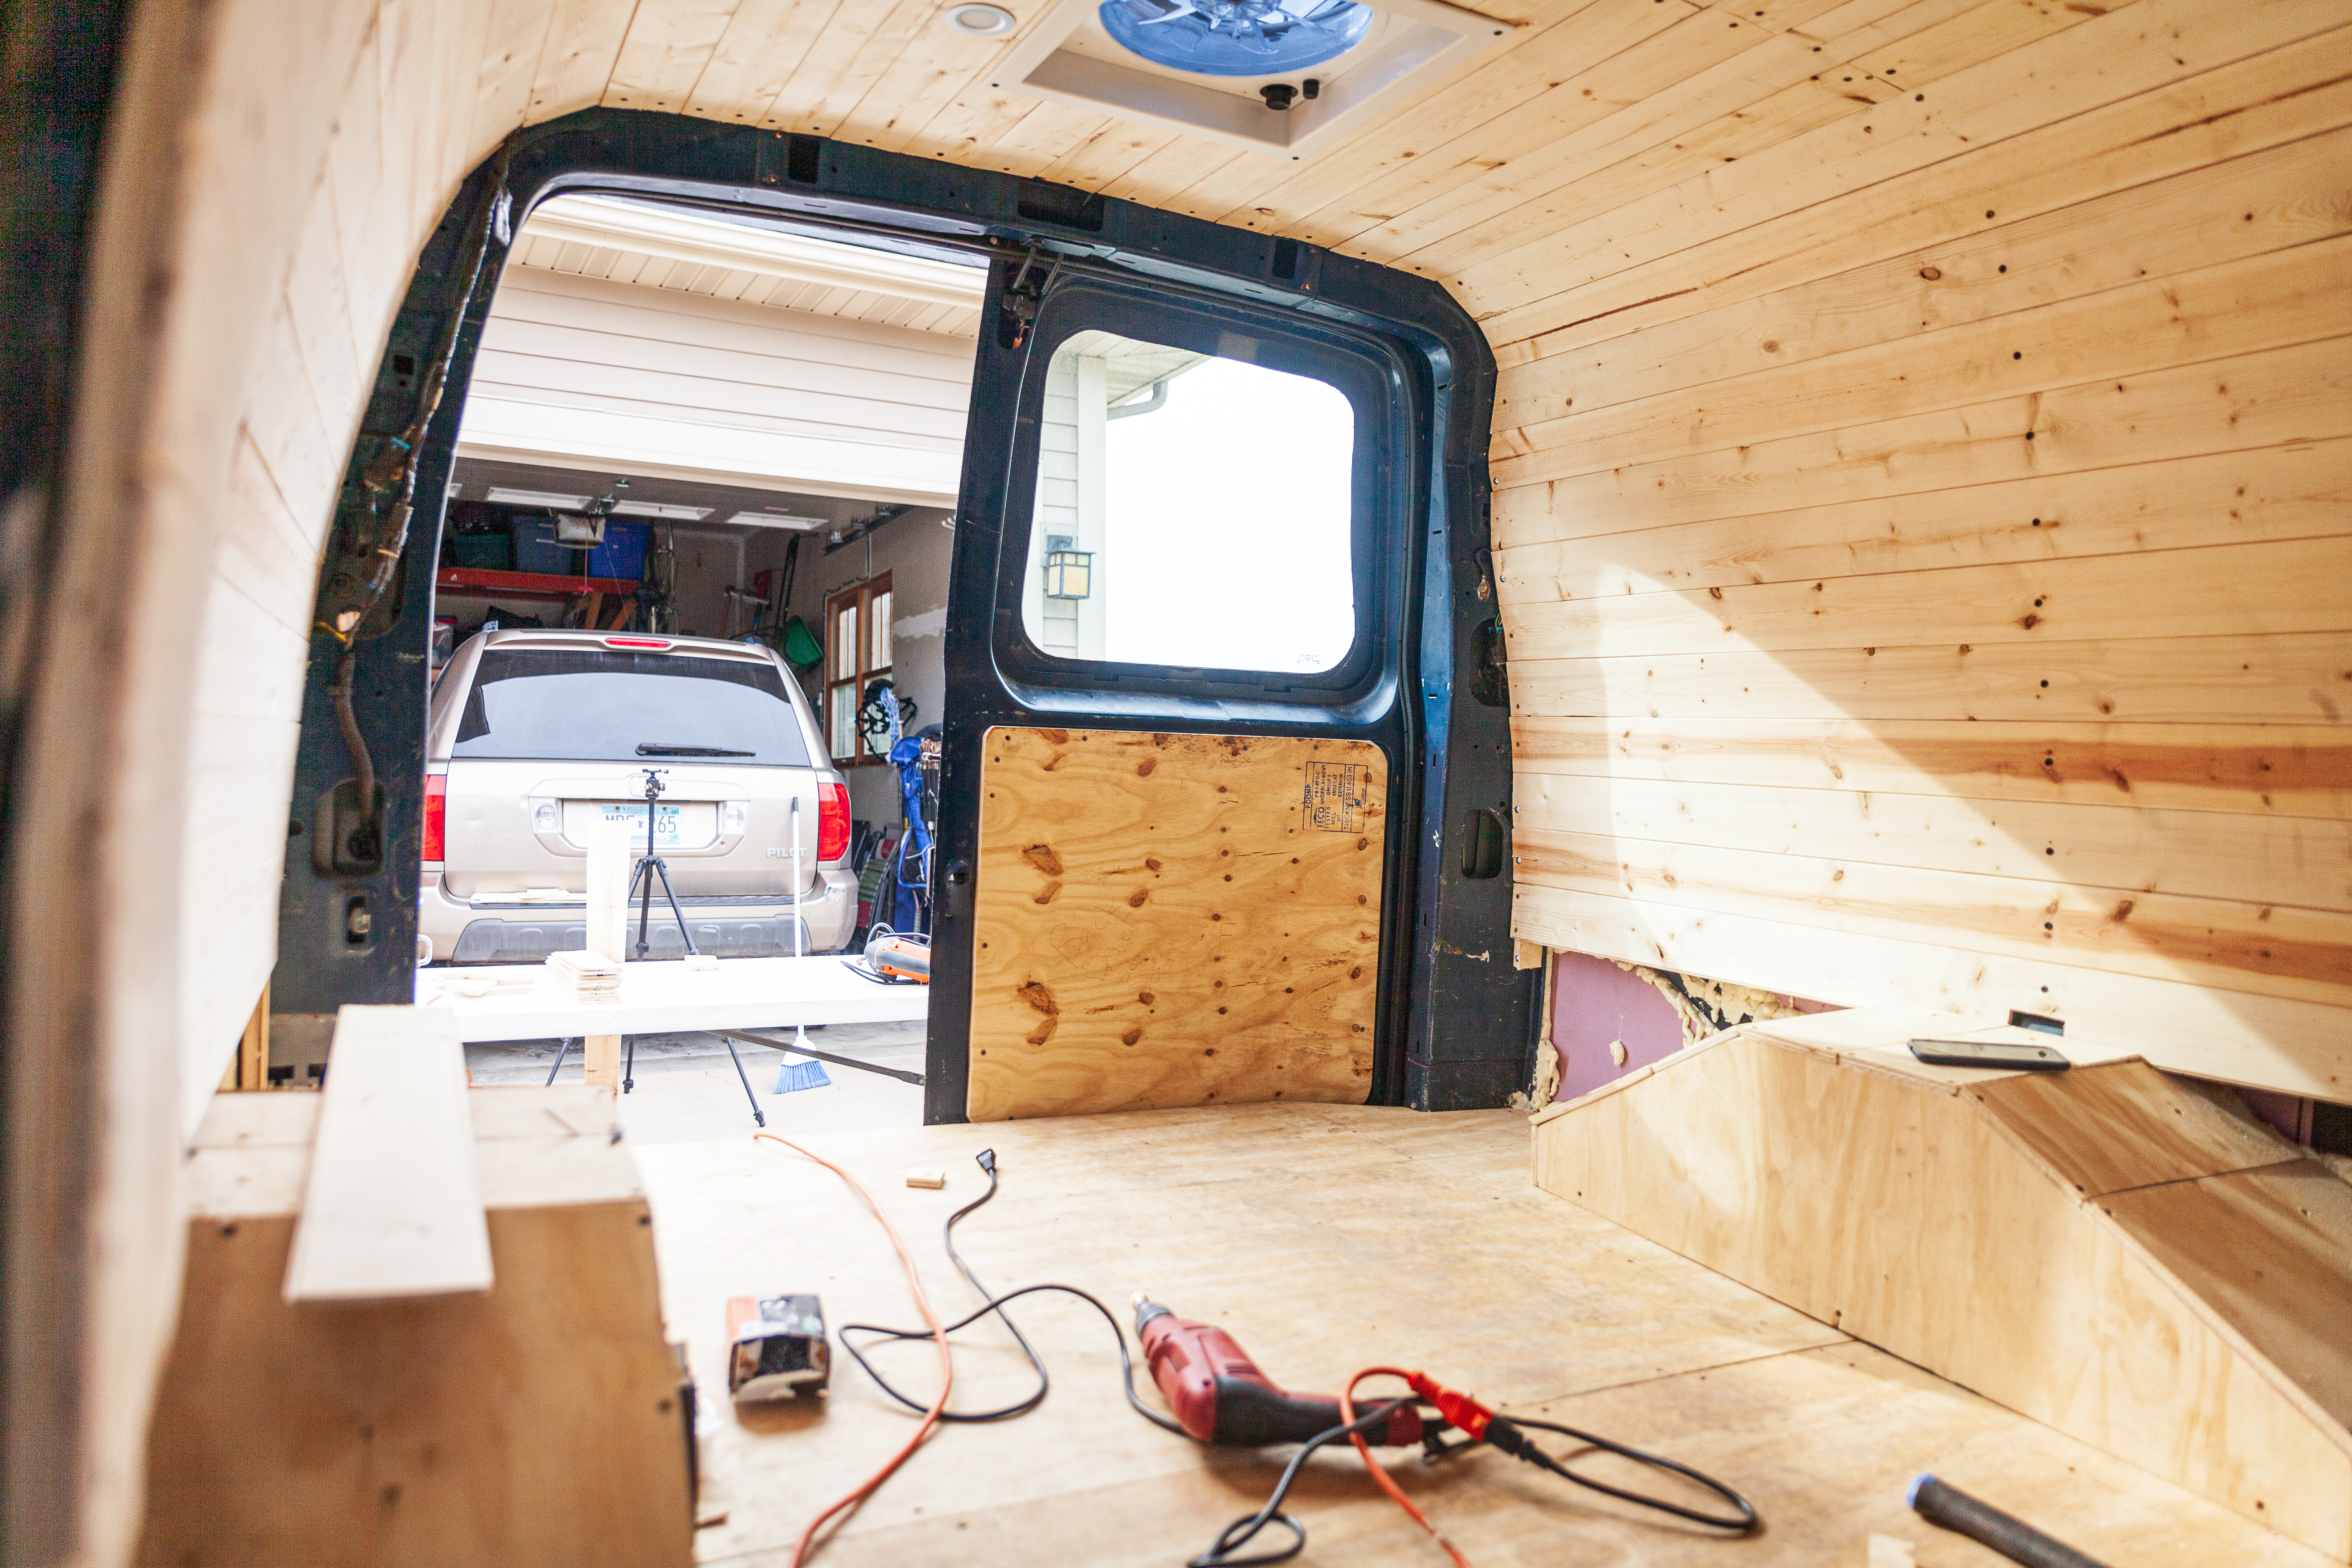
The last move of the day was to cut, fit, and install the plywood panels on our rear doors. Early on, we pried off the plastic door panels and stuffed the doors with insulation (some sweet R-19 stuff we got from Taylor’s pal. Following the same steps we used for the side doors, we cut some plywood boards to a rough fit, then began the hold-mark-cut-hold-mark-cut process to make them ‘perfect’.
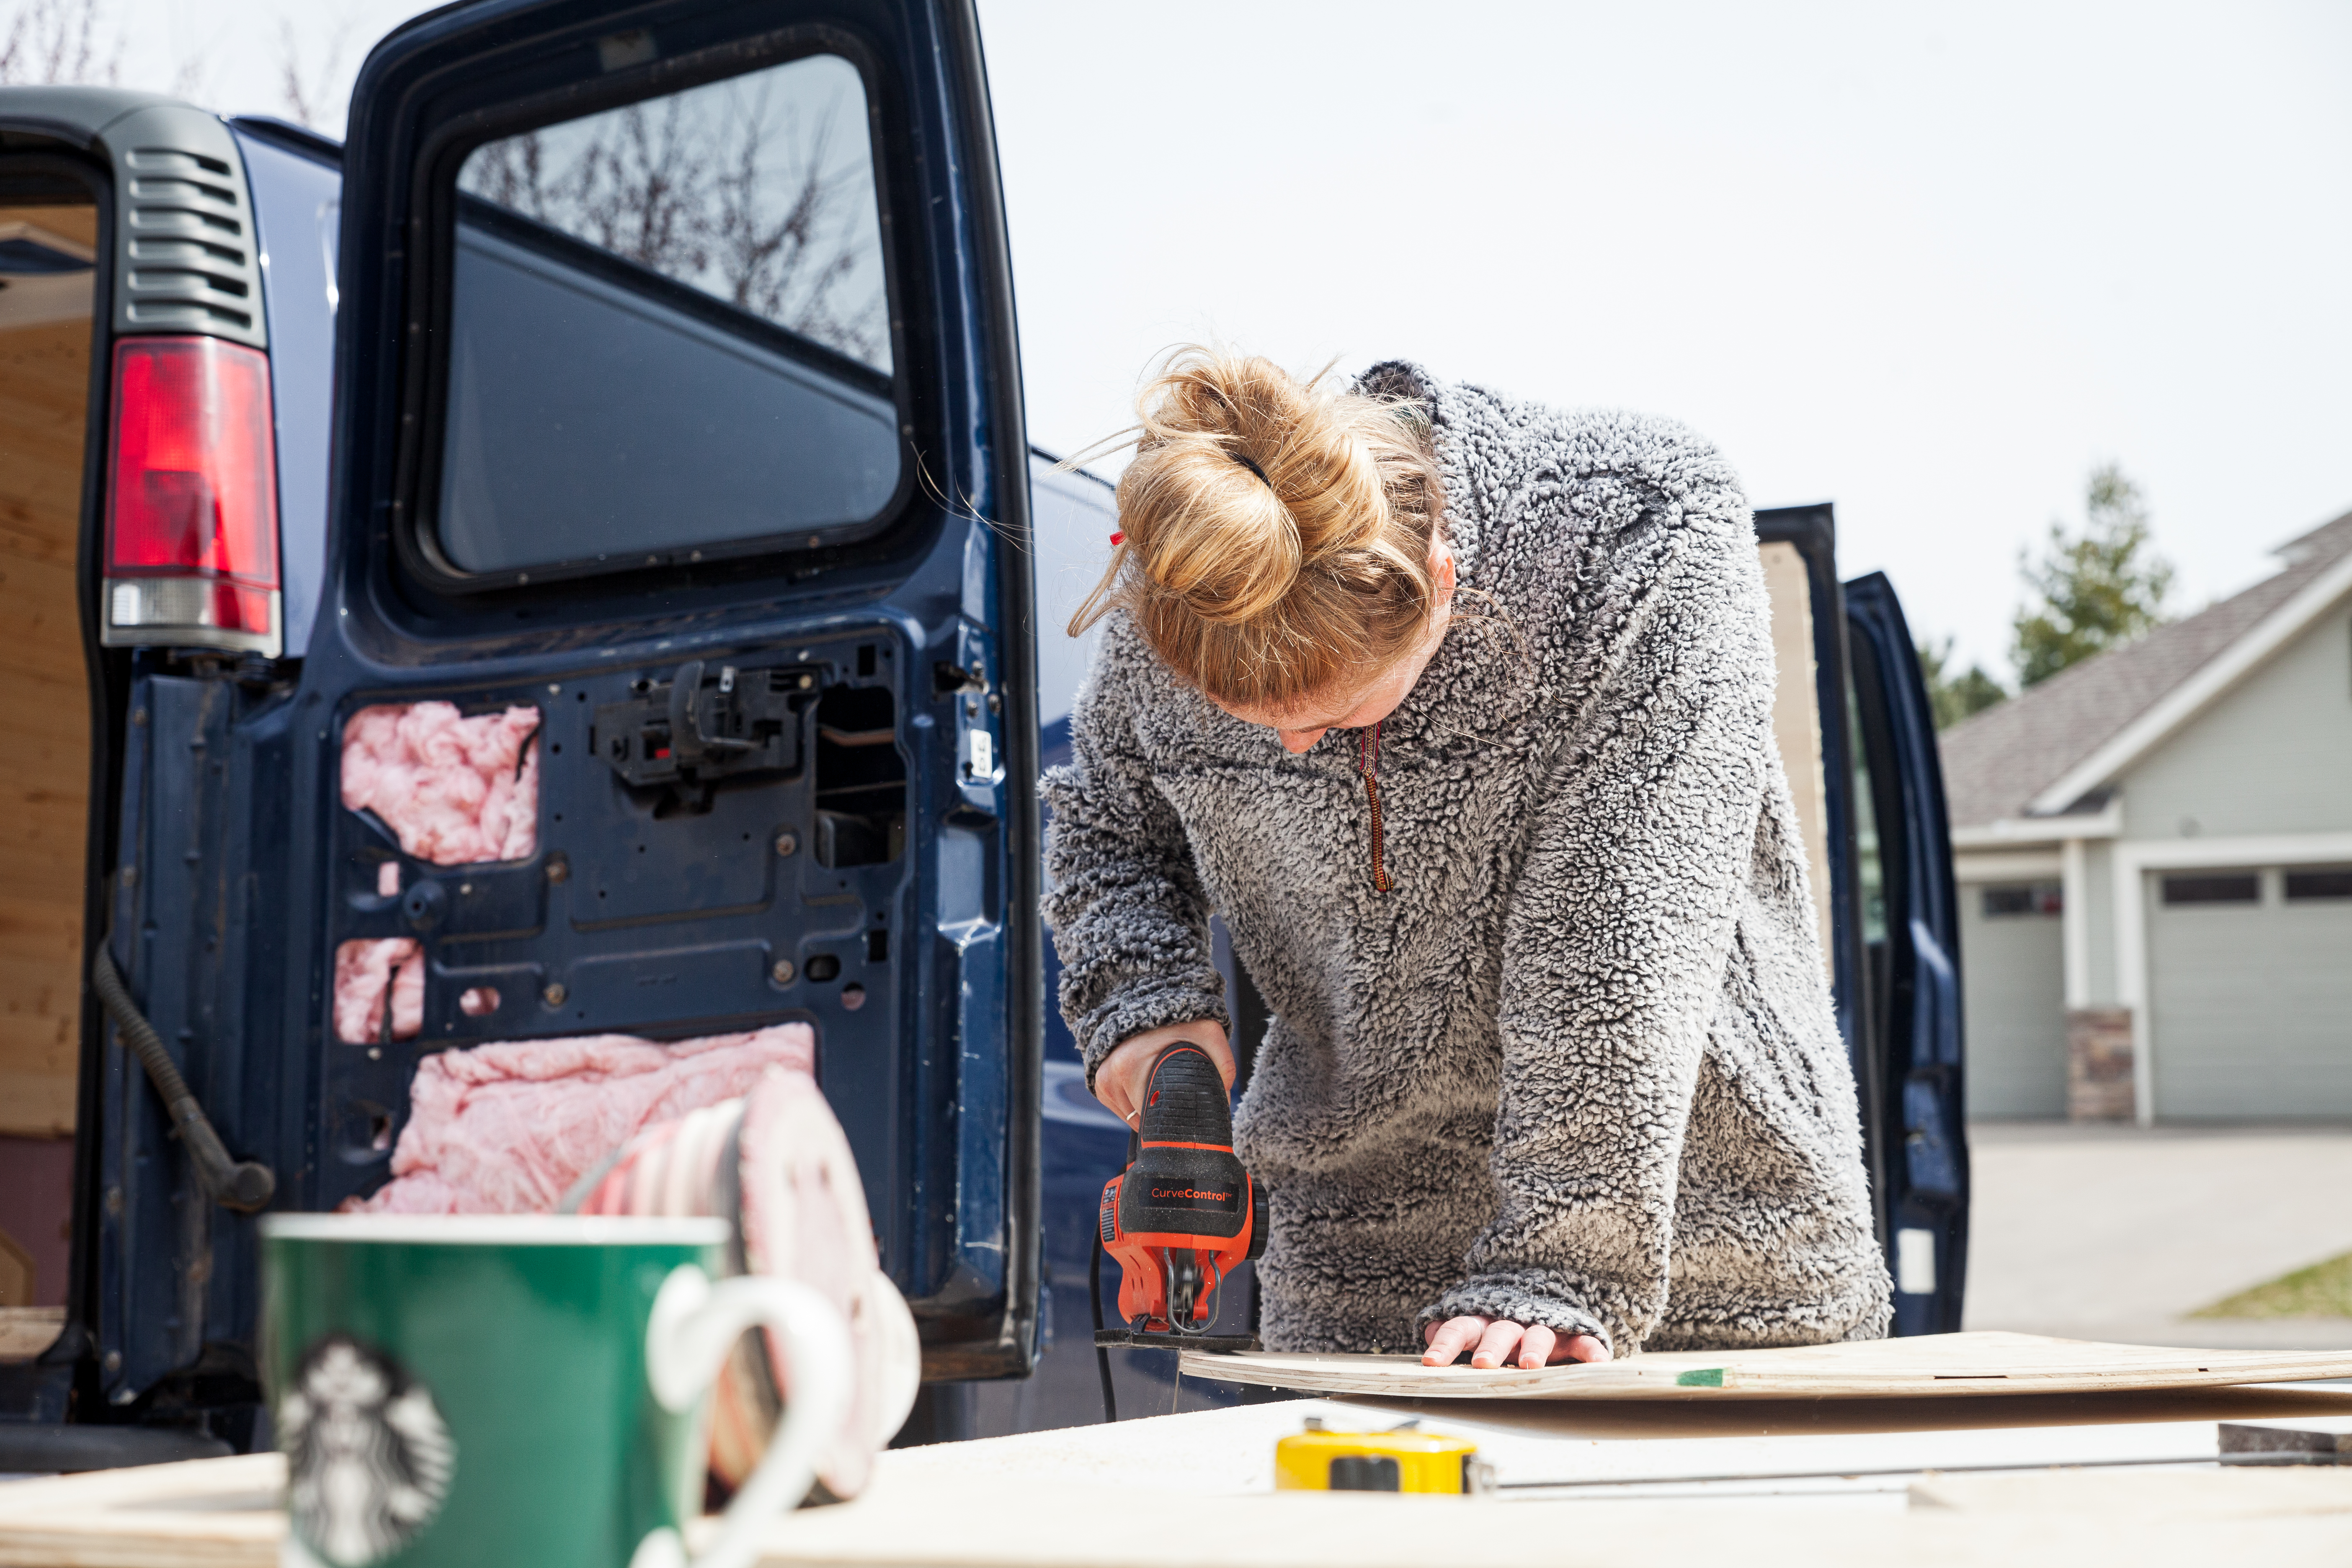
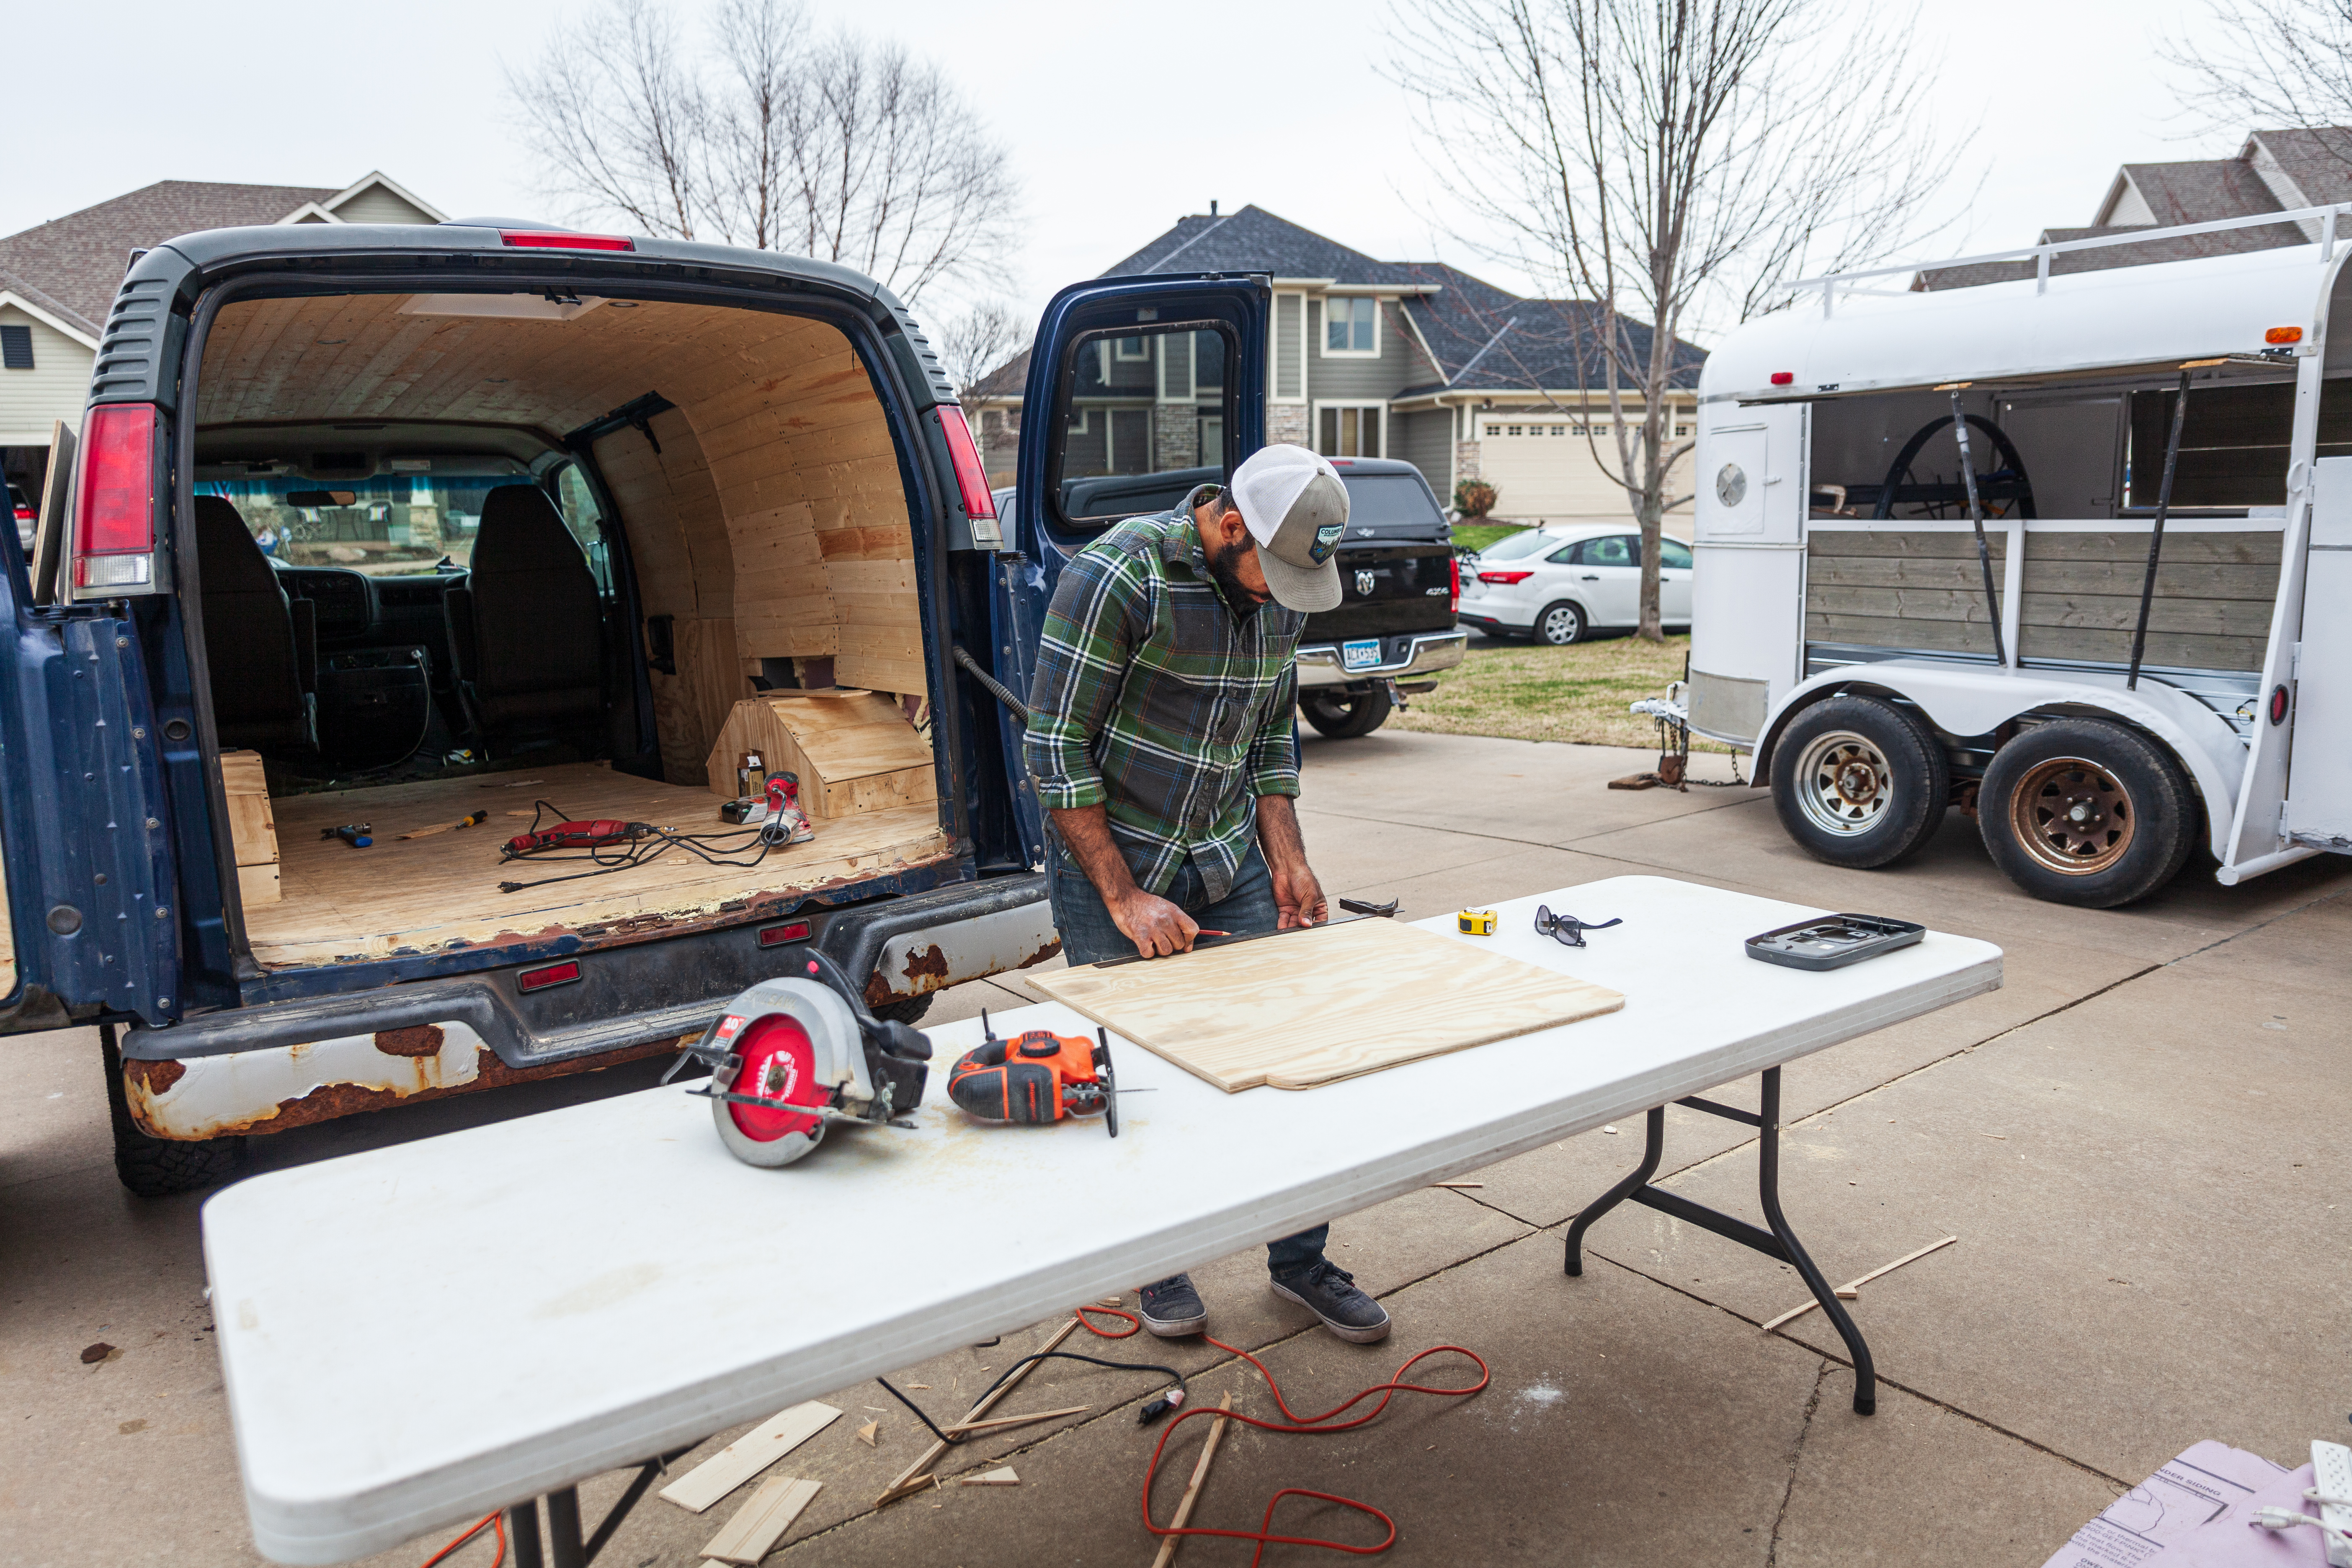
After a few rotations through the cycle, we joined them with those same fancy wood-metal screws I mentioned earlier. To help the screws through the metal of the door, we pre-drilled every hole (even though they’re self-drilling, they had a tough time going through some thicker spots). Then, we counter-sank every hole on the board and hauled it up!

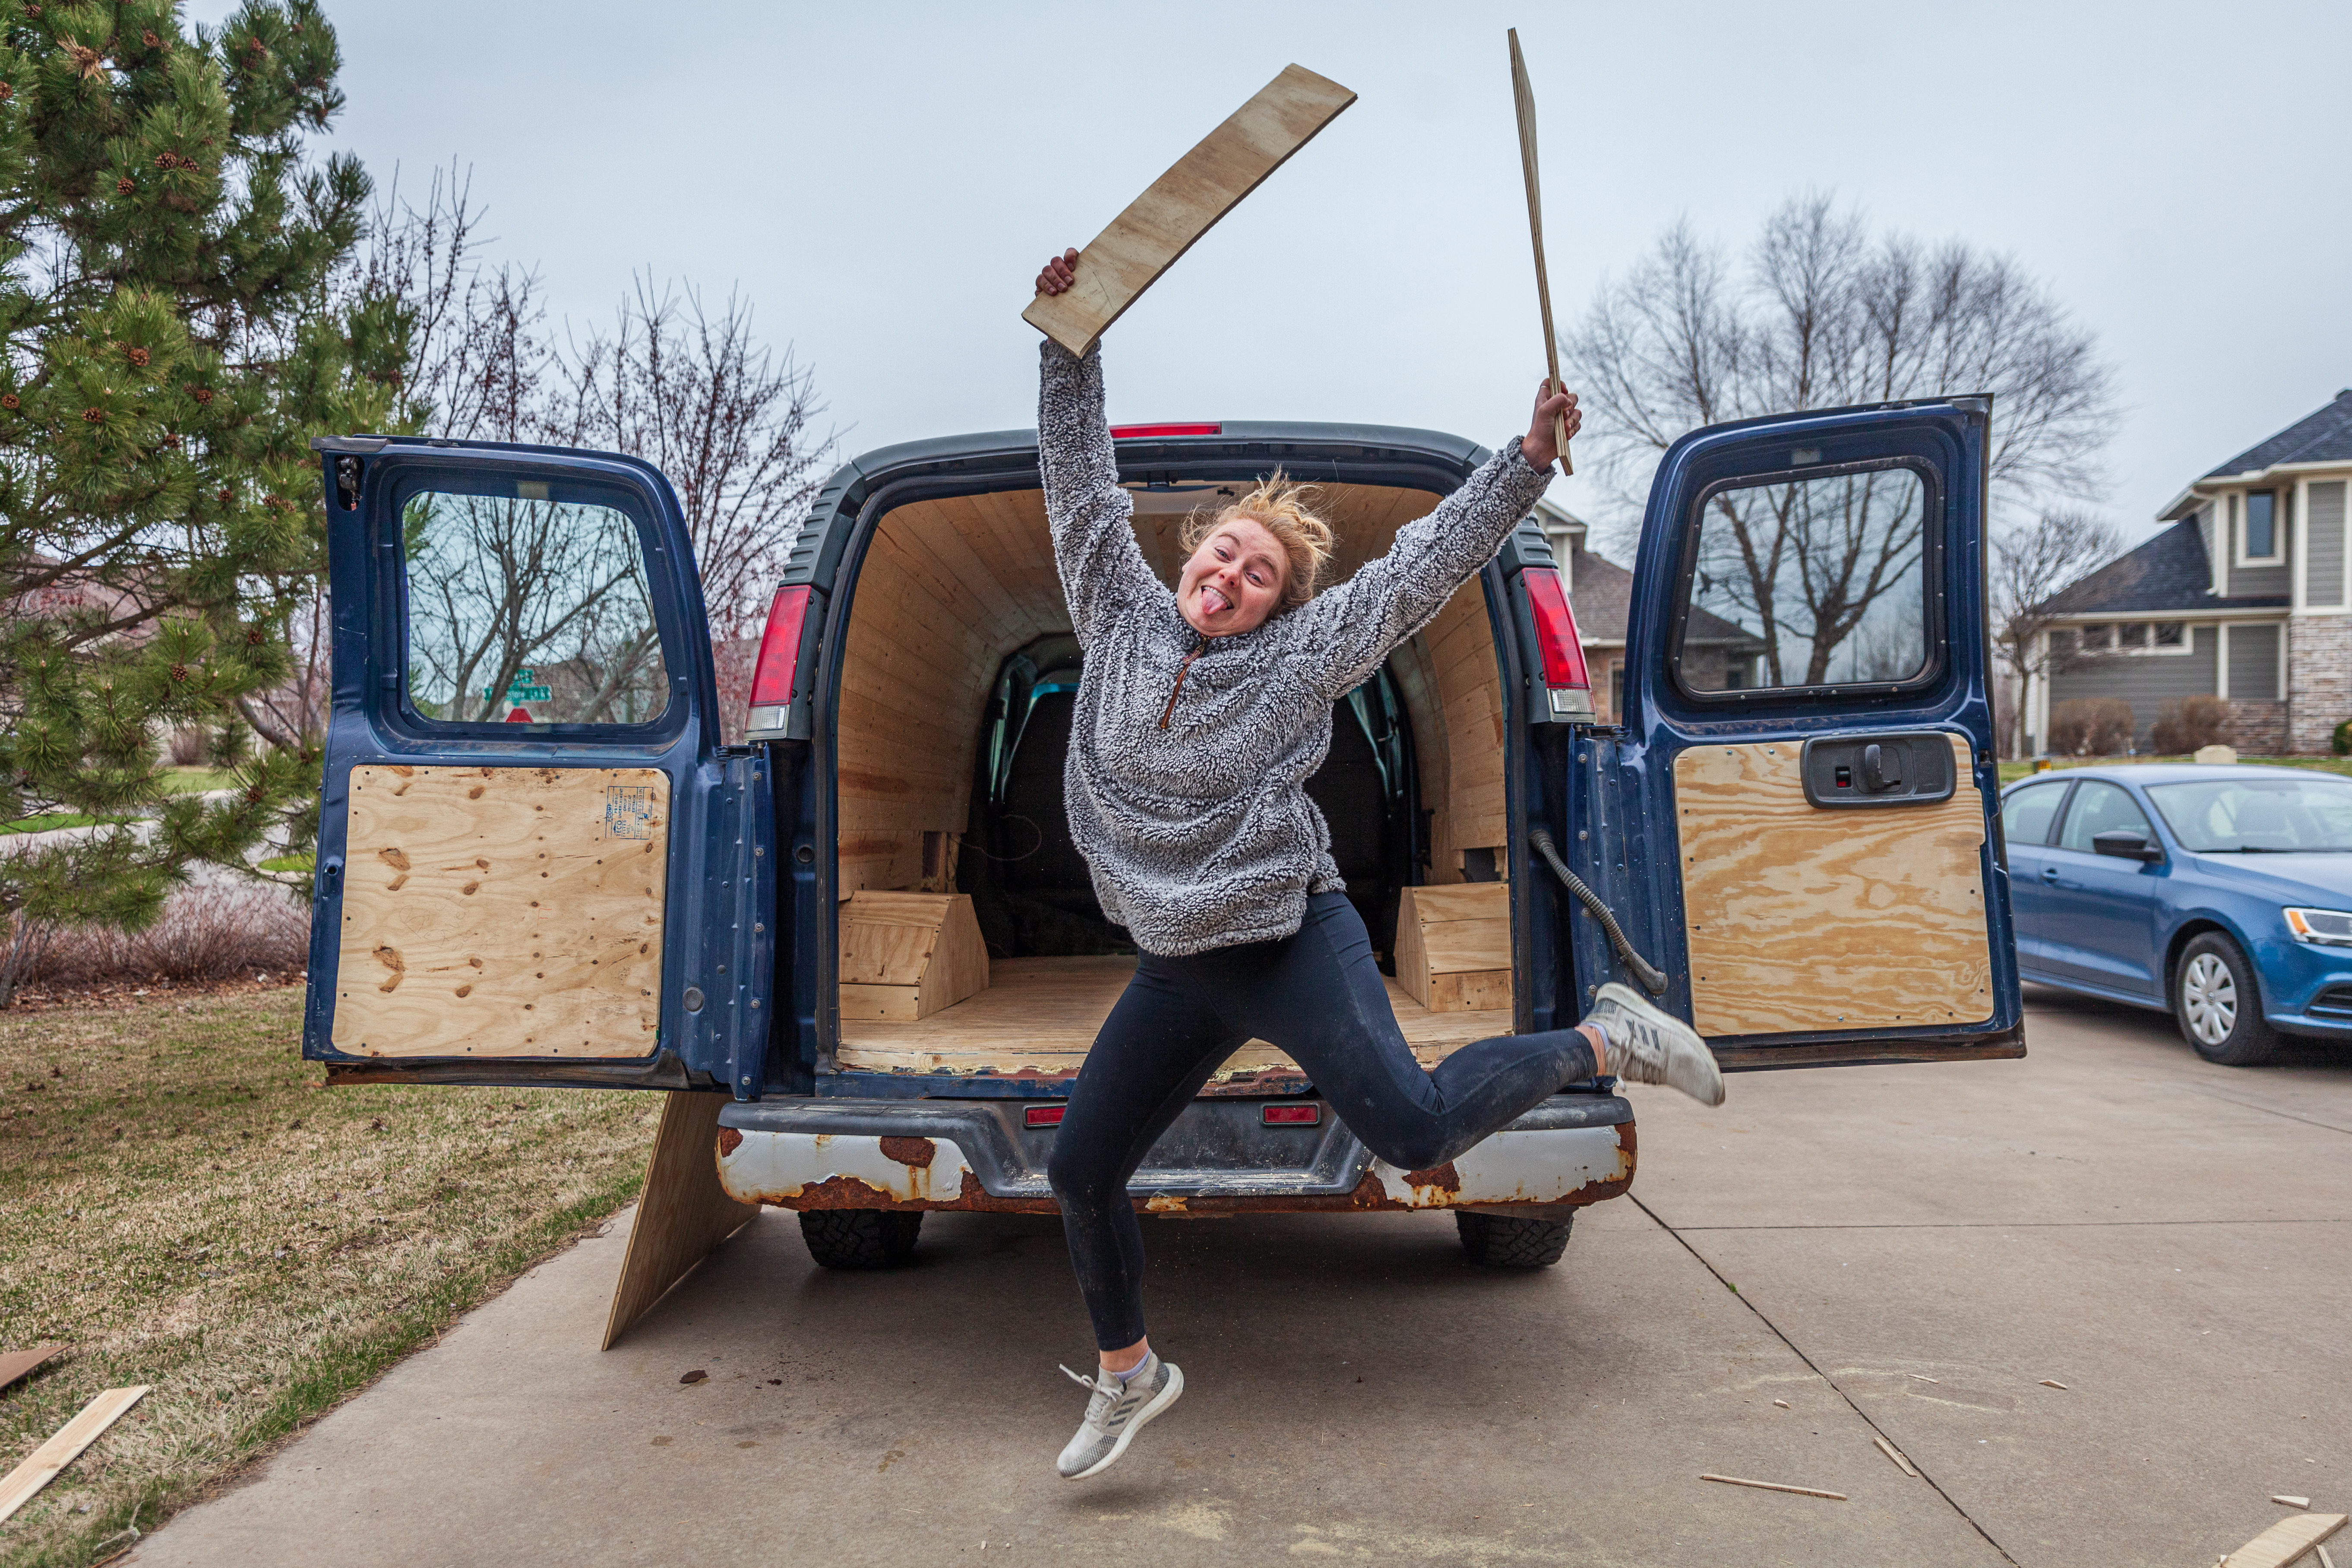
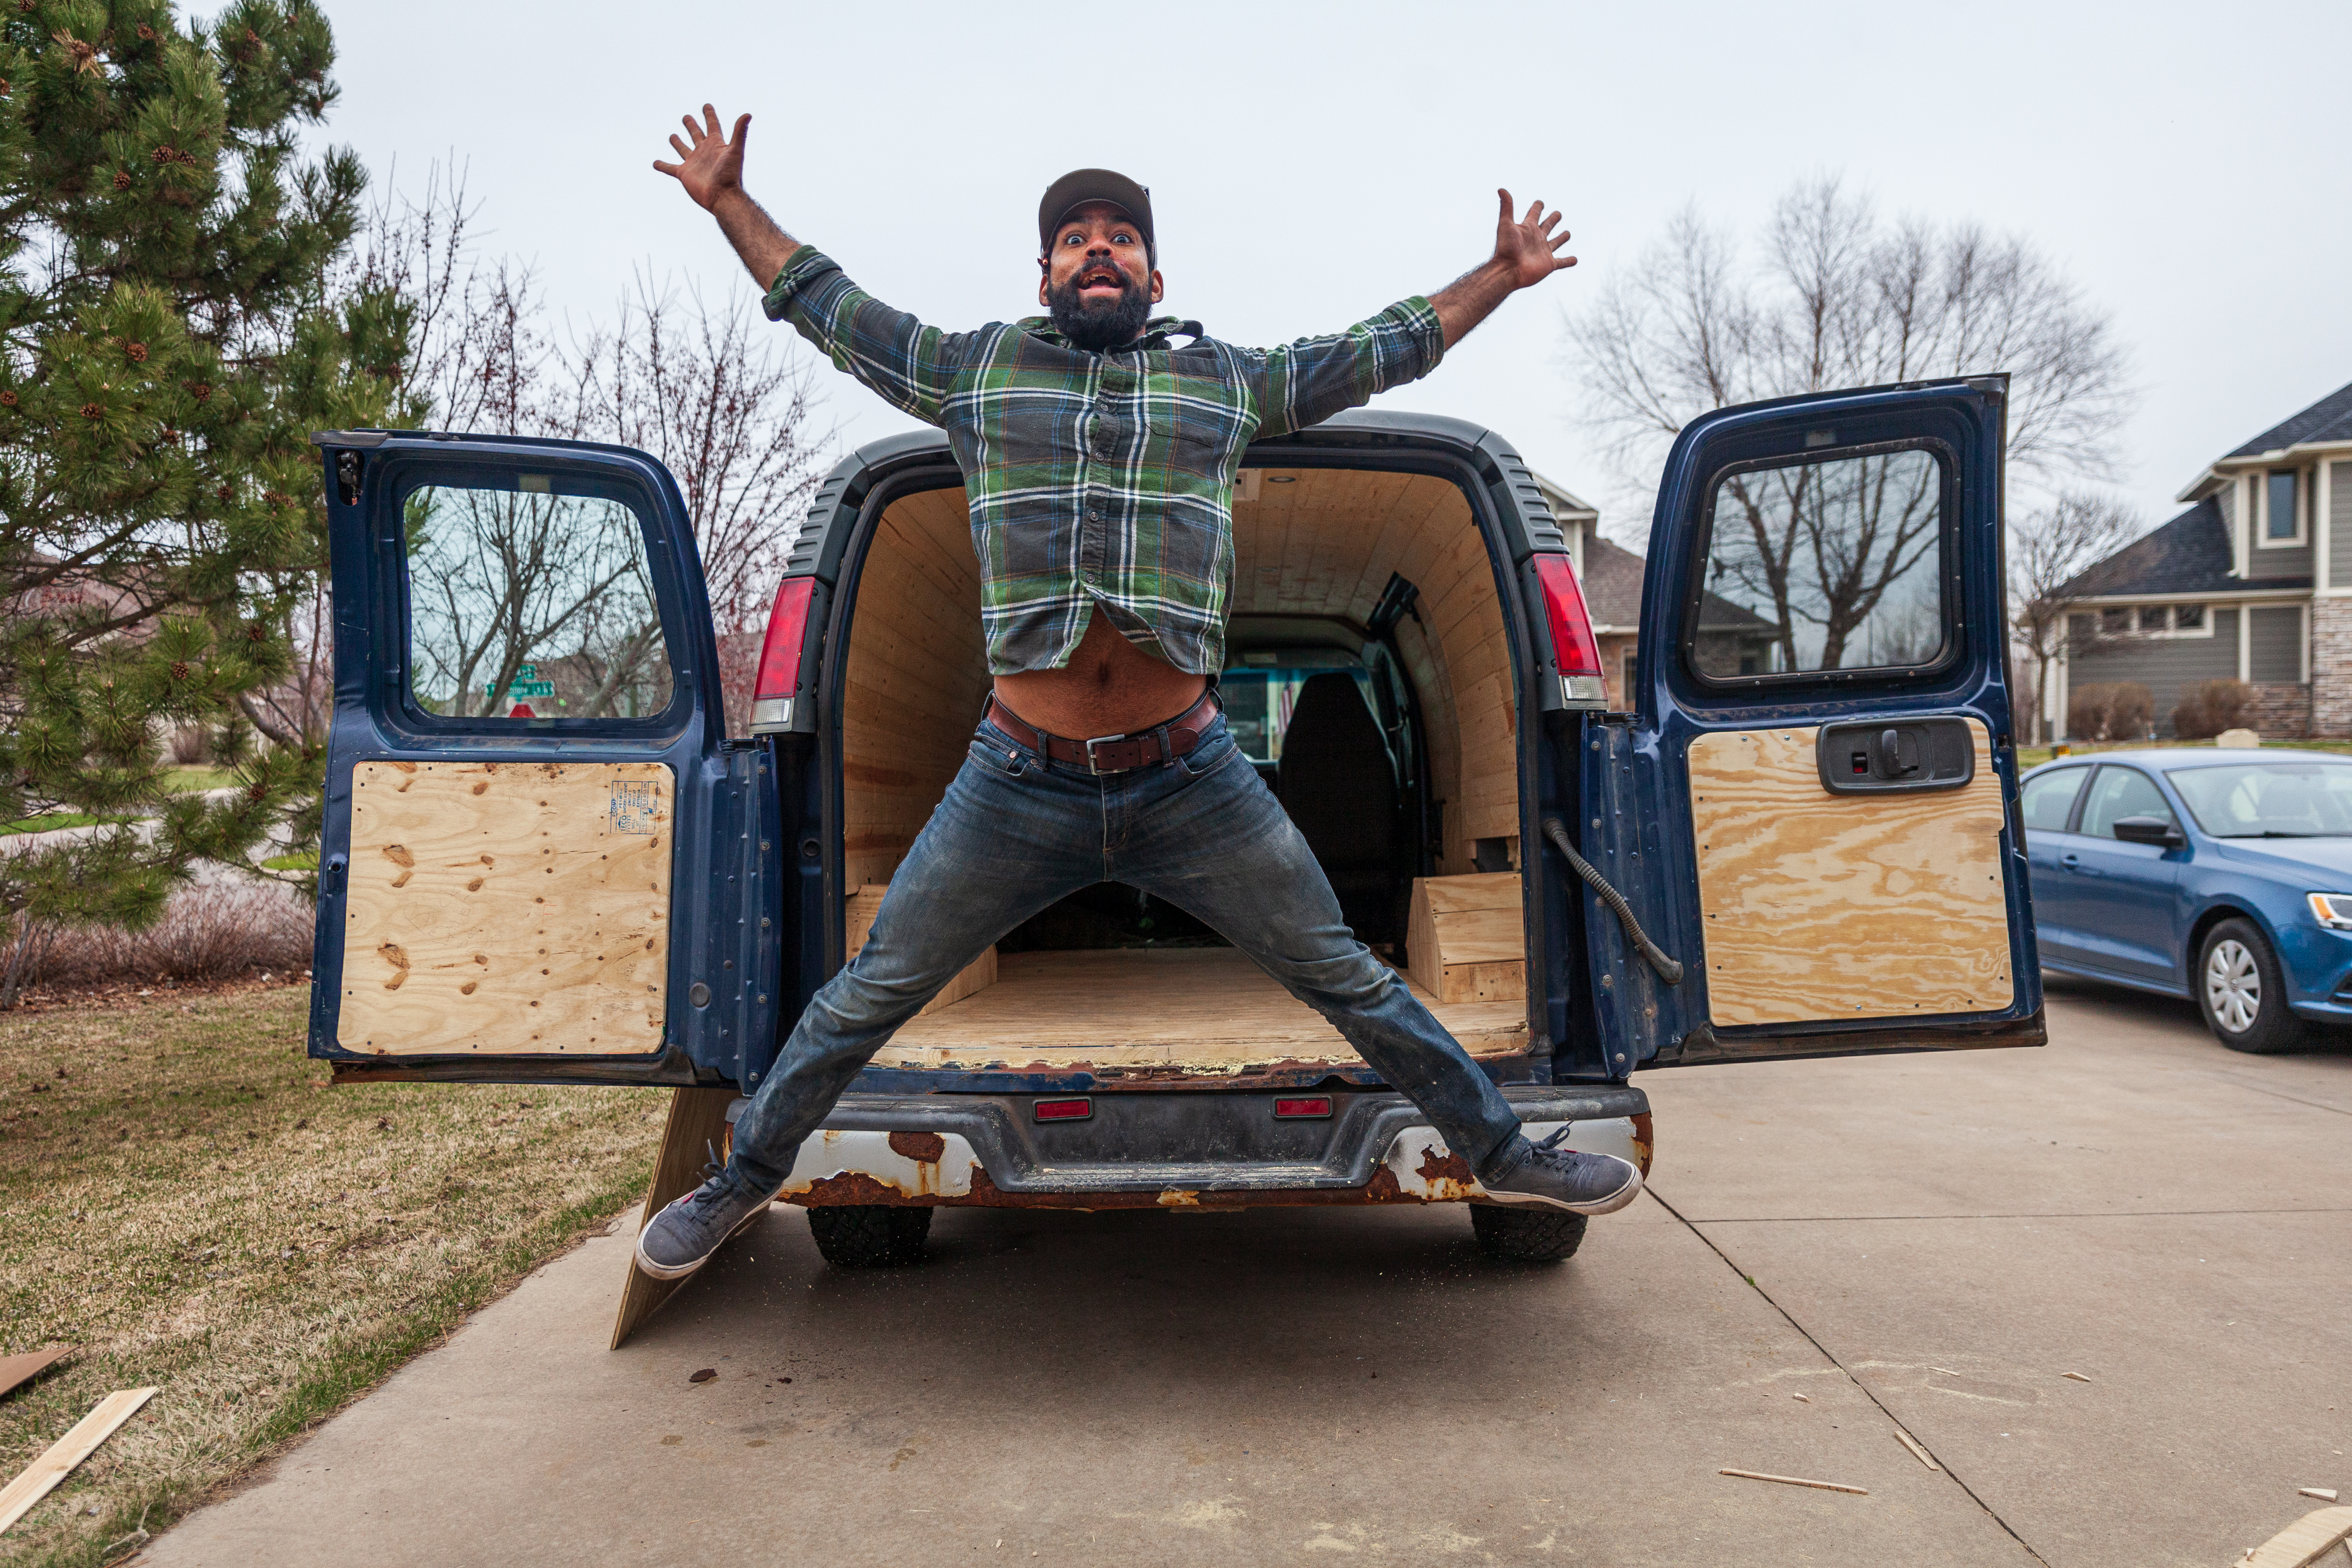
We’re planning to paint all of the door panels, though we haven’t decided on a specific color yet. That’ll come way later, as we’re finishing up the build. For now, we’ve made all of the hard moves, and now we get to tackle the fun stuff: designing and building our bed, cabinets, and our kitchen. To celebrate, we took a very ‘van-life’ couple photo in the van, plus some ‘leaping #wanderlust’ shots that are ideal for the gram.